Easy Way to Tie a Ring Knot Essential Rope Skills Useful DIY Knots for Beginners
Mastering the art of knot tying is a skill that transcends simple utility. It is about preparedness, safety, and the satisfaction of knowing exactly how to secure your gear when it matters most. Whether you are an avid camper, a weekend DIY enthusiast, or someone who just wants to keep things organized in the garage, understanding the mechanics of a reliable knot is essential. Today, we are diving deep into a specific technique that often goes overlooked but remains incredibly effective: the Ring Knot. This versatile loop is a staple for anyone working with rope, and once you understand the rhythm of the movements, you will find yourself using it in dozens of different scenarios.
What Exactly Is a Ring Knot and Why Does It Matter?
At its core, the Ring Knot is a method of creating a secure, fixed loop at the end of a rope or even in the middle of a line. Unlike some knots that tend to slip under heavy tension, the Ring Knot is designed to hold fast while remaining relatively easy to untie once the load is removed. This balance of security and convenience is what makes it a favorite among arborists, sailors, and climbers alike. When you look at the structure of the knot, you see a series of interlocking loops that distribute weight evenly across the fibers of the rope, which prevents the line from snapping or fraying at the stress point.
One of the biggest advantages of this specific knot is its visibility. Because of its distinct shape, you can easily inspect it at a glance to ensure it has been tied correctly. In high stakes environments like a construction site or a steep hiking trail, being able to verify your equipment with a quick visual check is a vital safety feature. It is not just about the strength of the rope; it is about the integrity of the connection you have created.
Common Applications for the Ring Knot
- Camping and Hammocks: Perfect for creating a sturdy anchor point for your overhead tarp or securing the ends of a hammock to a tree.
- Home Organization: Use it to create hanging loops for heavy garden tools, bicycles, or ladders in your garage.
- Boating and Docking: While there are many specialized nautical knots, the Ring Knot serves as a fantastic backup for temporary tie downs.
- Crafting and DIY: It adds a professional, rugged look to macrame projects or hanging plant holders.
A Step-by-Step Guide to Tying the Perfect Ring Knot
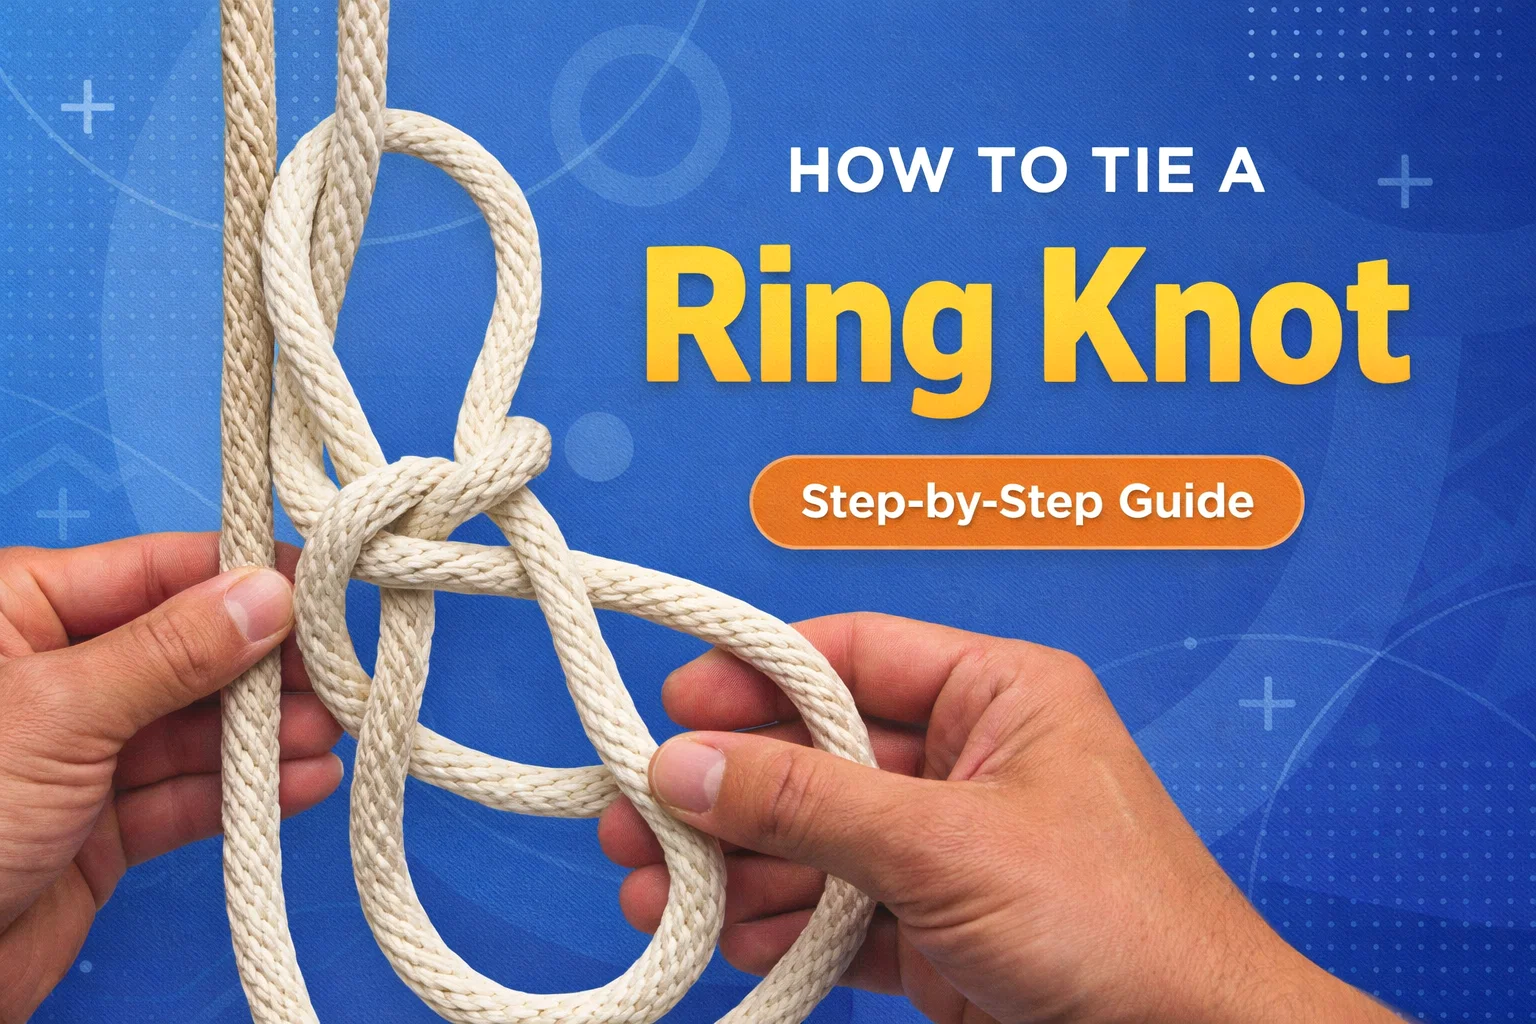
To the untrained eye, the image of a halfway tied knot can look like a confusing jumble of rope. However, the process is actually quite logical. The key is to maintain consistent tension and ensure that your loops are not overlapping in a way that creates unnecessary friction. Let us break down the process into manageable steps that you can follow along with right now.
Step 1: The Initial Bight
Start by folding your rope to create what is known as a bight. This is simply a U-shaped curve in the rope. You want to make sure you have enough length on the working end to complete the wraps without running out of material. Hold the standing part of the rope in your left hand and the loop in your right hand. This creates the foundation upon which the rest of the knot will be built.
Step 2: Creating the Primary Loop
Take the loop you just created and fold it back over the standing part of the rope. In the image, you can see the hands carefully positioning the rope to create a secondary opening. This is the “eye” of the knot. It is crucial at this stage to keep the rope flat. If the strands twist over each other, the knot will be bulky and much harder to tighten properly later on.
Step 3: The Wrap and Pull
Now comes the part that gives the Ring Knot its name. You will take the end of the loop and pass it through the eye you created in the previous step. As you pull it through, you are essentially wrapping the rope around itself. This creates a self-locking mechanism. As tension is applied to the main line, the wrap tightens down on the inner loop, preventing it from sliding. Think of it like a cinch that gets stronger the harder you pull.
Essential Tips for Rope Maintenance and Safety
No matter how perfect your knot is, it is only as good as the rope you are using. If you are practicing your Ring Knot on an old, frayed piece of nylon or a weathered hemp cord, you are setting yourself up for failure. Professional rope users follow a strict set of rules to ensure their gear is always ready for action.
Choose the Right Material for the Job
Synthetic ropes like nylon or polyester are excellent for outdoor use because they resist rot and UV damage. They also have a bit of stretch, which can act as a shock absorber. On the other hand, natural fibers like manila or cotton are great for decorative projects or tasks where you need a high level of grip, as they tend to be less slippery than plastic-based cords. When tying a Ring Knot, a braided rope is often easier to handle than a twisted three-strand rope because it lies flatter and holds the shape of the knot more consistently.
Inspect Your Gear Regularly
Before you tie your next knot, run the length of the rope through your hands. You are feeling for “dead spots” where the internal core might be damaged, as well as looking for any visible cuts or burns. If a rope feels crunchy or stiff, it has likely been exposed to chemicals or extreme heat and should be retired immediately. A knot creates a natural weak point in any line, so starting with a compromised rope is a recipe for disaster.
The Physics of Why the Ring Knot Holds
Have you ever wondered why some knots just fall apart while others seem impossible to break? It all comes down to friction and surface area. When you tie a Ring Knot, you are forcing the rope to turn at sharp angles. Every time the rope crosses over itself, it creates a point of friction. When you pull on the rope, those crossing points press together. The more force you apply, the more pressure is exerted at those intersections, effectively locking the rope in place.
The Ring Knot is particularly clever because it utilizes a large amount of surface area contact. By doubling the rope back on itself, you are essentially doubling the friction. This is why it is so much more secure than a simple overhand knot, which only has one point of contact and can easily “capsize” or flip inside out under pressure. Understanding the science behind the knot helps you appreciate the engineering that went into these traditional techniques over hundreds of years.
Common Mistakes to Avoid
Even the most experienced outdoorsmen can get a bit sloppy when they are in a hurry. To ensure your Ring Knot is as strong as possible, watch out for these common pitfalls:
The “Tangled” Eye
If the internal loops of the knot cross over each other haphazardly, you create a “high spot.” When weight is applied, all the pressure hits that one single fiber instead of being distributed. This can cause the rope to melt or snap. Always “dress” your knot by smoothing out the strands so they lie parallel to each other before you pull it tight.
Short Tails
Always leave a generous “tail” or “tag end” coming out of your knot. If the knot settles or shifts under a heavy load, it may pull a little bit of the rope back through the mechanism. If your tail is too short, the end could slip inside the knot, causing the entire structure to unravel instantly. A good rule of thumb is to leave a tail at least five times the diameter of the rope.
Integrating Knot Tying into Your Daily Life
You do not need to be climbing Mount Everest to find a use for a good Ring Knot. In fact, some of the most satisfying uses are in the mundane tasks of everyday life. Imagine being able to quickly secure a Christmas tree to the roof of your car without worrying about it shifting on the highway. Or think about the ease of setting up a clothesline in the backyard that stays taut even when covered in wet towels. These are the moments where your knot-tying practice pays off.
I recommend keeping a small three-foot section of cord on your coffee table or desk. When you are watching a movie or waiting for a meeting to start, pick it up and practice tying the Ring Knot until you can do it with your eyes closed. This muscle memory is what allows you to perform under pressure or in the dark when you are out in the woods. It is a meditative process that keeps your hands busy and your mind sharp.
Conclusion: The Path to Mastery
Learning to tie a Ring Knot is more than just a DIY hack; it is an investment in your own self-reliance. In a world where we often rely on plastic clips, zip ties, and disposable fasteners, there is something deeply rewarding about using a simple piece of cordage to solve a complex problem. The image of those hands carefully weaving the rope is a reminder that human ingenuity and basic tools are often all we need to get the job done right.
Take the time to practice, respect your equipment, and never stop expanding your library of skills. The Ring Knot is a fantastic starting point, but it is only the beginning of what you can achieve with a bit of patience and a sturdy length of rope. So, go find a piece of cord, start looping, and see just how much more capable you feel once you have mastered this essential skill. You never know when the perfect knot will be the one thing standing between success and a total mess. Happy tying!
Would you like me to generate a meta description or some Alt text for the images to help with the SEO for this post?