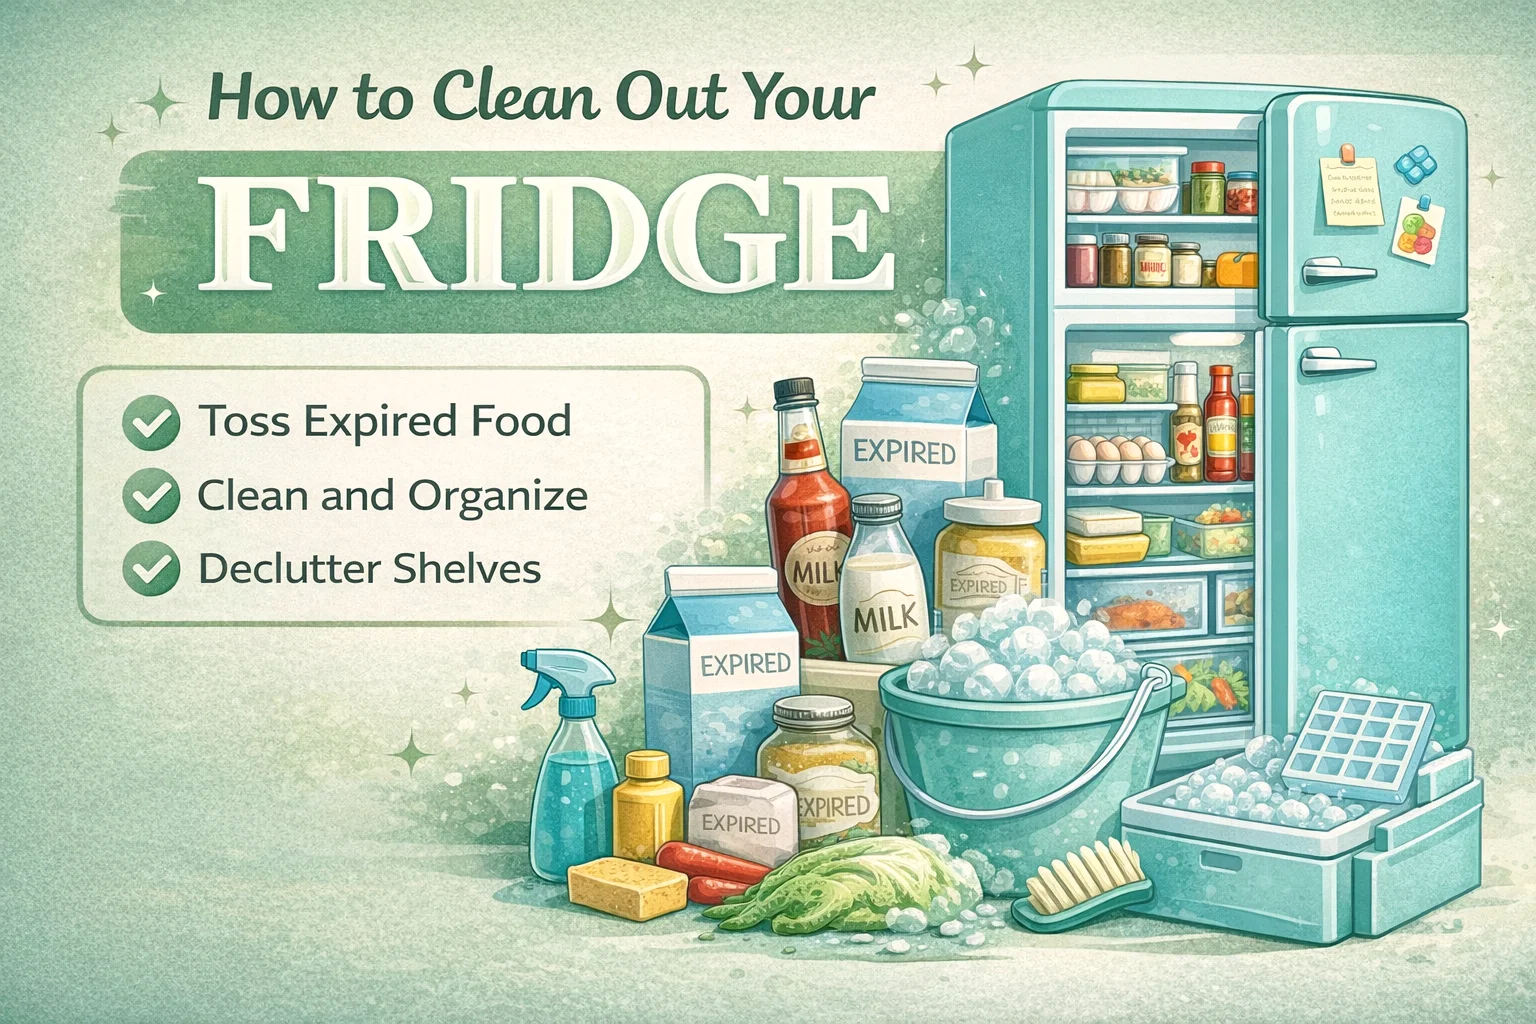
Fridge Clean Out Checklist How to Deep Clean Organize Your Refrigerator Fast
There is nothing quite like the feeling of opening your refrigerator and seeing clean, organized shelves stocked with fresh food. However, for many of us, the fridge can quickly become a graveyard for half-used condiment jars, wilted greens, and mystery leftovers hidden in the back corners. A cluttered fridge does more than just look messy; it leads to food waste, higher grocery bills, and a chaotic cooking environment. Tackling a refrigerator deep clean might feel like a daunting weekend project, but with a structured checklist, you can transform this essential kitchen hub in under an hour. Let’s dive into the ultimate guide to purging, scrubbing, and organizing your way to a pristine kitchen.
Phase One: The Great Purge
The first step to a clean fridge is clearing out the old to make room for the new. You cannot effectively clean surfaces that are covered in jars and containers. Start by taking everything out, shelf by shelf. As you remove items, keep a trash can and a compost bin nearby. This is the time to be ruthless. If you find a bottle of salad dressing that has been open for six months or a jar of pickles with only a teaspoon of brine left, it is time for them to go.
Checking Expiration Dates and Food Quality
Check every single label. Expiration dates are a great starting point, but do not forget to use your senses. If a sauce looks separated or a vegetable has lost its structural integrity, discard it immediately. Pay special attention to condiments, as they often linger far past their prime because we assume they last forever. Open packages of deli meats or cheeses that have been sitting for more than a few days should also be tossed to ensure food safety in your home.
Managing the Freezer Frost
The freezer is often the most neglected part of the kitchen. Pull out those frozen bags and look for signs of freezer burn, which appears as icy crystals on the surface of the food. While freezer-burned food is technically safe to eat, the texture and flavor are usually ruined. Take this opportunity to identify unmarked foil packets or mystery containers. If you cannot remember what it is or when you froze it, it is better to start fresh. This process ensures that your freezer remains an efficient storage space rather than a cold storage locker for forgotten meals.
Phase Two: Deep Cleaning for a Fresh Interior
Once the fridge is empty, you will likely notice spills, crumbs, and sticky rings that were hidden under your groceries. Cleaning a refrigerator requires a balance of thoroughness and food-safe practices. Avoid using harsh chemical cleaners that could leave behind toxic residues or strong odors that might be absorbed by your food. A simple mixture of warm water and mild dish soap, or a solution of vinegar and water, works wonders for breaking down grime.
Scrubbing Shelves and Door Bins
If your fridge has removable glass shelves or plastic bins, take them out and wash them in the sink. This is much easier than trying to reach into the back corners of the unit. For stubborn, dried-on spills, let a warm, damp cloth sit on the area for a few minutes to loosen the bond before scrubbing. Do not forget the door shelves; these are prime spots for sticky rings from honey, syrup, and sauces. Wiping down the outside of every jar before putting it back will prevent these rings from reappearing immediately.
Focusing on Hidden Areas and Drawers
Produce drawers often collect onion skins, bits of herbs, and moisture that can lead to mold. Pull these drawers completely out of the fridge to clean the tracks and the space underneath them. Check the butter storage bin and the egg tray as well. Another often-overlooked area is the walls of the fridge and the ceiling. A quick wipe-down ensures that the entire environment is sanitary. Finally, check your water filter. Most modern refrigerators have a notification light, but if yours is older, aim to replace the filter every six months for the best-tasting water and ice.
Phase Three: Strategic Organization and Re-stocking
Now that your fridge is sparkling clean, the goal is to put everything back in a way that makes sense for your daily life. Proper organization is the key to maintaining cleanliness and ensuring that food stays fresh for as long as possible. Think of your fridge in zones based on temperature and usage.
Grouping Items by Category
Use clear bins or designated areas to group similar items together. Keep all your breakfast items in one spot, your sandwich fixings in another, and your various sauces together on the door. This “zoning” method makes it easy to find exactly what you need without digging around, which keeps the door open for a shorter amount of time and saves energy. Labeling your shelves or bins can also be a game-changer for households with multiple people, ensuring that everyone knows exactly where the milk or the snacks belong.
Optimizing Temperature Zones
Did you know that different parts of your fridge have different temperatures? The door is typically the warmest area, so it should be reserved for items with high preservatives like condiments and juices. Avoid putting milk or eggs in the door; instead, keep them on the middle or bottom shelves where the temperature is most consistent. The bottom shelf is also the coldest spot, making it the ideal place for raw meat and fish. Keeping meat on the lowest level also prevents any potential drips from contaminating other food items.
The Benefits of a Regular Weekly Reset
You do not have to wait for a major seasonal cleaning to keep your fridge in good shape. Incorporating a “fridge reset” into your weekly routine can save you hours of work in the long run. The best time to do this is right before you go grocery shopping. Take five minutes to toss anything that has gone bad and wipe down any visible spills. This ensures that you always have space for your fresh groceries and prevents the buildup of old food that leads to unpleasant odors.
Reducing Waste with a “Eat Me First” Bin
A great organizational tip is to designate a small bin or a specific spot on the middle shelf for items that are nearing their expiration date. Whether it is a half-used bell pepper or a yogurt cup that expires in two days, keeping these items front and center encourages you to use them before they go to waste. This simple habit can significantly lower your monthly food costs and make meal planning much easier.
Maintaining the Freezer for Long-Term Success
A well-organized freezer is just as important as the fridge. Avoid the “black hole” effect by using stackable bins or dividers. Store items upright so you can see the labels clearly. If you frequently freeze leftovers or bulk meat, invest in a permanent marker and some masking tape. Labeling every package with the contents and the date it was frozen will save you from guessing later on. Rotating your stock so that older items are at the front ensures that you are always eating the freshest food available.
Checking for Mechanical Efficiency
While you are cleaning, take a moment to inspect the seals on your fridge and freezer doors. If the rubber gaskets are dirty or cracked, cold air can escape, causing your unit to work harder and increasing your electricity bill. Wipe the seals with a damp cloth to remove any crumbs that might be preventing a tight closure. If you feel brave, pull the fridge away from the wall once a year to vacuum the coils in the back; this simple maintenance task can extend the life of your appliance by years.
Conclusion: A Fresh Start for Your Kitchen
A clean and organized refrigerator is more than just a home chore; it is a foundation for a healthy, stress-free lifestyle. By following a structured checklist of purging, deep cleaning, and strategic re-stocking, you create a space that supports your culinary goals and reduces daily friction. You will find that cooking becomes more enjoyable when you are not fighting through clutter to find an ingredient. Take the time this weekend to give your fridge the attention it deserves. Once you see those gleaming shelves and neatly arranged bins, you will wonder why you ever waited so long to start. Happy cleaning!