How to Make Easy DIY Royal Icing for Sugar Cookies Best Homemade Cookie Icing Recipe
There is something undeniably magical about a perfectly decorated sugar cookie. Whether it is the crisp snap of the biscuit or the way the light catches a smooth, porcelain like finish of the icing, these treats are the undisputed stars of every holiday dessert table. If you have ever marveled at those intricate designs in a high end bakery and wondered how they achieve that flawless look, the secret is not a magic wand. It is a reliable, high quality DIY Royal Icing. Mastering this simple recipe is the first step toward transforming your kitchen into a professional cookie studio.
Royal icing is the gold standard for decorators because of its unique properties. Unlike buttercream, which stays soft and can smudge, royal icing dries into a hard, matte or glossy shell. This makes it the ideal medium for flooding, piping, and stacking cookies without ruining your hard work. Today, we are breaking down a classic three ingredient recipe that will give you the confidence to decorate like a pro, even if you are just starting your baking journey.
The Essential Ingredients for Perfect Royal Icing
The beauty of this recipe lies in its simplicity. You do not need a pantry full of exotic items to create a professional grade glaze. In fact, you likely already have everything you need in your kitchen right now. Let us look at why these three specific components are so vital to the process.
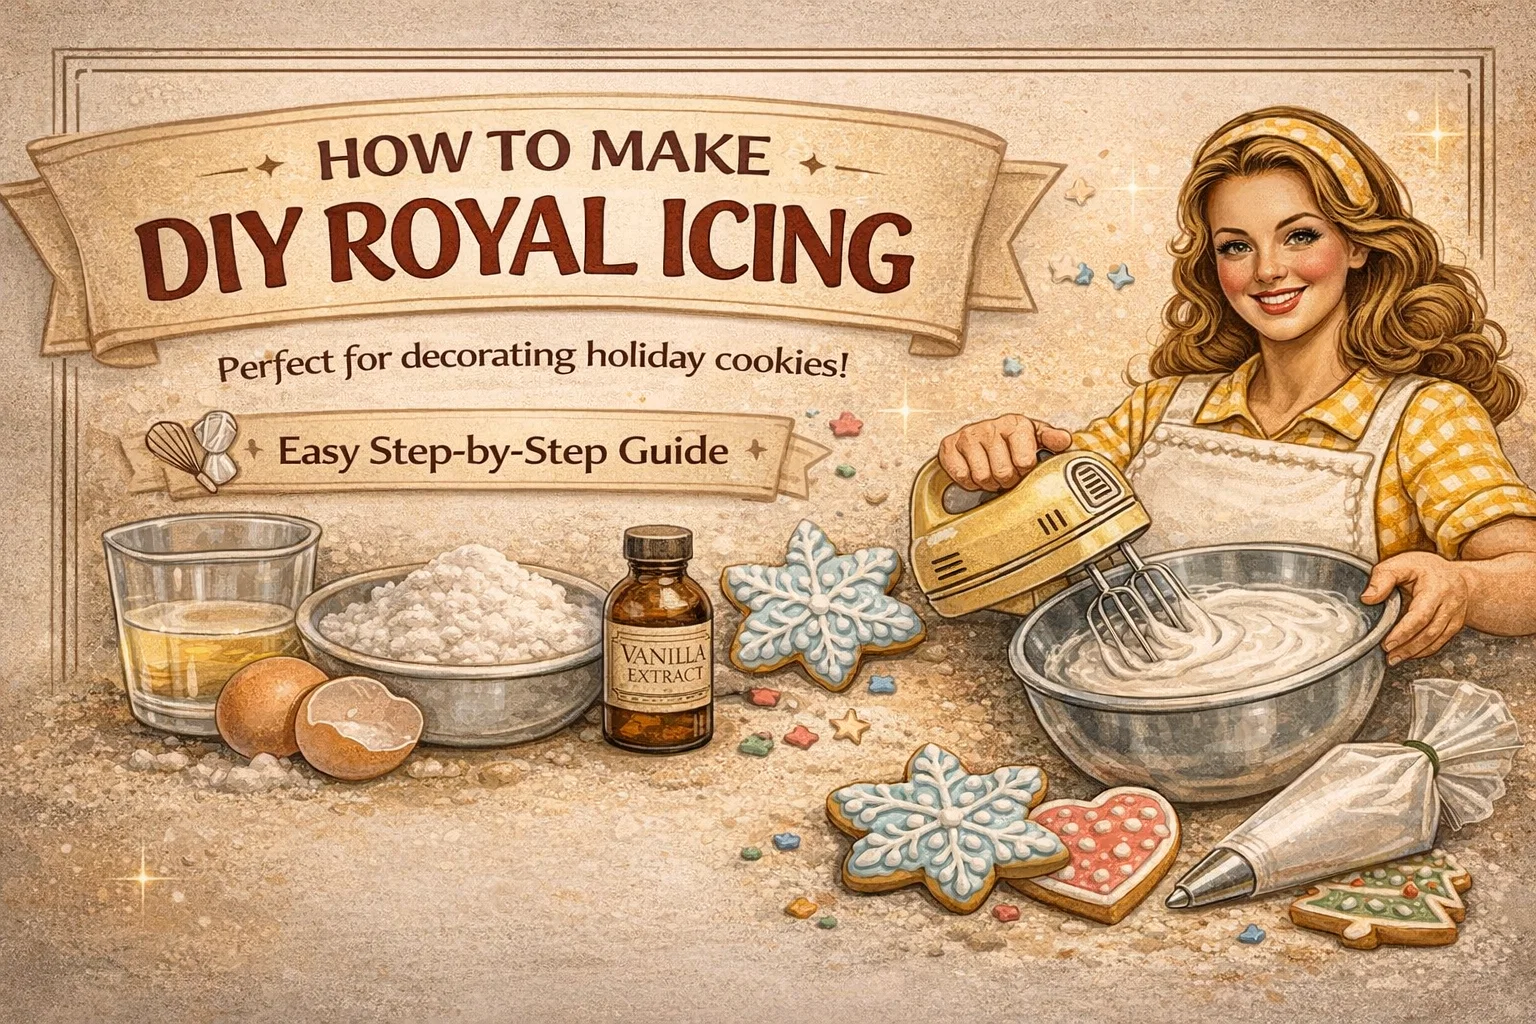
3 Egg Whites
Egg whites provide the structural protein needed for the icing to whip into a stable foam and eventually dry into a firm finish. While some modern recipes use meringue powder, using fresh egg whites is a traditional method that many bakers prefer for its smooth consistency and authentic taste. The proteins in the whites allow the icing to hold its shape, whether you are piping thin lines or filling in large areas.
4 Cups of Powdered Sugar (450g)
Also known as confectioners sugar, this is the bulk of your icing. It provides the sweetness and the body. Because it is finely ground and usually contains a small amount of cornstarch, it dissolves perfectly into the egg whites to create a texture that is completely grit free. Using a high volume of sugar ensures the icing is thick enough to hold those “stiff peaks” we look for in quality decorating.
1 Teaspoon of Vanilla Extract
While royal icing is primarily about aesthetics, flavor should never be an afterthought. A splash of high quality vanilla extract adds a warm, aromatic depth that complements the sweetness of the sugar. If you want your icing to stay stark white, you can use clear vanilla extract, though a standard amber extract adds a lovely, natural flavor profile that pairs beautifully with buttery sugar cookies.
Step by Step Guide to Crafting Your Icing
The process of making royal icing is as much about technique as it is about ingredients. Following the correct order of operations ensures that you incorporate just the right amount of air without overbeating the mixture.
Step 1: Achieving the Froth
Start by placing your three egg whites into a clean, grease free bowl. Using a hand mixer or a stand mixer, beat the whites on medium low speed. You are looking for them to become frothy and slightly bubbly, which usually takes about one minute. This initial step breaks down the proteins and prepares them to bond with the sugar.
Step 2: Mixing and Building Peaks
Once your whites are frothy, it is time to introduce the powdered sugar and vanilla. Turn your mixer to a low speed and slowly add the sugar. This prevents a “sugar cloud” from taking over your kitchen. Once the sugar is fully incorporated, turn the speed up to medium high. Continue beating until the mixture transforms from a liquid into a thick, glossy, and bright white icing. You will know it is ready when it forms stiff peaks that hold their shape when you lift the beaters.
Step 3: Coloring and Storage
Now comes the creative part. You can divide your icing into smaller bowls to add food coloring. Gel colors are highly recommended over liquid drops because they provide intense pigment without thinning out the consistency of your icing. Remember that royal icing dries very quickly when exposed to air. Always keep your unused icing covered with plastic wrap or a damp cloth to prevent a crust from forming while you work.
Understanding Icing Consistencies
One of the most important lessons in cookie decorating is mastering “consistency.” The recipe above creates a stiff icing, but you may need different textures depending on your design goals.
- Stiff Consistency: This is what comes right out of the mixer. It is perfect for piping borders, creating flowers, or writing text on cookies. It holds its shape exactly where you put it.
- Flood Consistency: By adding a few drops of water at a time to your stiff icing, you can create “flood” icing. This should have the consistency of honey. When you pour it onto a cookie, it should flow and smooth itself out into a flat, glass like surface.
- Medium Consistency: Often called 15 second icing, this is the middle ground. If you run a knife through the icing, the line should disappear in exactly 15 seconds. This is great for “one count” decorating where you use the same icing for both the border and the fill.
Pro Tips for Decorating Success
Even with a perfect recipe, a few professional tricks can make your decorating session much smoother. Baking is an art, but it is also a bit of a science.
Keep Your Equipment Grease Free
This is the golden rule of royal icing. Any trace of oil or fat on your bowls or beaters will prevent the egg whites from whipping properly. Before you start, wipe down your tools with a little bit of lemon juice or white vinegar to ensure they are perfectly clean.
Manage Your Air Bubbles
When you beat icing at high speeds, you might incorporate small air bubbles. After mixing, let your icing sit for a few minutes, then gently stir it by hand with a spatula. This “massaging” technique helps pop those bubbles so they do not end up on your finished cookies.
Drying Time Matters
Patience is your best friend. Royal icing needs time to set. While it might look dry after an hour, it usually takes 6 to 12 hours to fully harden all the way through. If you plan on boxing your cookies or stacking them, it is best to let them dry overnight in a cool, dry place.
The Joy of Homemade Holiday Cookies
There is a special kind of pride that comes from sharing handmade treats. When you hand someone a cookie that looks like a work of art, you are giving them more than just a snack; you are sharing your time and creativity. This DIY Royal Icing recipe is more than just a topping. It is a tool for expression.
Whether you are decorating snowflakes for a winter gathering, hearts for a celebration, or simple rounds with vibrant colors, the possibilities are endless. Don’t be afraid to experiment with different piping tips or to try the “wet on wet” technique to create marble patterns and polka dots.
Conclusion
Making your own royal icing is a rewarding skill that elevates your baking from simple to spectacular. By following this easy three ingredient guide, you have the foundation for countless cookie projects. Remember to take your time, keep your tools clean, and most importantly, have fun with the process. The more you practice, the more confident you will become with your piping and flooding. So, grab your powdered sugar, turn on your favorite music, and start creating something beautiful today. Your friends and family will certainly appreciate the delicious and stunning results.
Ready to get started? Gather your ingredients and see just how easy it is to achieve that professional holiday glow at home. Happy baking!
Would you like me to generate a specific list of recommended cookie decorating tools to accompany this post?