How to Make Pemmican Traditional High-Energy Survival Food Recipe Easy Bars
When it comes to the ultimate survival food, few things carry the historical weight and nutritional punch of pemmican. Often referred to as the original superfood, this concentrated mixture of fat and protein has fueled indigenous cultures, fur traders, and polar explorers for centuries. If you are looking for a snack that is practically immortal and provides sustained energy without the sugar crash of modern processed bars, you have found the holy grail of traditional nutrition. In this guide, we are diving deep into a simple, effective recipe that allows you to recreate this legendary fuel in your own kitchen.
The Fascinating History of the Original Power Bar
Pemmican was developed by the indigenous peoples of North America and was quickly adopted by European explorers who realized that standard rations simply could not compete with its caloric density and shelf life. The name itself comes from the Cree word pimii, which translates to fat or grease. Unlike the snacks we find on grocery store shelves today, pemmican was designed for function over form. It was a vital resource for surviving harsh winters and long journeys where fresh food was scarce. By combining lean meat with rendered fat, our ancestors created a food source that could last for years without refrigeration, making it the cornerstone of early frontier life.
Understanding the Core Components of Pemmican
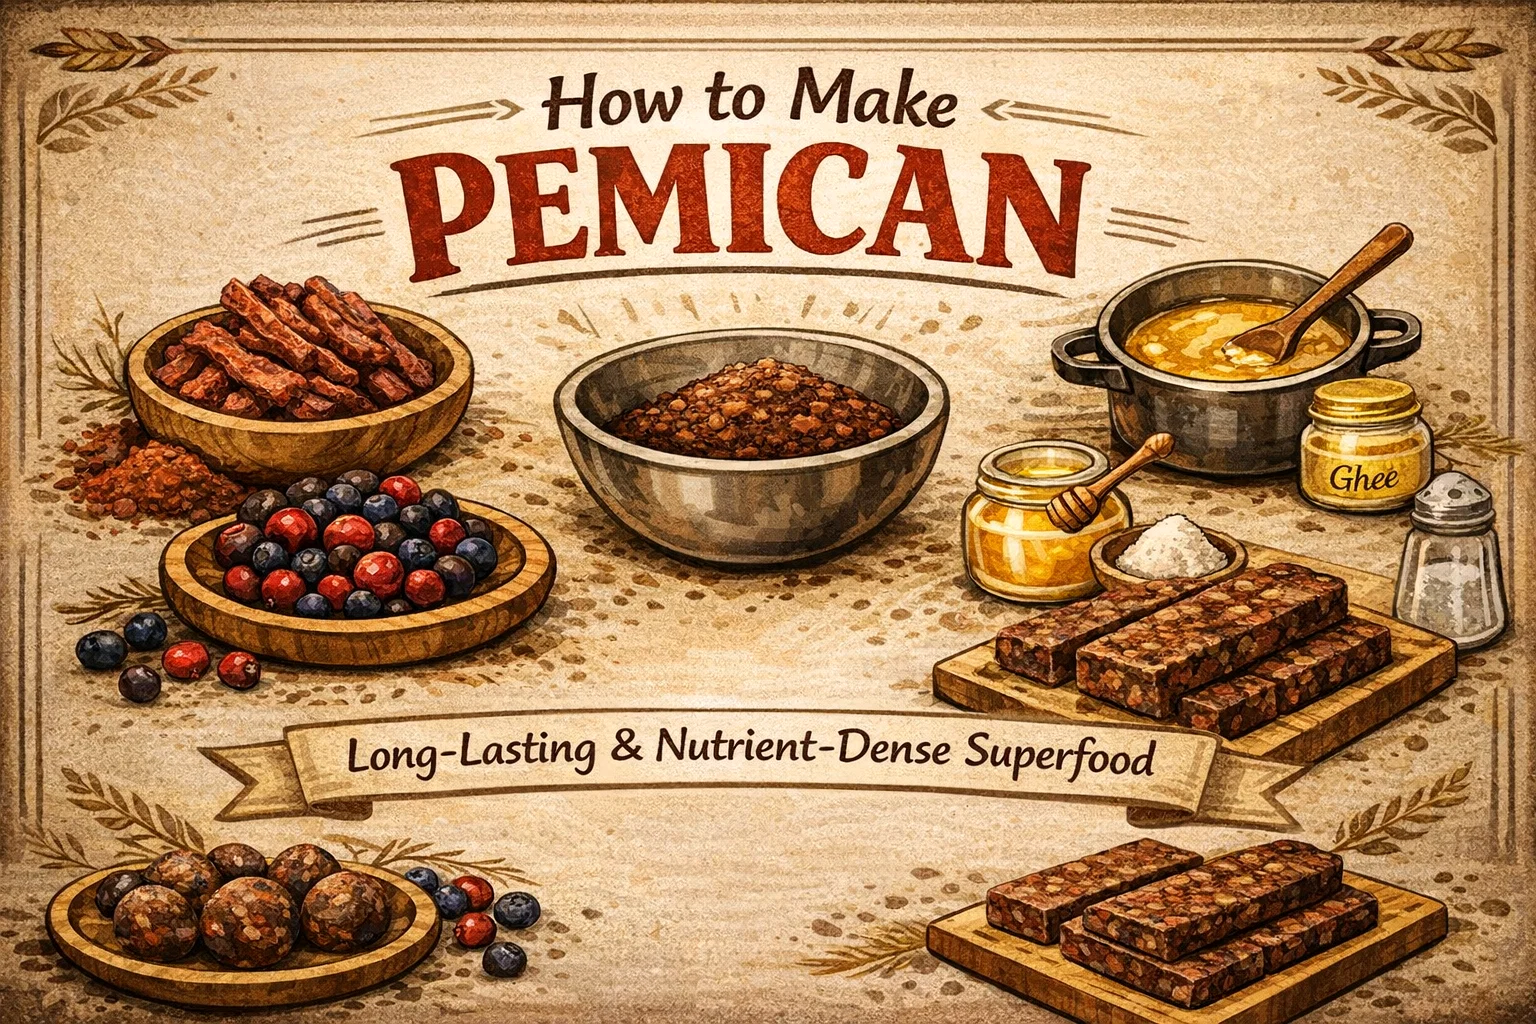
To make a successful batch of pemmican, you need to understand the relationship between the three primary ingredients: dried meat, fat, and optional flavorings. The balance of these elements determines not only the taste but also the structural integrity and longevity of the final product. Let us break down what you will need to get started.
Selecting and Preparing Your Dried Meat
The foundation of any good pemmican is high quality dried meat. Traditionally, bison or elk was used, but beef is the most common and accessible choice for modern kitchens. The key is to use lean cuts. Any remaining moisture or significant pockets of unrendered fat in the meat can lead to spoilage over time. You want to dry your meat until it is brittle enough to snap. Once it is fully dehydrated, it must be ground into a fine, fibrous powder. This allows the rendered fat to coat every single particle, creating a moisture-proof seal that preserves the protein.
The Role of Rendered Fat and Tallow
Fat is the binder and the primary energy source in this recipe. Beef tallow is the gold standard here because it is highly stable at room temperature. You cannot use butter or vegetable oils, as these will go rancid or remain too liquid to hold the bars together. Many modern makers choose to use ghee, which is clarified butter, to improve the flavor and consistency. Ghee adds a rich, nutty note that complements the savory meat. When you melt your fat, you want it to be warm enough to pour but not so hot that it cooks the meat powder upon contact.
A Step by Step Guide to Making Simple Pemmican
Now that you have your ingredients ready, it is time to assemble your bars or energy balls. Precision in the mixing stage ensures that every bite is consistent and that the fat is evenly distributed.
Mixing the Ingredients for the Perfect Consistency
Start with 250 grams of your finely ground dried meat powder in a large mixing bowl. Slowly incorporate 150 grams of warm, liquid beef tallow or ghee. The goal is to create a mixture that feels like damp sand. If it is too crumbly, add a little more fat. If it is swimming in liquid, add more meat powder. If you want to add a bit of sweetness or antioxidants, this is the time to fold in 50 grams of dried berries. Cranberries and blueberries are fantastic choices because their tartness cuts through the richness of the fat. For those who want a bit more flavor, a teaspoon of honey and a pinch of salt can elevate the profile significantly.
Shaping Your Energy Balls and Bars
Once your mixture is well combined, you can decide on the final shape. Pressing the mixture into a parchment lined baking dish and letting it firm up in the refrigerator will allow you to cut clean, uniform bars. Alternatively, you can roll the mixture into small energy balls for quick, bite sized snacks. These are perfect for tossing into a hiking bag or a glove compartment. Once the fat cools and solidifies, the pemmican will become firm and durable.
Why Pemmican is the Ultimate Addition to Your Pantry
In an age of refrigeration and fast food, you might wonder why people still bother making pemmican. The answer lies in its incredible efficiency. It is one of the most nutrient dense foods on the planet, offering a perfect ratio of protein and healthy fats. This makes it an ideal choice for anyone following a ketogenic or carnivore diet, as well as those who practice self-reliance and food preservation.
The Benefits for Outdoor Enthusiasts and Preppers
For hikers and backpackers, weight is everything. Pemmican provides more calories per ounce than almost any other food. It does not melt in the heat, and it does not freeze rock solid in the winter. For those focused on emergency preparedness, having a stash of pemmican in your long term food storage provides peace of mind. While most emergency rations are high in carbohydrates and sugars, pemmican provides the steady, slow burning fuel your body needs during periods of high stress or physical exertion.
Tailoring the Recipe to Your Personal Taste
While the traditional recipe is quite simple, there is plenty of room for experimentation. You can adjust the types of dried berries you use or even incorporate different spices. Some people enjoy adding a bit of black pepper or garlic powder for a savory kick. Others prefer a sweeter version with extra honey and dried cherries. As long as you maintain the meat to fat ratio required for preservation, the flavor possibilities are nearly endless. Just remember that adding ingredients with high moisture content will decrease the overall shelf life, so stick to dry additions for long term storage.
Tips for Storing Your Pemmican for Maximum Longevity
To ensure your pemmican lasts as long as possible, store it in a cool, dark, and dry place. Vacuum sealing individual bars is an excellent way to prevent oxidation and keep them fresh for years. Even if you do not have a vacuum sealer, wrapping them tightly in wax paper and storing them in an airtight container will do the trick. While pemmican is famous for lasting a long time at room temperature, keeping it in the fridge or freezer will extend its life even further, ensuring you always have a high energy snack ready at a moments notice.
Final Thoughts on Mastering Traditional Survival Food
Making your own pemmican is more than just a kitchen project. It is a way to connect with ancestral wisdom and take control of your nutritional independence. Whether you are prepping for a cross country hike, building out a survival kit, or just looking for a healthy, sugar free snack, this simple recipe provides a foundation you can rely on. By focusing on quality ingredients and proper technique, you can create a food source that is as delicious as it is functional. Give this recipe a try and experience the power of the original energy bar for yourself. You might be surprised at how much energy just a small portion can provide as you tackle your next big adventure.