How to Organize a Chest Freezer on a Budget Easy Freezer Organization Ideas Hacks
Walking into a kitchen and knowing exactly where everything is can feel like a superpower. But for many of us, the chest freezer is the one place where that power disappears. It often becomes a dark abyss where bags of frozen peas go to die and mysterious foil wrapped packages lurk at the bottom for years. If you have ever found yourself shivering while digging through layers of ice and frozen meat just to find a single bag of corn, you know the frustration. The good news is that you do not need an expensive custom shelving system to fix this. With a few budget friendly tricks and a bit of strategy, you can transform that deep freezer into an organized masterpiece.
The Benefits of an Organized Chest Freezer
Before we dive into the how, let us talk about the why. Organizing your freezer is about more than just aesthetics. First, it saves you money. When you can see exactly what you have, you stop buying duplicates of things you already own. How many times have you bought a new pack of ground beef only to find three hidden at the bottom of the freezer a week later? Organization prevents that cycle.
Second, it reduces food waste. Food that stays hidden at the bottom of a chest freezer eventually succumbs to freezer burn. By rotating your stock and having a clear view of your inventory, you ensure that everything gets eaten while it is still fresh. Finally, it saves time. Meal planning becomes a breeze when you can pull out exactly what you need in seconds rather than minutes of frantic searching.
Step 1: The Great Empty and Sort
The first step to any organization project is to start with a clean slate. You cannot effectively organize a freezer that is already half full of mystery items. Pick a day when your inventory is relatively low and pull everything out. This is also the perfect time to defrost the unit if ice has started to build up on the walls.
Categorizing Your Food Groups
As you pull items out, group them into logical categories. Think about how you cook and what makes sense for your household. Common categories include:
- Beef and Pork: Steaks, roasts, and ground meat.
- Poultry: Chicken breasts, thighs, and whole birds.
- Seafood: Fish fillets, shrimp, and scallops.
- Frozen Vegetables and Fruit: Bags of corn, peas, and berries for smoothies.
- Prepared Meals: Casseroles, soups, and leftovers that are ready to heat.
- Breads and Treats: Loaves of bread, bagels, and ice cream.
By grouping these items on your counter or in coolers while you work, you can see the volume of each category. This helps you decide how many bins or sections you will need for each type of food.
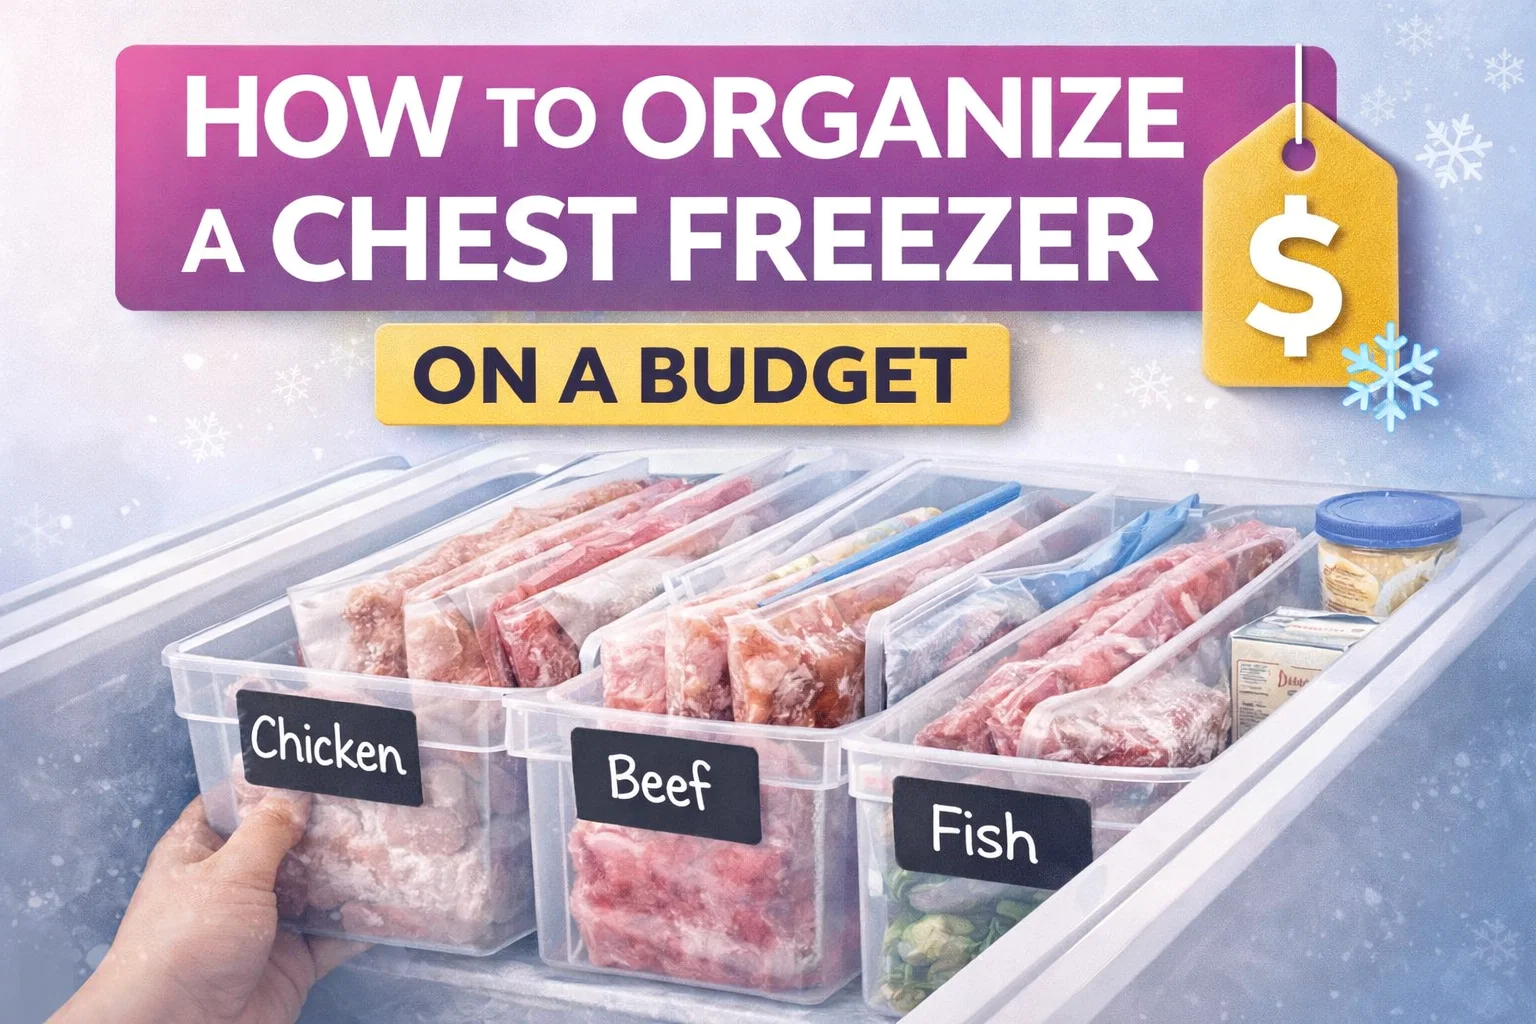
Step 2: Choosing the Right Bins for a Budget
You do not need to spend a fortune on specialized freezer containers. The secret to a chest freezer is using clear, stackable bins. Clear bins are essential because they allow you to see what is inside from the side, which is crucial when you are looking down into a deep unit. Look for sturdy plastic bins at dollar stores or big box retailers. Just make sure they are made of a plastic that can handle sub zero temperatures without cracking.
Why One Category Per Bin Matters
The goal is to eliminate digging. By assigning one specific category to each bin, you create a filing system. Instead of moving individual bags of frozen broccoli to get to the chicken, you simply lift out the vegetable bin. This “lift and look” method is the only way to maintain order in a deep chest freezer over the long term.
Step 3: The Secret to Saving Space: File Your Meat
This is the biggest game changer in freezer organization. Most people stack their meat bags on top of each other. This creates a messy pile where the bottom items are impossible to reach. Instead, use the filing method. When you bring meat home from the store, or after you have portioned it into freezer bags, lay the bags perfectly flat on a cookie sheet in the freezer. Once they are frozen solid into flat planks, you can stand them upright in your bins like folders in a filing cabinet.
Advantages of Vertical Filing
When meat is filed vertically, you can see the edge of every single package. You can pull out one steak without disturbing the rest of the row. It also maximizes every square inch of the bin. You will be shocked at how much more food fits into a container when it is organized this way compared to a jumbled pile.
Step 4: Utilizing the Bottom Zone
The bottom of a chest freezer is the hardest area to reach, so it should be reserved for items you do not need every day. This is the “bulk zone.” Large turkeys, whole chickens, holiday roasts, or big pans of prepared meals should live here. Since these items are heavy and bulky, they provide a sturdy base for your bins to sit on. Think of the bottom layer as your long term storage and the top layers as your active pantry.
Step 5: Labeling for Success
Even with clear bins, labels are your best friend. In a cold environment, frost can sometimes make it hard to see through the plastic. Labeling the handles or the front of each bin ensures that everyone in the house knows exactly where things go. This is especially helpful if you have family members who tend to just “toss” things back into the freezer wherever they fit.
Using Chalkboard Labels or Paint Pens
Chalkboard labels are a great budget friendly option because they are erasable. If you decide to swap your “Fish” bin for a “Pork” bin, you can just wipe and rewrite. Alternatively, using a white paint pen directly on the plastic works well and resists the damp environment of a freezer. Make the labels large and clear so they are readable even in low light.
Creating an Inventory System
Once your freezer is perfectly organized, the final step to becoming a pro is keeping an inventory. This can be as simple as a magnetic whiteboard on the side of the freezer or a sheet of paper inside a kitchen cabinet. Every time you add a bin of ground beef, mark it down. Every time you take one out, cross it off. This prevents you from having to open the freezer and let out the cold air just to see if you have enough ingredients for dinner.
Maintaining Your Organized Space
Organization is a habit, not a one time event. Every few months, take five minutes to tidy up the bins. If a bag was put back in the wrong spot, move it. If a bin is getting low, move those items to a smaller container or combine them with a similar category. This small amount of maintenance prevents the “freezer creep” that eventually leads back to chaos.
Tips for Success
- Use Color Coding: If you want to go the extra mile, use different colored bins or labels for different types of protein.
- Keep a Sharpie Handy: Always label the actual food bags with the date and the contents before they go into the bin.
- Check Your Seals: While you are organizing, wipe down the rubber seal on the freezer lid to ensure it is airtight and efficient.
Wrapping It All Up
A chest freezer is a fantastic tool for saving money and staying prepared, but only if you can actually use what is inside it. By taking the time to empty, sort, and file your food into categorized bins, you turn a frustrating appliance into a streamlined part of your kitchen workflow. You do not need a massive budget to make this happen; you just need a few plastic containers and a little bit of strategy. Once you experience the ease of pulling a perfectly filed bag of chicken out of its designated bin, you will never go back to the old way of digging. Start today and take back control of your frozen food!