How to Sew Perfect Box Corners for Totes and Pouches Easy Sewing Tutorial
Transforming a flat piece of fabric into a structured, three-dimensional masterpiece is one of the most satisfying moments in any sewing journey. If you have ever looked at a handmade tote bag or a custom zipper pouch and wondered how they get those crisp, professional-looking squared bottoms, you are in the right place. That magic technique is called boxing corners, and it is the secret ingredient that elevates a simple project into something that looks like it was plucked right off a boutique shelf. Seeing those perfectly aligned seams meet at a sharp, clean angle is a testament to your growing skill as a maker. In this guide, we are going to dive deep into the art of the box corner, breaking down the steps so you can achieve professional results every single time you sit down at your sewing machine.
The Importance of Structural Integrity in Bag Making
When you first start sewing, most projects are two-dimensional. You sew two squares together, flip them right side out, and you have a flat pouch. While there is a charm to minimalist flat designs, adding depth changes the utility and aesthetic of your work entirely. A boxed corner provides a base for your bag, allowing it to stand upright on a table and significantly increasing the volume of items it can hold. Beyond the functional benefits, a well-executed box corner adds a level of structural integrity that prevents the bag from sagging or losing its shape over time. It shows a level of attention to detail that distinguishes a beginner hobbyist from a seasoned seamstress.
Why Precision Matters at the Corner
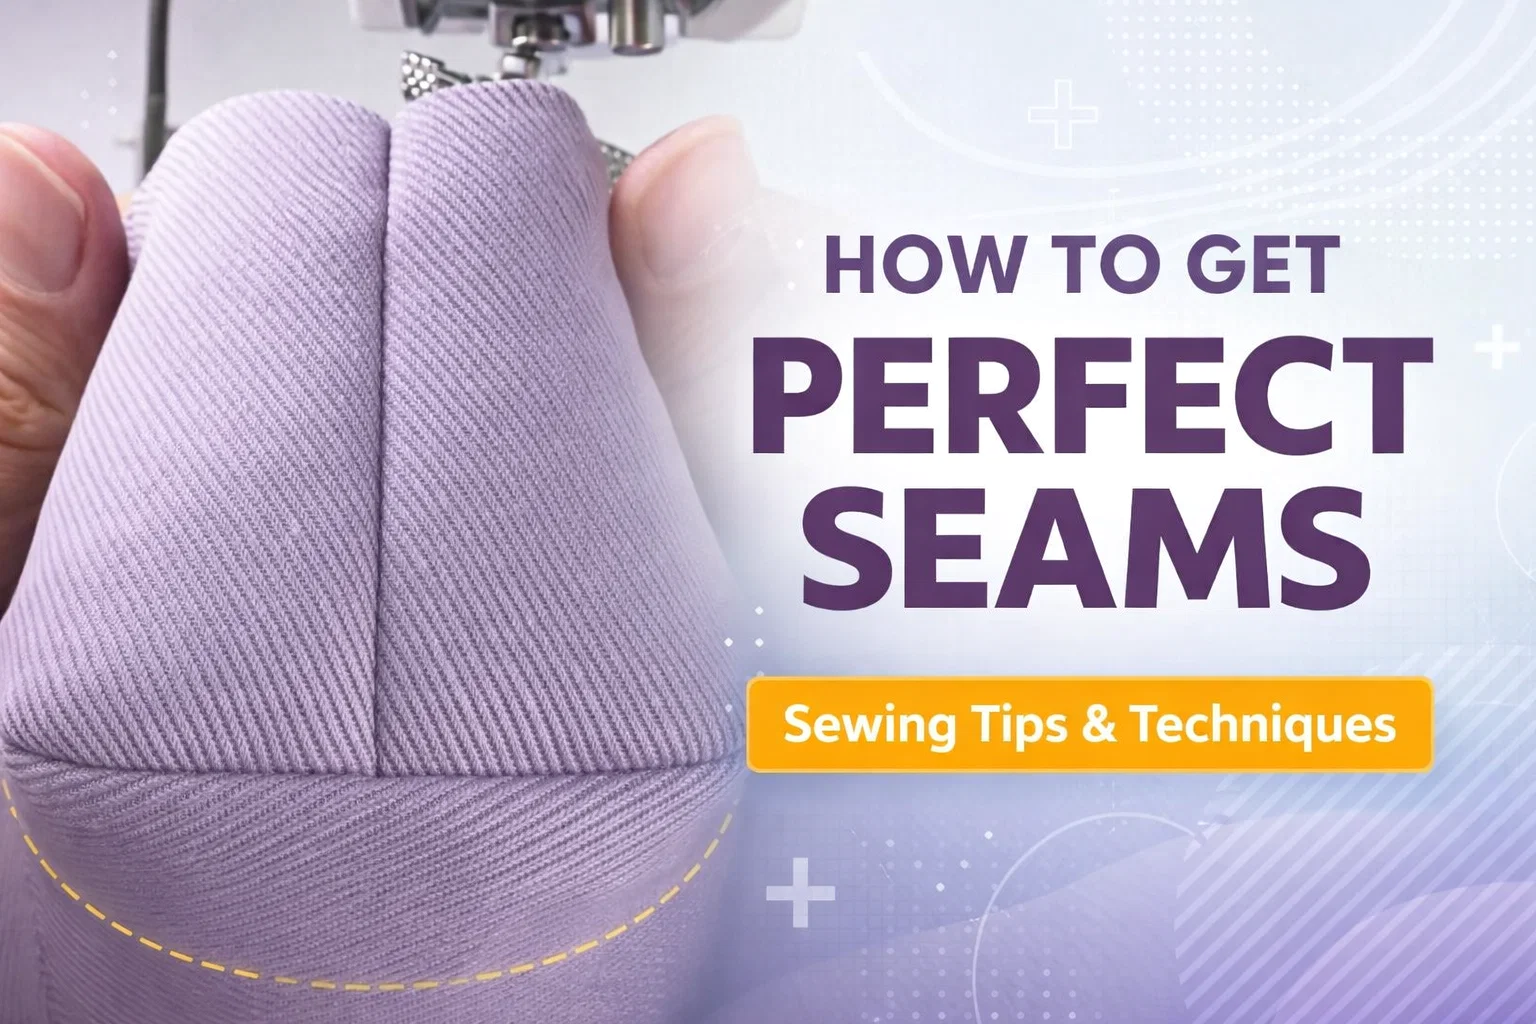
The image of a perfectly sewn lavender twill pouch highlights why precision is so vital. Notice how the diagonal seam lines up exactly with the bottom fold. This symmetry is not just for looks; it ensures that the weight of the bag’s contents is distributed evenly across the base. If your corners are uneven, your bag will tilt to one side or look lopsided. Mastering this technique requires a bit of patience and a few key tools, but the payoff is a professional finish that will make you proud to say, I made this myself.
Essential Tools for Perfect Boxed Corners
Before you start stitching, having the right tools on hand will make the process much smoother. While you can technically box a corner with just a needle and thread, a few specialized items will help you achieve that high-end look seen in the tutorial image. A clear acrylic quilting ruler is your best friend here. It allows you to see the seam allowances underneath as you measure, ensuring your markings are perfectly square. A sharp fabric marking pen or tailor’s chalk is also essential for drawing the stitch lines that guide your needle.
Choosing the Right Fabric and Interfacing
The type of fabric you choose plays a massive role in how your corners will turn out. Medium to heavy-weight fabrics like canvas, denim, or the sturdy twill shown in the image are ideal for bags because they hold the shape of the box corner beautifully. If you are working with lighter cotton, you should consider using a fusible fleece or a heavy-duty interfacing. This added layer provides the stiffness necessary for the corners to stay crisp rather than collapsing. When you sew through multiple layers of reinforced fabric, make sure you are using a needle size appropriate for the weight, such as a 90/14 or a 100/16 denim needle.
Step by Step Guide to Boxing Your Corners
There are two primary ways to box a corner: the cut-out method and the fold-and-stitch method. Both result in the same look, but many beginners prefer the fold-and-stitch method because it feels less risky than cutting into your fabric before the seam is secured. Let us walk through the process of creating that beautiful boxed effect.
The Fold and Stitch Technique
First, sew your bag or pouch as a flat rectangle, leaving the top open. Once your side and bottom seams are finished, reach inside the bag and pull the side seam and the bottom seam away from each other. Flatten the corner so that the side seam sits directly on top of the bottom seam or the bottom fold. This creates a triangle shape at the corner of your fabric. This is the moment where accuracy is paramount. You must ensure that the seams are perfectly nested. If your side seam is slightly off-center compared to the bottom, your box corner will look twisted. Using a pin or a clip to hold this intersection in place is a great way to prevent shifting while you sew.
Measuring for Depth
Once your triangle is flattened and the seams are aligned, take your ruler and measure across the triangle, perpendicular to the seam. The length of this line determines the width of your bag’s base. For example, if you want a 2-inch wide base, you will draw a line that is 2 inches long. Make sure the center of the line (at the 1-inch mark) sits exactly on the seam line. Using a fabric pen, draw this line clearly from one edge of the triangle to the other. This line is your stitch path.
Advanced Tips for Professional Results
If you want your projects to stand out, there are a few extra steps you can take to ensure your corners are top-tier. One of the most common issues sewists face is bulk. When you have multiple layers of fabric, interfacing, and seams all meeting at one point, it can get quite thick. To combat this, try pressing your seams open before you flatten the corner. This flattens the profile of the intersection and makes it much easier for your sewing machine needle to glide through without skipping stitches.
Securing the Seams
Because the corners of a bag often endure the most stress when the bag is full, it is a good idea to reinforce your stitching. When sewing across your marked line, backstitch at both the beginning and the end. Some makers even prefer to sew across the line twice for extra durability. Once you have finished sewing, you can trim away the excess triangle of fabric, leaving about a quarter-inch seam allowance. Finishing this raw edge with a zigzag stitch or a serger will prevent fraying and keep the inside of your bag looking as neat as the outside.
Exploring Creative Variations
Once you have mastered the basic box corner, you can start experimenting with different shapes and sizes. You are not limited to standard squares! By varying the length of the line you sew across the corner, you can create anything from a slim, elegant clutch to a wide, deep grocery tote. You can also play with contrasting thread colors for a decorative topstitch or add small fabric tabs into the corner seam for a unique design element.
Using Box Corners for Home Decor
The utility of box corners extends far beyond just bags and pouches. This same technique is used to create custom-fit covers for pillows, ottomans, and even storage bins. If you want to make a fabric bucket to organize your sewing room, the box corner is exactly what you need to give it that stable, flat base. It is a foundational skill that opens up a world of possibilities for home organization and decor projects.
Conclusion: Your Path to Sewing Mastery
Learning how to sew perfect box corners is a major milestone for any crafter. It is one of those skills that feels like a huge breakthrough because the results are so immediate and visual. As you look at the clean lines and sturdy structure of your finished project, you can see your progress as a maker right there in the fabric. Remember that sewing is a journey, and every corner you box is an opportunity to refine your technique and grow your confidence. Do not be afraid to practice on scraps first, and soon you will be creating professional-quality bags and home goods that everyone will assume you bought from a store. Keep your needles sharp, your measurements precise, and your creativity flowing. Happy sewing!