How to Wash Walls and Remove Lingering Odors Easy DIY Cleaning Hack
Have you ever walked into a room, taken a deep breath, and felt like something just wasn’t quite right? Even after you have vacuumed the carpets, dusted the shelves, and decluttered every surface, that lingering “stale” smell just refuses to budge. It is one of the most frustrating dilemmas for homeowners. We often blame the furniture, the rugs, or the lack of ventilation, but we frequently overlook the largest surface area in our homes: the walls.
Your walls are not just passive boundaries. They are porous, and over time, they act like giant sponges. They absorb everything from cooking grease and tobacco smoke to pet dander and plain old household dust. When these particles settle into paint or wallpaper, they create a subtle, unpleasant scent that defines the “old house smell.” If you are ready to tackle this hidden culprit, it is time to grab a bucket and get to work. Washing your walls is a transformative cleaning hack that brings a level of freshness you simply cannot achieve with air fresheners alone.
Why Your Walls Need a Deep Clean
Think about the kitchen. Every time you sear a steak or saute vegetables, microscopic droplets of fat are released into the air. These droplets eventually land on your walls. While you might wipe down the backsplash, the paint above the stove and on the surrounding walls accumulates a thin, tacky layer of grease. This film acts as a magnet for dust and dirt. Once that grime is trapped, it becomes a breeding ground for mild odors that slowly permeate your living space.
In other rooms, the culprit is often dust buildup. Dust is not just dry debris; it consists of dead skin cells, fabric fibers, and environmental pollutants. In humid climates, this dust can become slightly damp, creating a musty environment that is perfect for microscopic mildew. By regularly washing your walls, you are not just making them look better; you are proactively managing the air quality inside your home.
The Simple DIY Solution
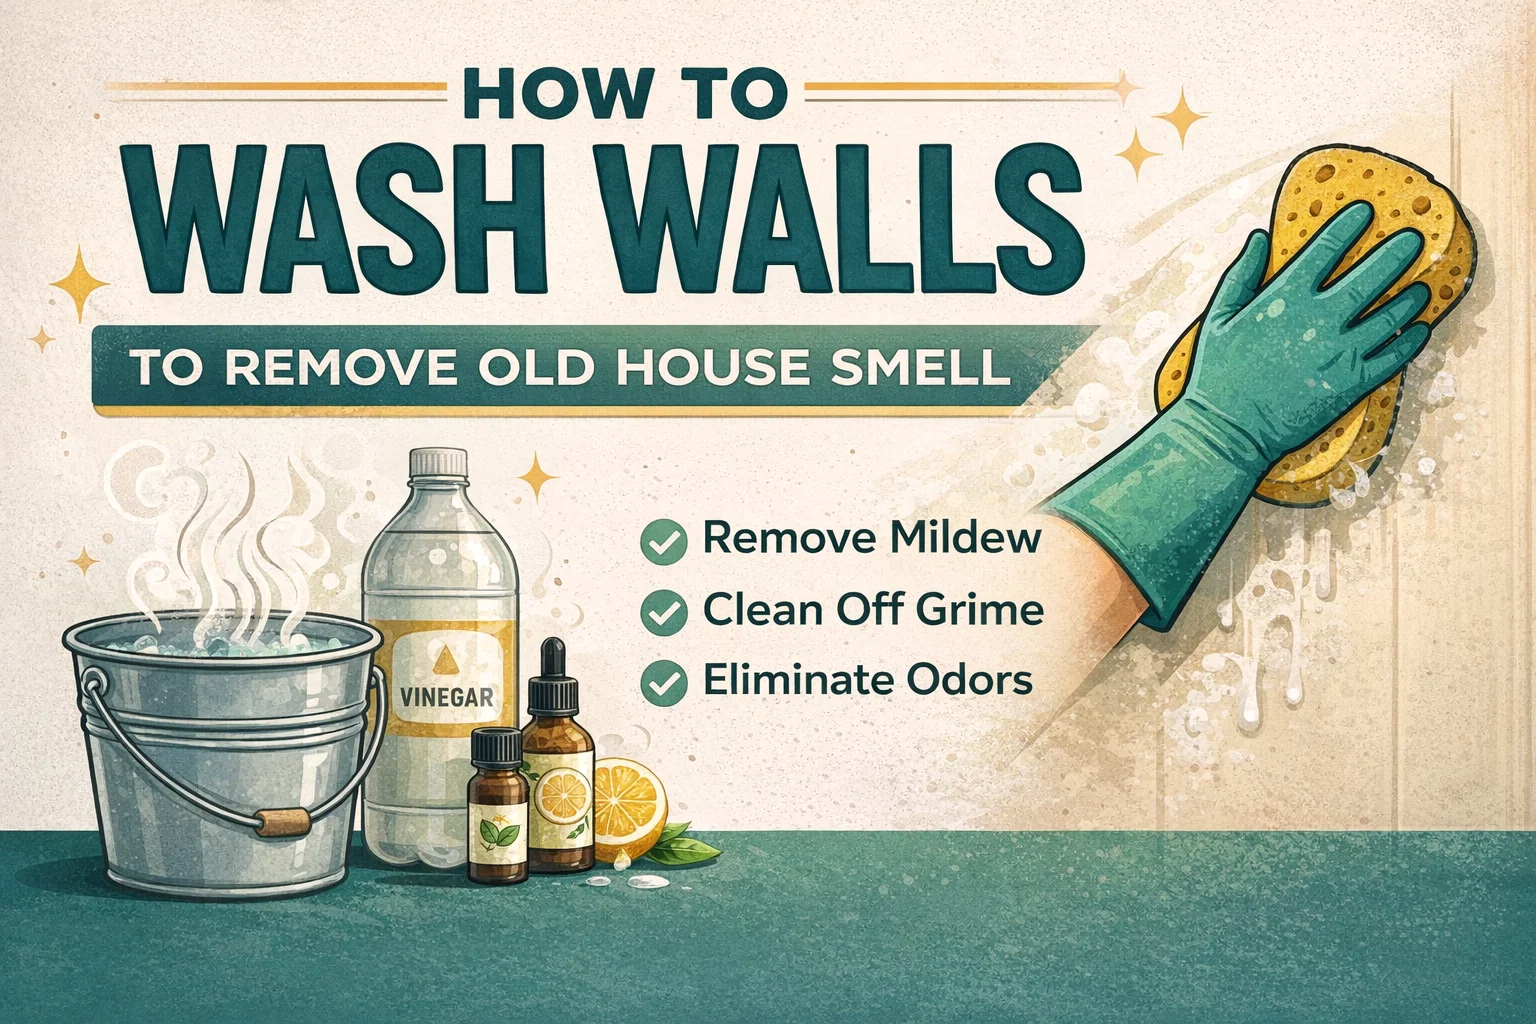
You do not need expensive, chemical-laden cleaners to restore your home to its former glory. In fact, some of the best cleaning agents are already sitting in your kitchen pantry. This simple, natural mixture is effective, budget-friendly, and safe for most interior wall surfaces.
The Ingredients
- Distilled White Vinegar: This is a powerful, natural degreaser and odor neutralizer. Its acidity helps break down grime without damaging most finished surfaces.
- Hot Water: Heat is essential because it helps to dissolve grease more efficiently than cold or lukewarm water.
- Lemon Essential Oil: While the vinegar handles the heavy lifting, a few drops of lemon oil provide a natural, clean scent that leaves the room smelling crisp rather than vinegary.
The Mixing Ratio
To get started, take a large bucket and fill it with 32 ounces (one quart) of hot water. Add two cups of distilled white vinegar and your drops of essential oil. Ensure the water is hot but comfortable enough to handle with gloves. The vinegar smell will be strong initially, but it dissipates completely as the walls dry, taking the stale odors along with it.
Step-by-Step Cleaning Process
Preparation is key to an efficient job. Before you start wiping, use a microfiber cloth or a dry duster to remove loose cobwebs and surface dust. If you skip this, you will just be turning that dust into mud, which is significantly harder to clean off.
- Test a Small Area: Always test your solution in an inconspicuous spot, like behind a door or near the floorboards, to ensure your paint or wallpaper is colorfast.
- Wipe Gently: Dip a soft sponge into your solution, wring it out until it is damp rather than soaking wet, and wipe the walls in sections. Work from the top down to avoid drips.
- Do Not Oversaturate: Whether you have standard paint or wallpaper, avoid soaking the wall. Too much water can cause wallpaper to peel or drywall to warp.
- Air Dry: Let the walls air dry naturally. As the moisture evaporates, the vinegar molecules bind with the odor-causing particles, effectively lifting them away from the surface.
Maintaining That Fresh Feeling
Once you have gone through the effort of deep cleaning your walls, you will want to keep them that way. This is not a task you need to do every week, but it is a fantastic practice to incorporate into your seasonal deep-cleaning routine. If you notice a “whiff” of something stale, it is your cue that the walls need another pass.
Consider these habits to reduce future buildup:
- Use Your Range Hood: Always run your kitchen exhaust fan whenever you are cooking to prevent grease from traveling to the walls.
- Dust Regularly: Incorporating a quick wall dusting into your weekly cleaning schedule prevents the “tacky” buildup from forming in the first place.
- Monitor Humidity: If you live in a damp area, use a dehumidifier to prevent mildew from settling onto your wall surfaces.
Conclusion: A Breath of Fresh Air
Refreshing your home does not always require a fresh coat of paint or a renovation. Sometimes, the solution is as simple as a bucket of warm water and a little bit of elbow grease. By taking the time to wash your walls, you are eliminating odors at the source and creating a cleaner, healthier environment for your family. It is a rewarding project that offers immediate results, leaving your home feeling lighter and truly fresh. Next time you catch that stale scent, don’t just light a candle; reach for your vinegar and get to work.