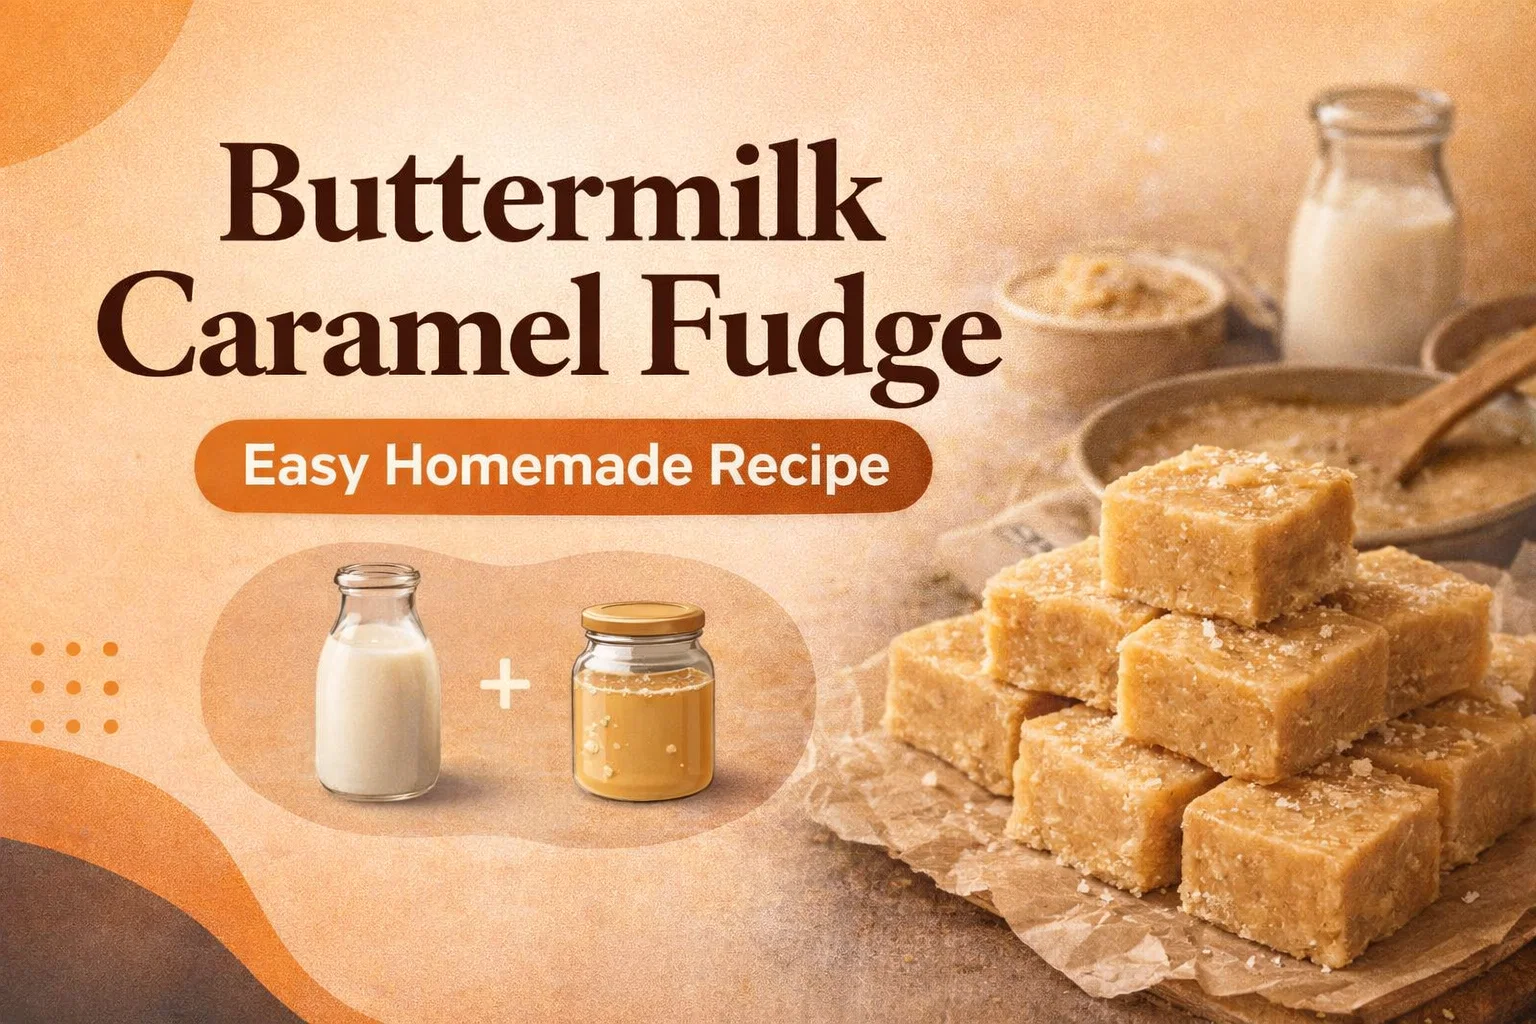
Old-Fashioned Buttermilk Caramel Fudge Recipe Easy Homemade Southern Candy Dessert
There is something undeniably magical about a recipe that has stood the test of time. In an era of instant puddings and microwave mug cakes, the art of old-fashioned candy making feels like a soulful return to our roots. This Buttermilk Caramel Fudge, often referred to as a mountain favorite, is more than just a sweet treat; it is a masterclass in culinary chemistry and patience. If you have ever tasted true, homemade fudge that melts on the tongue with a tangy, buttery finish, you know exactly why this recipe deserves a permanent spot in your digital recipe box.
Making fudge from scratch can feel intimidating to the modern home cook. We are used to precise digital timers and non-stick everything, but this recipe invites you to engage with your senses. You will watch for the specific way the bubbles change shape, feel the resistance of the wooden spoon as the sugar crystallizes, and smell the deep, nutty transformation of the sugars. Let us dive into the details of why this buttermilk version is the gold standard of caramel fudge.
The Science of the Ingredients
To understand why this fudge is so successful, we have to look at the harmony of the ingredients listed in our mountain-style recipe. Each component plays a vital role in both flavor and structural integrity.
The Role of Buttermilk
Most modern fudge recipes rely on condensed milk or heavy cream for fat and moisture. However, the use of buttermilk is a classic Southern and Appalachian tradition. The acidity in the buttermilk does two things: it provides a subtle tang that cuts through the intense sweetness of the three cups of sugar, and it helps break down sucrose. This results in a much finer, smoother grain in the finished product. If you have ever had “gritty” fudge, it is often because the sugar crystals grew too large. Buttermilk helps keep them tiny and velvety.
Sugar and Corn Syrup
This recipe uses a combination of granulated white sugar and packed brown sugar. The white sugar provides the structural base, while the brown sugar introduces molasses notes that lean into that deep caramel profile. The addition of a single tablespoon of light corn syrup might seem small, but it is an insurance policy. Corn syrup is an “interfering agent” that prevents the sugar from recrystallizing prematurely into large chunks while the mixture cools.
Baking Soda: The Secret Weapon
You might notice 1/2 teaspoon of baking soda in the list. This is not for leavening as it would be in a cake. In fudge making, baking soda reacts with the acid in the buttermilk. This reaction creates tiny carbon dioxide bubbles, which is why the recipe warns that the mixture will “bubble up.” More importantly, this alkaline boost encourages the Maillard reaction, which is the browning process that gives the fudge its rich, caramel color and toasted flavor without needing to burn the sugar.
The Essential Tools for Success
Before you turn on the stove, you need to set the stage. Candy making moves slowly at first and then very quickly at the end. Having your tools ready is the difference between a perfect batch and a burnt pan.
- A Heavy-Bottomed Saucepan: This is non-negotiable. Thin pans create hot spots that will scorch the milk and sugar before the entire mass reaches the correct temperature.
- A Reliable Candy Thermometer: While old-timers used the “cold water test,” a thermometer is your best friend. Accuracy is key when you are aiming for that 235 degree mark.
- A Sturdy Wooden Spoon: You will be beating this mixture by hand once it cools slightly. A plastic spatula will flex too much, and a metal spoon can get uncomfortably hot.
- An 8×8-inch Dish: Greasing this with plenty of butter ensures your fudge squares lift out cleanly.
Step-by-Step Guide to Perfect Fudge
Now that we understand the “why,” let us look at the “how.” Follow these stages closely to ensure your buttermilk caramel fudge comes out perfectly every single time.
Stage 1: The Initial Melt
Combine your sugars, buttermilk, butter, corn syrup, baking soda, and salt. Start over medium heat and stir constantly until the butter is completely melted and the sugar has dissolved. You should not feel any grit when you rub a bit of the liquid between your fingers (be careful, it is hot!). Once it is smooth, stop stirring as much and let the heat do the work.
Stage 2: Reaching the Soft-Ball Stage
This is where patience comes in. You are looking for the mixture to reach 235 degrees Fahrenheit. As the water in the buttermilk evaporates, the sugar concentration increases. The mixture will foam up significantly due to the baking soda and the proteins in the buttermilk. Do not panic; just ensure your saucepan is large enough to handle the volume. Stir just enough to prevent the bottom from sticking, but avoid splashing the sides of the pan, as dried sugar crystals on the rim can fall back in and cause the whole batch to turn grainy.
Stage 3: The Cooling Period
Once you hit 235 degrees, remove the pan from the heat immediately. Stir in your vanilla extract, but do not start beating the fudge yet. Let it sit undisturbed for a few minutes. If you start beating it while it is boiling hot, you will end up with a crystalline, crumbly mess. You want the temperature to drop slightly so that when you do start stirring, you are creating a smooth, fudge-like emulsion.
Stage 4: The “Arm Work” Phase
This is the part of the recipe that mentions it will take some arm work. Using your wooden spoon, beat the mixture vigorously. You will notice the appearance change from a shiny, translucent syrup to a matte, opaque, and thick fudge. This process is called aeration and crystallization. You are forcing the sugar to crystallize into millions of microscopic pieces rather than a few large ones. Keep going until the mixture loses its gloss and starts to hold its shape.
Variations and Personal Touches
While this mountain favorite is incredible on its own, it also serves as a fantastic base for your own creative additions. Because the flavor profile is so deeply caramelized and buttery, it pairs well with several textures and flavors.
- Toasted Pecans: Stir in a half cup of toasted, chopped pecans right at the end of the beating process for a classic Southern Praline feel.
- Sea Salt Finish: After pouring the fudge into the pan, sprinkle a light layer of flaky sea salt on top. It highlights the caramel notes beautifully.
- Bourbon Vanilla: Substitute the standard vanilla extract with a teaspoon of high-quality bourbon for an adult twist on the flavor profile.
Common Pitfalls and How to Fix Them
Even the best cooks occasionally run into trouble with candy. If your fudge did not turn out exactly right, do not throw it away! Most fudge “fails” are still delicious and can often be salvaged.
Why is my fudge too soft?
If your fudge never sets up and stays like a thick caramel sauce, it likely did not reach the full 235 degrees. You can actually put it back in the pan with a splash of buttermilk, melt it down, and bring it back up to the correct temperature. Alternatively, use it as a world-class ice cream topping!
Why is my fudge grainy?
Graininess usually happens if the mixture was stirred too much during the boiling phase or if it was beaten while it was still too hot. To avoid this next time, make sure to wipe down the sides of the pan with a damp pastry brush during the boil to catch any stray sugar crystals.
Why did it crumble when I cut it?
If the fudge is very dry and crumbles into pieces, it was either cooked a few degrees too long or beaten for a minute too many. It will still taste amazing, but you might want to serve it as “fudge crumbles” over yogurt or stir it into a batch of brownies.
Storing and Gifting Your Creation
One of the best things about buttermilk fudge is its shelf life. Because of the high sugar content, it acts as its own preservative. When stored in an airtight container at room temperature, it will stay fresh for up to two weeks. If you want it to last longer, you can wrap the blocks tightly in parchment paper and then plastic wrap and keep them in the fridge.
For gifting, this fudge looks beautiful when cut into uniform squares and placed in small paper candy liners. Pack them into a tin lined with wax paper or a clear glass jar tied with a simple piece of twine. It is a thoughtful, handcrafted gift that carries the warmth of a mountain kitchen to whoever receives it.
The Joy of Traditional Baking
In a world that moves so fast, there is something deeply grounding about standing over a stove, watching sugar transform into gold. This Buttermilk Caramel Fudge recipe is a reminder that the best things in life take a little bit of time and a fair amount of “arm work.” It is a recipe that bridges generations, connecting us to the kitchens of the past while creating new memories for the people we share it with today.
Whether you are making this for a holiday gathering, a rainy afternoon project, or just to satisfy a serious sweet tooth, we hope you enjoy the process as much as the result. There is a reason this is called a mountain favorite—it is rugged, sweet, and absolutely unforgettable. Grab your wooden spoon and get started on a batch today!
Once you have mastered this classic, you will find yourself returning to it again and again. It is a reliable, delicious, and impressive feat of home confectionery that truly tastes like home. Happy cooking!
Would you like me to suggest some other heritage dessert recipes that use buttermilk as a star ingredient?