Simple Flower Drawing Tutorial with Fine Liner Pen Step by Step
Have you ever looked at a blank page and felt that familiar sting of intimidation? We have all been there. Whether you are a seasoned artist or someone who hasn’t picked up a pen since grade school, the simple act of drawing a flower can be incredibly therapeutic. There is something almost meditative about watching a fine liner pen glide across a smooth surface, transforming a void into a delicate botanical sketch. Today, we are diving deep into the world of minimalist floral illustration, focusing on how a few intentional lines can create a stunning piece of art that looks much more complex than it actually is. This guide is designed to help you embrace the joy of doodling and master the foundational techniques of fine liner drawing.
The Beauty of Minimalist Floral Art
In a world that often feels cluttered and fast-paced, minimalist art offers a breath of fresh air. By stripping a subject down to its most essential elements, we allow the viewer to focus on the elegance of form and the rhythm of the lines. Floral subjects are particularly well-suited for this style. The organic curves of a petal and the intricate textures of a flower center provide endless inspiration without requiring a degree in fine arts to replicate.
Drawing flowers with a fine liner pen is specifically rewarding because it forces you to be intentional. Unlike pencil, there is no erasing. While that might sound scary, it is actually a wonderful lesson in creative confidence. Every “mistake” is simply a unique characteristic of that specific flower. After all, no two blossoms in nature are perfectly symmetrical or flawless. Embracing these imperfections is the first step toward finding your unique artistic voice.
Essential Tools for Fine Liner Drawing
Before you press pen to paper, it helps to understand the tools of the trade. While you can certainly doodle with a standard office ballpoint, investing in a few specific supplies will significantly elevate your experience and the final result.
Choosing the Right Fine Liner
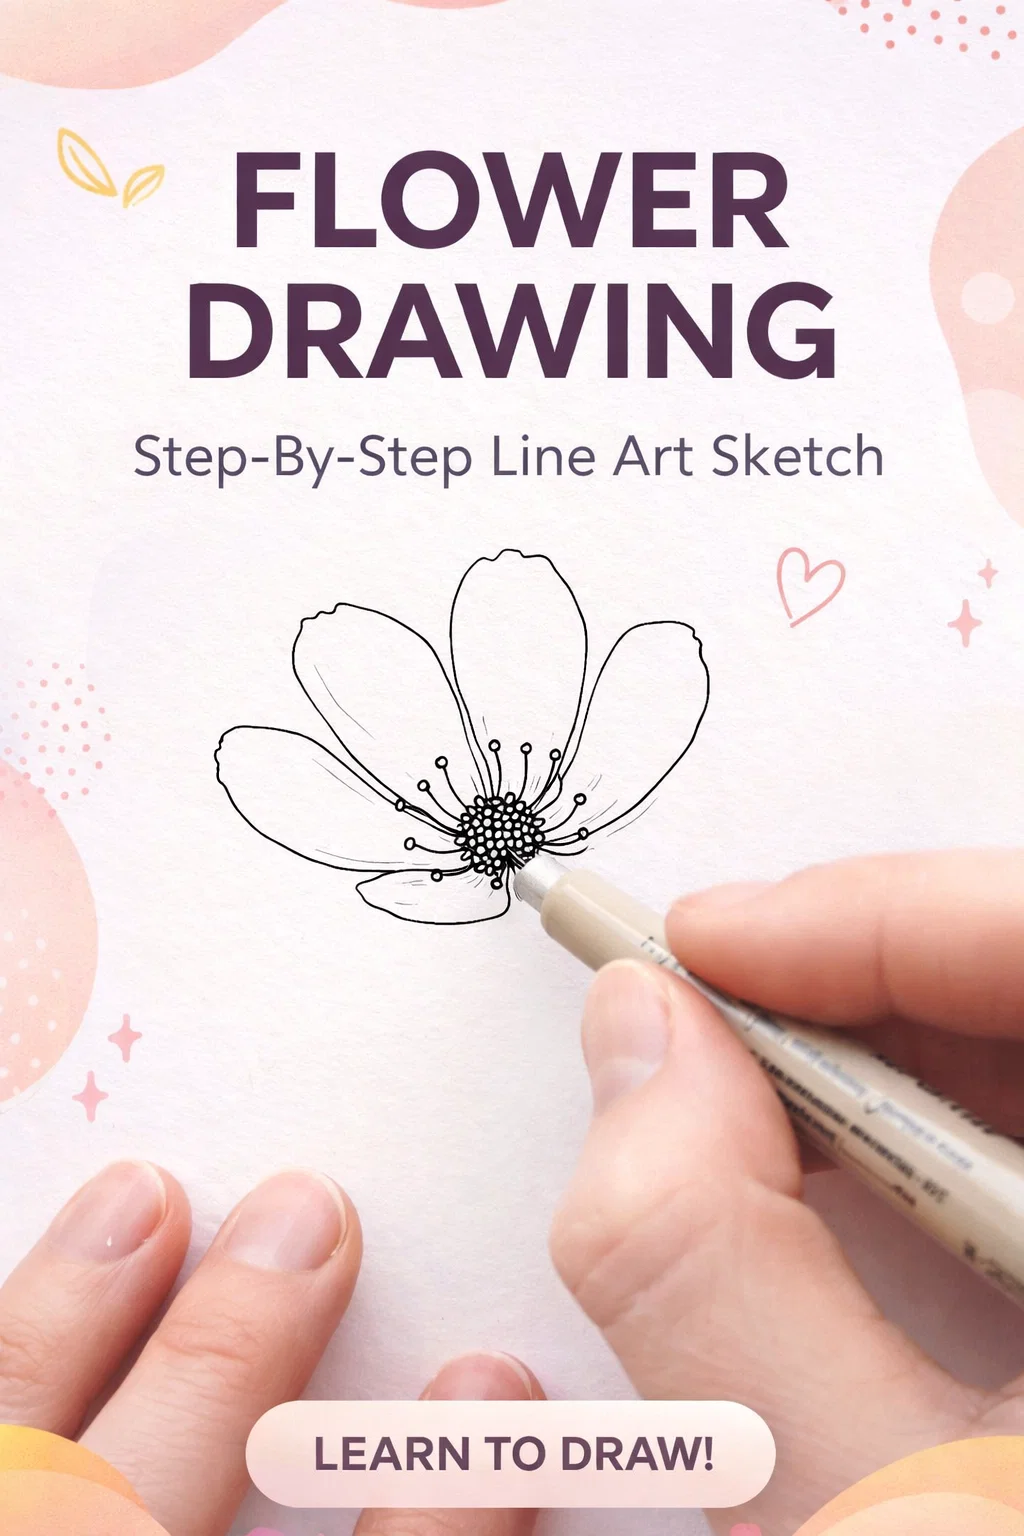
Fine liners come in various nib sizes, usually ranging from 0.05mm to 0.8mm. For the style of drawing seen in our inspiration image, a mid-range nib like a 0.3mm or 0.5mm is ideal. It provides enough thickness to be visible and bold while remaining thin enough to capture delicate details in the stamen. Look for pens that use archival ink, which means they are waterproof and fade-resistant. This is especially important if you plan on adding watercolor washes over your ink drawings later on.
The Importance of Paper Quality
The surface you draw on matters just as much as the pen. If you use paper that is too fibrous, your ink might “bleed” or feather, losing those crisp edges that make fine liner art so appealing. A smooth bristol board or a high-quality sketchbook with a high GSM (grams per square meter) will allow the pen to glide effortlessly. Smooth surfaces prevent the nib of the pen from catching, which helps in maintaining a steady, fluid line.
Step by Step Guide to Drawing a Simple Blossom
Let’s break down the process of creating a balanced, eye-catching flower sketch. Even if you feel like you can’t draw a straight line, you can follow these steps to create something beautiful.
Starting with the Heart of the Flower
Every great floral sketch begins at the center. Instead of drawing a perfect circle, try creating a dense cluster of tiny, overlapping circles or “stippling” dots. This creates a sense of texture and depth. In our featured image, the center is a rich, dark area made of many small loops. This provides a visual anchor for the rest of the drawing. Start small and expand the center until it feels proportional to the size of the flower you want to create.
The Art of the Petal
Once your center is established, it is time to add the petals. The key here is to think about “organic flow.” Rather than drawing rigid shapes, let your hand move in a slightly shaky, natural motion. This gives the petals a lifelike quality.
- Vary the Size: Not every petal needs to be the same width or height. In fact, varying them makes the flower look more realistic.
- The Overlap: Don’t be afraid to let one petal slightly hide behind another. This adds a three-dimensional perspective to a two-dimensional drawing.
- The Base: Ensure the base of each petal narrows as it meets the center of the flower. This mimics how real flowers grow from a central point.
Adding the Stamen and Fine Details
To give your flower personality, add small lines extending from the center into the petals. These are the stamens. Capping them with a tiny dot or a small loop adds a professional touch. These lines also act as “shading” by guiding the eye from the dark center out into the lighter petals. Keep these lines thin and light to maintain the minimalist aesthetic.
Techniques for Improving Your Line Work
The hallmark of a great fine liner drawing is the quality of the line itself. Developing a steady hand takes practice, but there are a few “hacks” to speed up the process.
Ghosting Your Lines
Before you actually touch the pen to the paper, practice the motion of the line you want to draw about an inch above the surface. This “ghosting” motion builds muscle memory. When you finally lower the pen, your hand is already in the rhythm, resulting in a much smoother stroke.
Varying Line Weight
Even though a fine liner has a fixed width, you can create the illusion of different weights. Pressing slightly harder (carefully!) or slowing down can make a line appear bolder. Use thicker lines for the outer edges of the petals and much thinner, faster strokes for the internal details. This contrast creates visual interest and helps the drawing “pop” off the page.
Incorporating Floral Sketches into Your Daily Life
Once you have mastered the basic blossom, you will find that these little drawings are incredibly versatile. They are not just for framing on a wall; they can be integrated into your lifestyle in numerous ways.
Bullet Journaling and Planning
Floral doodles are a staple of the “BuJo” community. Use them to decorate your monthly spreads, create dividers between different sections of your notes, or even as a mood tracker. A single flower in the corner of a weekly planner can turn a stressful to-do list into a moment of calm.
Handmade Stationery
In the digital age, receiving a hand-drawn note is a rare treasure. You can create your own personalized note cards by drawing a small flower in the corner of a blank card. Because the style is minimalist, it looks sophisticated and intentional, making it perfect for thank-you notes, birthday wishes, or “just because” cards.
The Psychology of Doodling
There is actually scientific evidence suggesting that doodling helps with focus and stress relief. When we draw simple, repetitive shapes like flower petals, we enter a “flow state.” This state of mind allows the brain to rest from the constant barrage of information we face daily. It lowers cortisol levels and can even help with memory retention. So, the next time you find yourself doodling during a long phone call, don’t feel guilty. You are actually giving your brain a much-needed wellness break.
Common Mistakes to Avoid
Even though we embrace imperfections, there are a few common pitfalls that can make a drawing feel “cluttered” rather than “minimalist.”
- Overcomplicating the Center: If the center becomes too large or too messy, it can overwhelm the delicate petals. Keep it contained.
- Closing Every Gap: Sometimes, leaving a small gap where a line should be makes the drawing feel lighter and more professional. You don’t always have to connect every single line.
- Rushing the Process: Fine liner art is about the journey. If you rush, your lines might become jagged or shaky in a way that looks accidental rather than organic. Take a deep breath and enjoy each stroke.
Finding Your Personal Style
The image you see today is just one way to draw a flower. As you practice, you will start to notice preferences. Maybe you like very round, bubbly petals. Maybe you prefer long, sharp, dramatic ones. Perhaps you love adding hundreds of tiny dots for shading, or maybe you prefer the starkness of pure white space. There is no right or wrong way to be creative. The goal is to produce something that felt good to create.
Try looking at different types of flowers for inspiration. Sunflowers have very different petal structures than daisies or poppies. By observing nature and then simplifying what you see into basic lines, you will develop a library of floral shapes that you can draw from memory at any time.
Wrapping Up Your Creative Journey
Drawing is a skill, but more importantly, it is a form of expression. Starting with something as simple as a single blossom allows you to build the foundation for more complex art while seeing immediate, beautiful results. The minimalist approach reminds us that we don’t need fancy equipment or hours of time to make something meaningful. All you need is a pen, a piece of paper, and a few minutes of quiet focus.
Whether you use these flowers to decorate your journals, create gifts for friends, or simply to de-stress after a long day, remember that the act of creating is a gift to yourself. Don’t worry about being “good enough.” Just focus on the movement of the pen and the joy of seeing a flower bloom on your page. Grab your fine liner, find a quiet corner, and let your creativity grow one petal at a time. Happy sketching.