Step-by-Step Skin Cycling Routine Day Night Guide for Glowy Skin Barrier Repair
Have you ever felt like your skincare routine was more of a guessing game than a science? One night you are layering exfoliants, the next you are wondering why your face feels tight and irritated. Enter Skin Cycling, the TikTok-famous routine that has actually earned the seal of approval from dermatologists worldwide. It is not just a passing trend; it is a strategic way to structure your nighttime skincare to maximize results while minimizing the risk of a damaged skin barrier. By the end of this guide, you will understand exactly how to rotate your products to achieve that coveted healthy glow without the redness.
What Exactly is Skin Cycling?
Coined by Dr. Whitney Bowe, skin cycling is a four-night schedule that alternates between using “active” ingredients and allowing the skin to rest. The beauty of this method lies in its simplicity. Instead of throwing every serum in your cabinet at your face every single night, you give your skin the space it needs to recover. This approach prevents the classic “over-processing” that leads to peeling, sensitivity, and breakouts.
The core philosophy is built on the idea that more is not always better. Your skin is a living organ with a delicate moisture barrier. When we over-exfoliate or use high concentrations of retinol every day, we often strip away the natural lipids that keep our skin protected. Skin cycling provides a middle ground: two nights of work and two nights of deep repair.
The Golden Rules for Your Morning Routine
While the heavy lifting happens at night, your morning routine sets the stage for success. Think of your AM steps as your “shield.” Since you will be using ingredients like AHAs and Retinol at night—both of which can increase sun sensitivity—your morning products must focus on protection and hydration.
- Step 1: Gentle Cleanser. Start with a light cleanse to remove any sweat or leftover evening products without stripping your natural oils.
- Step 2: Antioxidant Serum. Vitamin C is the gold standard here. It protects your skin from environmental pollutants and brightens your complexion.
- Step 3: Moisturizer. Hydrate and prep your skin for the day ahead.
- Step 4: Sunscreen SPF 30+. This is non-negotiable. If you are skin cycling, you must wear SPF every single day to protect the fresh skin being revealed by your treatments.
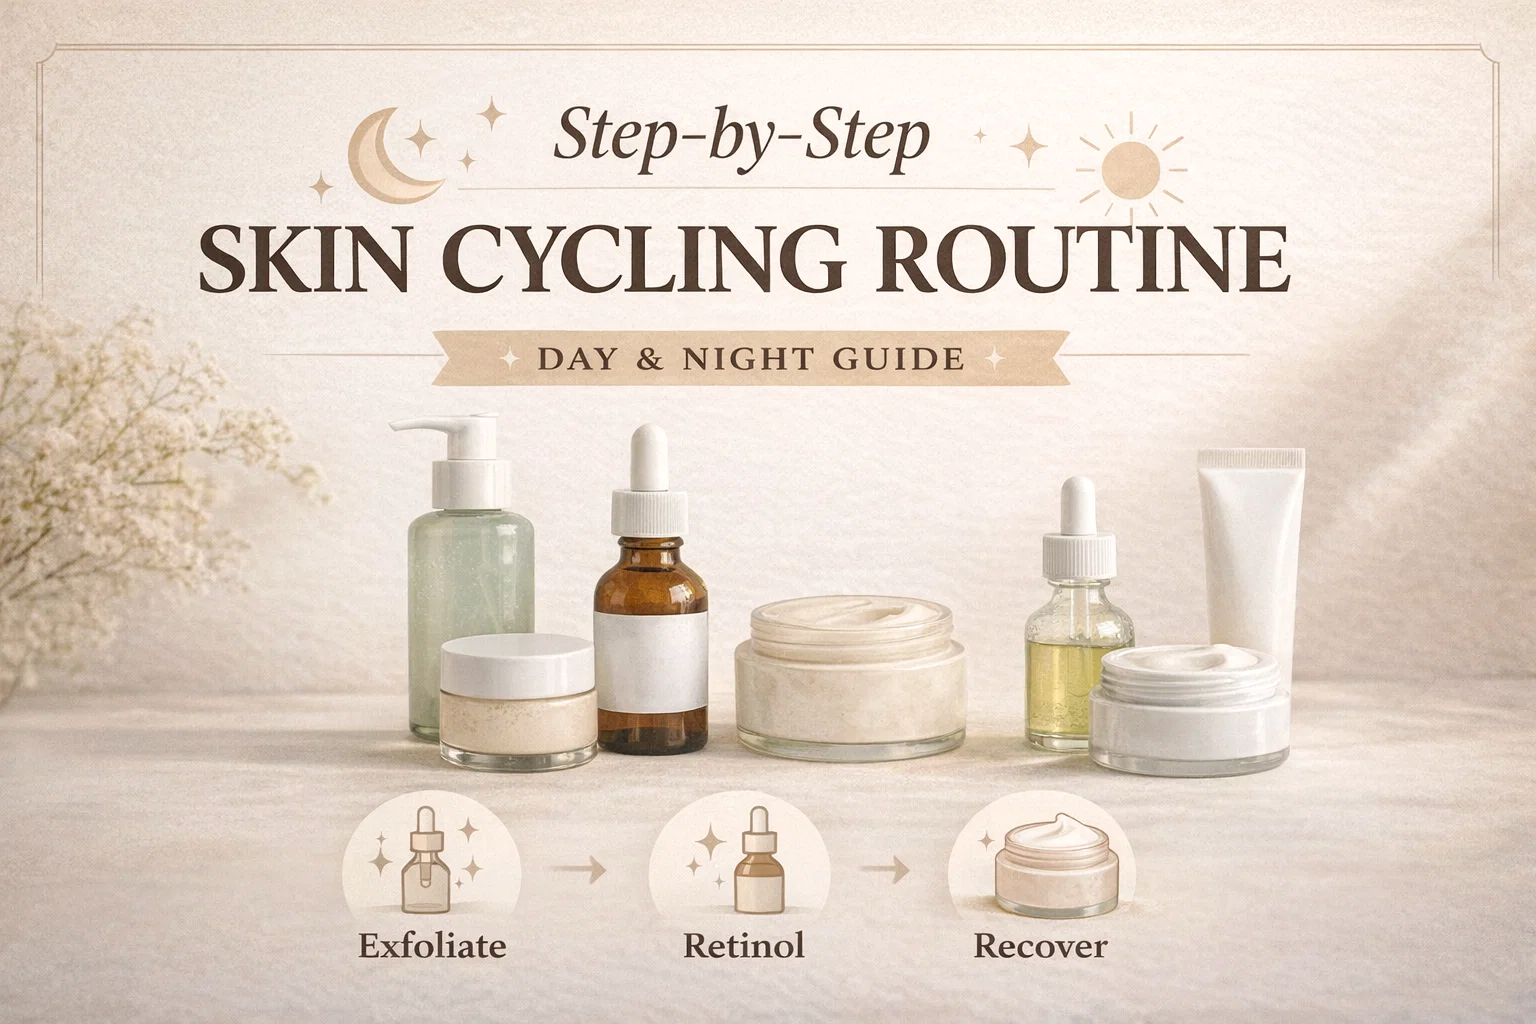
Night 1: The Exfoliation Phase
The cycle begins with exfoliation. The goal here is to sweep away dead skin cells and clear the path for the products that follow in the coming nights. When you exfoliate, you are essentially “unclogging” your canvas.
How to Execute Night 1
First, use a cleanser to thoroughly remove makeup, dirt, and SPF. Once your skin is clean, apply a chemical exfoliant. Look for products containing AHA (Alpha Hydroxy Acids) like glycolic or lactic acid, or BHA (Beta Hydroxy Acids) like salicylic acid. Chemical exfoliants are generally preferred over physical scrubs because they provide a more even result without causing micro-tears in the skin.
Finish the night with a hydrating serum and a basic moisturizer to lock everything in. You might feel a slight tingle, but your skin should not feel like it is burning. This step prepares your skin to absorb the retinol you will apply on Night 2 much more effectively.
Night 2: The Retinol Phase
Retinol is the powerhouse of any anti-aging or acne-fighting routine. It speeds up cell turnover and boosts collagen production. However, it is also notoriously irritating if overused. This is why it gets its own dedicated night in the cycle.
Tips for Applying Retinol
Cleanse your skin and, most importantly, wait for it to dry completely. Applying retinol to damp skin can cause it to penetrate too deeply and too quickly, leading to irritation. Use a pea-sized amount for your entire face. If you have sensitive skin, you can use the “sandwich method,” which involves applying a thin layer of moisturizer, then your retinol, then another layer of moisturizer.
By using retinol only once every four nights, you allow your skin to build up a tolerance. Over time, you will notice smoother texture and fewer fine lines without the dreaded “retinol uglies” or excessive peeling.
Nights 3 and 4: The Recovery Phase
This is where the magic happens. Many people skip these nights because they feel like they aren’t “doing anything,” but recovery is the secret sauce of skin cycling. During these two nights, you are focusing solely on nourishing the skin barrier and hydrating the deeper layers of your epidermis.
Focusing on Barrier Repair
On recovery nights, put away the acids and the retinoids. Your routine should be simple:
- Gentle Cleanser: Use a creamy, non-foaming wash.
- Hydrating Serum: Look for ingredients like Hyaluronic Acid, Glycerin, or Panthenol.
- Barrier Cream: Choose a thick moisturizer containing Ceramides or Squalane to restore the lipid layer.
Giving your skin this 48-hour break ensures that it stays resilient. If your skin feels particularly dry, you can even try “slugging” on Night 4 by adding a tiny bit of an occlusive ointment over your moisturizer to seal in every drop of moisture.
Why Your Skin Barrier Matters
We talk a lot about the skin barrier, but what is it? Think of your skin like a brick wall. The skin cells are the bricks, and the lipids (fats) are the mortar. When the mortar is strong, moisture stays in and irritants stay out. When we over-exfoliate, we crack that mortar. Skin cycling is specifically designed to keep that brick wall standing tall. A healthy barrier means less redness, fewer breakouts, and a naturally plump appearance.
Customizing the Cycle for Your Skin Type
While the 4-night cycle is the standard, it is not set in stone. Skincare is personal, and you should listen to what your face is telling you. If you are extremely oily and your skin is “tough,” you might eventually move to a 3-night cycle (Exfoliate, Retinol, Recovery). On the flip side, if you have rosacea or very sensitive skin, you might need three recovery nights instead of two.
Always introduce new products one at a time. If you start skin cycling and notice your skin is stinging when you apply your basic moisturizer, that is a sign to stop the actives and stay in the recovery phase for a few extra days until your skin feels comfortable again.
Common Mistakes to Avoid
Even with a guide, it is easy to fall into old habits. One common mistake is using a cleanser that contains active ingredients (like a benzoyl peroxide wash) on recovery nights. Ensure your recovery products are “bland” and focused only on hydration. Another mistake is forgetting the neck and chest. Your neck has thinner skin and is often the first place to show aging, so bring your routine down past your jawline!
Finally, do not get discouraged if you do not see results in the first week. Skin cells take about 28 days to turn over. You need to complete several full cycles to see the true transformation in your skin’s texture and clarity.
The Essentials Shopping List
If you are ready to start, here is a quick checklist of what you need in your cabinet:
- A gentle, pH-balanced cleanser.
- An exfoliant (AHA or BHA liquid).
- A high-quality retinol or retinaldehyde.
- A hydrating serum with Hyaluronic Acid.
- A rich moisturizer with Ceramides.
- A dedicated daily SPF 30 or higher.
Conclusion: Consistency Over Intensity
The beauty of skin cycling is that it moves us away from the “burn means it is working” mindset and toward a philosophy of kindness and consistency. By following this step-by-step routine, you are playing the long game with your skin health. You are getting the incredible benefits of powerful actives like AHAs and Retinol, but you are doing so in a way that respects your skin’s natural limits.
Give this routine a try for a full month and watch how your skin transforms. You will likely find that your face looks more rested, your products work better, and that elusive “glow” becomes your new everyday look. Remember, skincare is a marathon, not a sprint. Happy cycling!