Traditional Irish Soda Bread Recipe Easy 4-Ingredient No-Yeast Homemade Bread
There is a profound sense of comfort that comes from a warm kitchen and the earthy, inviting aroma of a freshly baked loaf. While many modern bread recipes require hours of proofing, kneading, and precise temperature control, the traditional Irish soda bread stands as a testament to the beauty of simplicity. This rustic staple has nourished generations, relying on a clever chemical reaction rather than yeast to achieve its signature lift. Whether you are a seasoned baker or a complete novice, mastering this four ingredient wonder is a rite of passage that brings a piece of the Emerald Isle directly to your dining table.
The Humble History of Irish Soda Bread
To truly appreciate this bread, one must understand its origins. It was not born out of a desire for gourmet artisan baking, but rather out of necessity and resourcefulness. In the mid-nineteenth century, Ireland faced significant economic hardship. Most rural households did not have access to expensive ovens or high quality yeast. However, they did have access to soft wheat flour, salt, sour milk, and a relatively new discovery: bicarbonate of soda.
Because the wheat grown in Ireland was historically “soft” wheat, it did not have the high gluten content required for yeast-based breads to rise effectively. The introduction of baking soda changed everything. When combined with the lactic acid in buttermilk, it created carbon dioxide bubbles that allowed the dough to expand quickly. This meant that a family could have a fresh, hot loaf ready in under an hour, baked over an open fire in a heavy iron pot known as a bastible. Today, while we use modern ovens, the spirit of the recipe remains unchanged.
The Symbolism of the Cross
If you look at a traditional loaf, you will notice a deep cross sliced into the top. While this serves a practical purpose by allowing the heat to penetrate the thickest part of the bread and helping it expand, Irish folklore offers more charming explanations. Many believe the cross was cut into the dough to “let the fairies out,” ensuring the bread would bake without interference from mischievous spirits. Others see it as a blessing on the bread. Regardless of the legend you choose to believe, that iconic “four quarters” look is the hallmark of an authentic soda bread.
Essential Ingredients for the Perfect Crusty Loaf
One of the most appealing aspects of this recipe is the minimal grocery list. You likely already have everything you need in your pantry. The magic lies in how these few components interact.
- Plain White Flour: Also known as all purpose flour, this provides the structure. In Ireland, “extra coarse” flour is often used for a more authentic texture, but standard plain flour works beautifully for a soft crumb.
- Bread Soda: This is the leavening agent. Ensure your baking soda is fresh, as it is the sole driver of the rise.
- Salt: Essential for bringing out the nutty flavor of the wheat. Without it, the bread can taste somewhat flat.
- Buttermilk: This is the most critical ingredient. The acidity in the buttermilk reacts with the soda to create the lift. If you do not have buttermilk, you can make a quick substitute by adding a tablespoon of lemon juice or vinegar to regular milk and letting it sit for five minutes.
Variations: White vs. Brown Soda Bread
While the classic white loaf is a crowd favorite, many households prefer “Brown Bread” or Wheaten Bread. This variation swaps a portion of the white flour for wholemeal or whole wheat flour. The result is a denser, heartier loaf with a rich, nutty profile. It is often slightly sweetened with a touch of molasses or honey, making it the perfect companion for a plate of smoked salmon or a bowl of creamy seafood chowder.
Step by Step Guide to Baking Success
Baking soda bread is more about “feel” than following a rigid set of rules. Because the reaction between the soda and buttermilk begins the moment they touch, you want to work efficiently.
Preparation and Mixing
Start by preheating your oven to 200 degrees Celsius or 400 degrees Fahrenheit. Since this bread does not need time to rise on the counter, your oven must be hot and ready the moment the dough is shaped. In a large bowl, sift together your dry ingredients. Sifting is important here because baking soda tends to clump, and biting into a concentrated bead of soda is a bitter experience you want to avoid.
Make a well in the center of the dry ingredients and pour in most of the buttermilk. Use one hand like a “claw” to mix the dough in a circular motion from the center outward. You want to bring the flour in gradually until a soft, slightly sticky dough forms. If the dough is too dry, add the remaining buttermilk. The goal is a dough that is manageable but not tough.
Shaping and Scoring
Turn the dough out onto a lightly floured surface. Here is the golden rule: do not knead it like pizza dough. Overworking the dough will develop the gluten and result in a rock-hard loaf. Simply gather it into a round shape, about two inches thick. Transfer it to a baking sheet or a seasoned cast iron skillet.
Use a sharp knife to cut a deep cross into the top, extending almost to the edges and deep into the center. This ensures the middle of the loaf bakes through completely. For an extra touch of tradition, prick each of the four corners with the tip of the knife to further “release the fairies.”
The Baking Process and the Hollow Sound Test
Place the loaf in the center of the oven and bake for approximately 40 minutes. At the halfway mark, some bakers like to turn the loaf over to ensure the bottom gets a nice crust, though this is optional. You will know the bread is done when the crust is a deep golden brown and the loaf feels light for its size.
The definitive test for doneness is the “tap test.” Carefully pick up the hot loaf using a clean tea towel and tap the bottom with your knuckles. If it sounds hollow, like a drum, it is perfectly baked. If the sound is dull and heavy, it needs another five to ten minutes.
The Secret to a Soft Crust
Traditional soda bread can have a very hard, thick crust. If you prefer a slightly softer exterior, wrap the hot loaf in a clean, damp tea towel immediately after taking it out of the oven. This traps the steam and softens the crust as it cools. If you love that rustic, crunchy “crunch,” simply let it cool on a wire rack uncovered.
Creative Ways to Serve and Enjoy
Soda bread is best enjoyed within hours of leaving the oven. There is nothing quite like a warm slice with a generous smear of salted Irish butter. However, its versatility allows it to pair with almost any meal.
The Perfect Accompaniments
For a traditional lunch, serve thick slices alongside a bowl of vegetable soup or a hearty beef and Guinness stew. The dense crumb is perfect for soaking up every last drop of broth. It also pairs exceptionally well with sharp cheddar cheese and a bit of chutney for a simple ploughman’s lunch. If you have made the brown wheaten version, try it with smoked salmon, a squeeze of lemon, and a few capers for a sophisticated appetizer.
Don’t Toss the Leftovers
Because soda bread lacks preservatives and fat (like butter or oil), it can go stale faster than store bought loaves. But do not let that discourage you! Stale soda bread makes the absolute best toast. Simply slice it thin and pop it in the toaster the next morning. The edges get incredibly crispy while the center stays chewy. It is also a fantastic base for French toast or can be pulsed into breadcrumbs for a unique topping on mac and cheese.
Why You Should Start Baking Today
In a world of fast food and complex recipes, the Irish soda bread reminds us that the most satisfying things in life are often the simplest. It is a recipe that connects us to the past, requiring only our hands and a few pantry staples. It is a forgiving bread, a quick bread, and a bread that invites conversation at the dinner table.
Baking this loaf is more than just a culinary task; it is an act of creation that rewards you with warmth and nourishment. Whether you are celebrating St. Patrick’s Day or just looking for a way to elevate a Tuesday night dinner, this traditional recipe is a reliable friend. So, flour your workspace, grab your buttermilk, and get ready to enjoy a slice of Irish tradition.
Final Thoughts on the Soda Bread Tradition
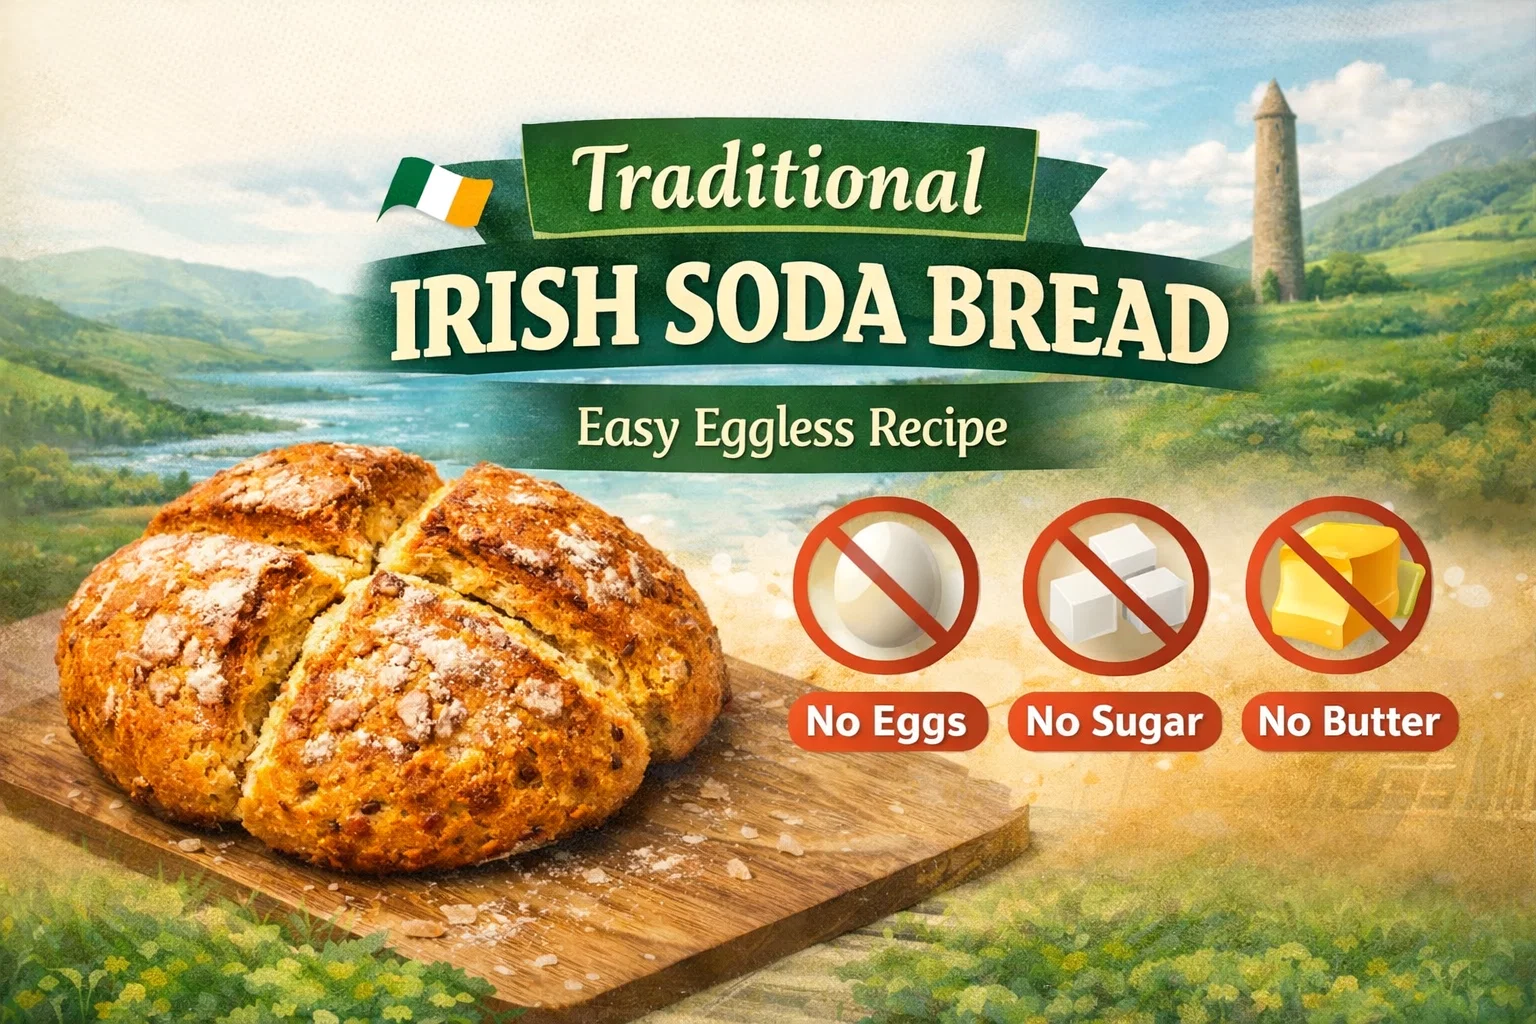
The beauty of the traditional Irish soda bread lies in its accessibility. It does not demand a fancy stand mixer or a degree in pastry arts. It only asks for a bit of care and a hot oven. By following these steps and respecting the “no eggs, no sugar, no butter” philosophy of the original classic, you are preserving a piece of culinary history. Once you taste that first warm, buttered slice, you will understand why this recipe has remained unchanged for nearly two centuries. Happy baking!
Would you like me to help you brainstorm some creative variations for this recipe, such as adding herbs or dried fruits?