Warm Baked Apple Fritters Recipe No Frying Needed
There is something undeniably magical about the aroma of warm cinnamon and sweet apples wafting through your kitchen on a crisp morning. It instantly transforms your house into a cozy haven, creating the perfect backdrop for a slow, intentional start to your day. However, traditional apple fritters usually involve deep frying, bubbling vats of oil, and a messy cleanup that totally disrupts that peaceful morning vibe. That is exactly why this baked version is an absolute revelation. You get all the comforting, nostalgic flavors of a classic apple fritter but baked beautifully in a muffin tin. It is the ultimate low-stress baking project, perfect for a cozy weekend breakfast, a charming dessert, or a comforting afternoon snack to pair with your favorite cup of tea.
Why You Will Completely Fall in Love With This Recipe
If you have ever felt intimidated by making pastries at home, this recipe is about to become your new best friend. Baking these apple fritters instead of frying them is a total game changer for several reasons.
First and foremost, skipping the hot oil means you eliminate the most stressful part of making donuts or fritters. There is no need for a candy thermometer, no fear of oil splatters, and absolutely no lingering fried food smell in your beautiful home. Instead, your space will smell like a high-end bakery. Baking them in a standard muffin tin also means perfectly portioned, adorable little treats that are wonderfully easy to share.
Furthermore, this method is incredibly fast. You can go from craving a sweet treat to pulling golden, warm fritters out of the oven in under thirty minutes. The batter comes together quickly in just two bowls, making the cleanup process a breeze. This recipe is designed to fit seamlessly into a soft, romanticized daily routine where you can enjoy homemade goodness without the exhaustion of a complex culinary project.
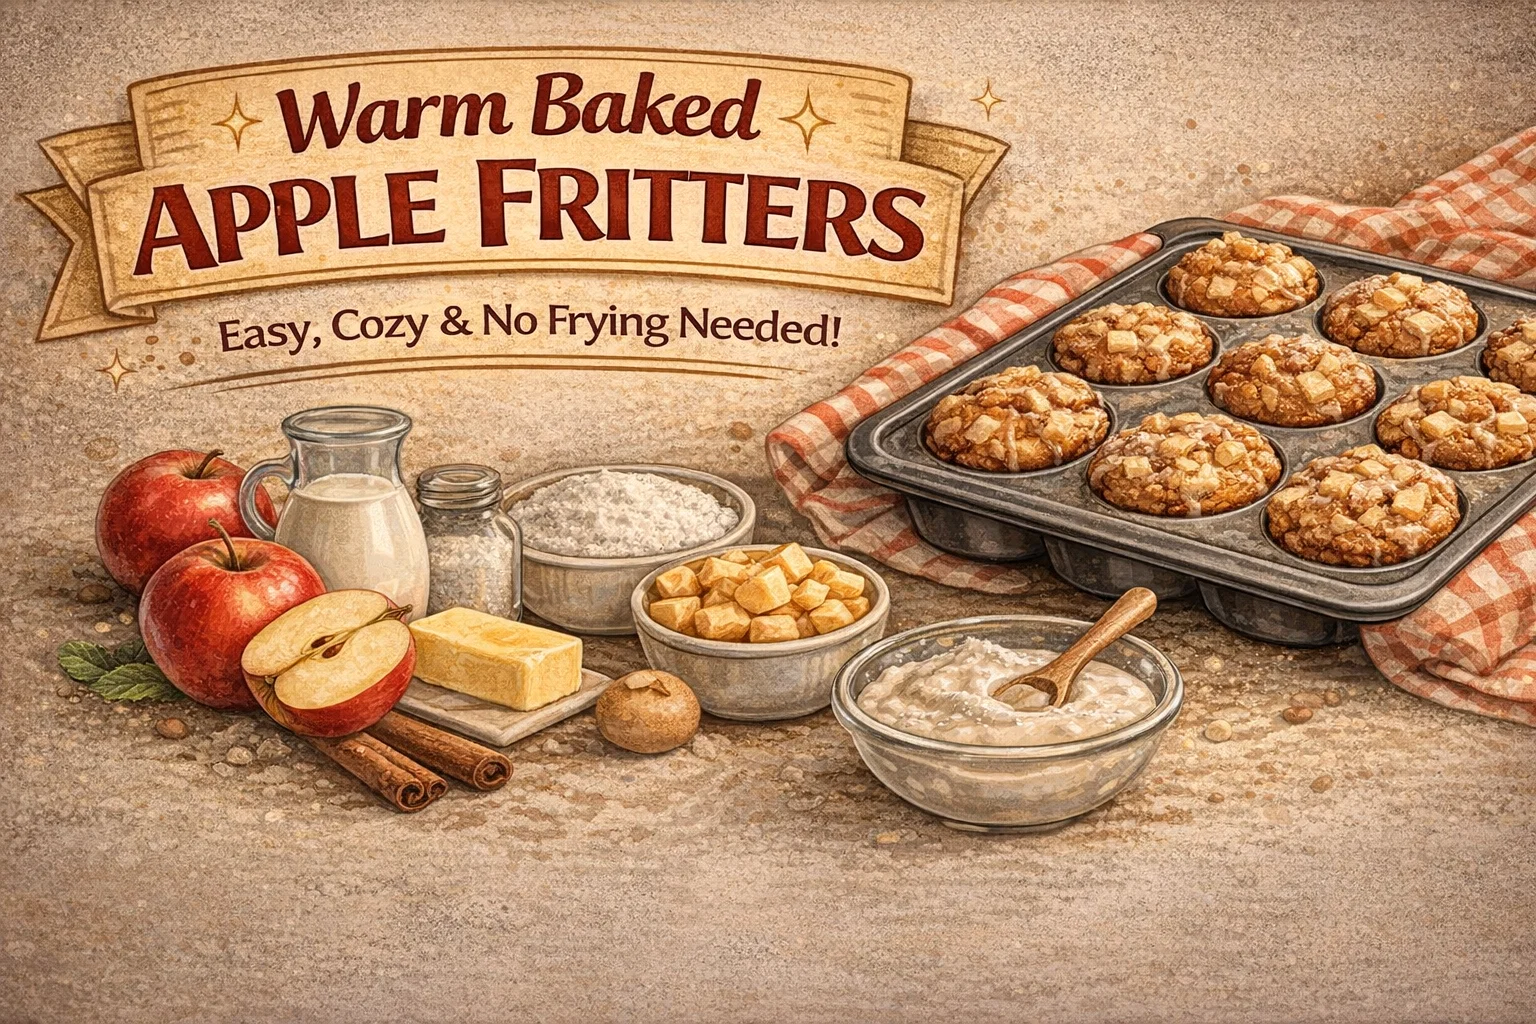
The Essential Ingredients for Perfect Fritters
One of the best things about this baked apple fritter recipe is that it relies on simple, wholesome pantry staples. You likely already have everything you need sitting in your cupboards right now. Let us break down the star components that make these baked treats so incredibly delicious.
The Apples
The apples are, of course, the absolute star of the show. For baking, you want to choose an apple variety that holds its shape well when exposed to heat. Granny Smith apples are a classic choice because their tartness cuts beautifully through the sweetness of the dough and the glaze. Honeycrisp or Pink Lady apples are also fantastic options if you prefer a sweeter, slightly softer bite. Make sure to dice your apples into small, uniform pieces so they distribute evenly throughout the batter and cook perfectly within the fifteen to eighteen minute baking window.
The Dry Ingredients
You will need two cups of standard all-purpose flour to give the fritters their structure. Two teaspoons of baking powder are crucial here. Because we are not relying on the rapid expansion that happens in hot oil, the baking powder provides the necessary lift to keep these muffin-tin fritters light and tender. A quarter cup of granulated sugar adds just the right amount of sweetness to the dough itself, while a half teaspoon of ground cinnamon and a quarter teaspoon of salt provide that signature bakery flavor profile.
The Wet Ingredients
Moisture and richness come from a quarter cup of milk and two tablespoons of melted butter. Using melted butter instead of oil in the batter gives these fritters a rich, buttery flavor that mimics a traditional pastry. One large egg acts as the binder, holding everything together, and a full teaspoon of high-quality vanilla extract elevates the entire flavor profile, making the fritters taste complex and professionally made.
Step-by-Step Instructions for Baking Success
Creating these delightful baked goods is a simple, meditative process. Follow these straightforward steps to achieve perfectly golden, tender apple fritters every single time.
Step 1: Preparation is Key
Begin by preheating your oven to 375 degrees Fahrenheit, which is roughly 190 degrees Celsius. Getting your oven to the right temperature before you start mixing ensures that the baking powder reacts immediately when the batter hits the heat, giving you the best possible rise. Thoroughly grease a standard muffin tin with butter or a non-stick baking spray. Because these fritters are sticky and sweet, proper greasing is essential so they pop right out after baking.
Step 2: Whisking the Dry Ingredients
In a large mixing bowl, combine your two cups of all-purpose flour, a quarter cup of granulated sugar, two teaspoons of baking powder, a half teaspoon of ground cinnamon, and a quarter teaspoon of salt. Take a moment to whisk these together thoroughly. Dispersing the baking powder and cinnamon evenly throughout the flour guarantees that every single bite of your fritter will be perfectly spiced and properly risen.
Step 3: Combining the Wet Ingredients
In a separate, smaller bowl, whisk together your quarter cup of milk, the two tablespoons of melted butter, one large egg, and the teaspoon of vanilla extract. A great tip for baking is to ensure your milk and egg are at room temperature before mixing. This prevents the melted butter from seizing up and clumping when it hits cold liquids, resulting in a much smoother, more cohesive batter.
Step 4: Creating the Batter
Pour your wet ingredient mixture into the bowl containing your dry ingredients. Using a wooden spoon or a rubber spatula, gently stir the mixture together. The secret to tender baked goods is to avoid overmixing. You want to stir just until the dry ingredients are moistened. The batter will be quite thick, almost resembling a drop biscuit dough, and it might look a little lumpy. That is perfectly fine and exactly what you want.
Step 5: Folding in the Apples
Now, take your perfectly diced apples and gently fold them into the batter. Folding is a delicate technique where you scoop from the bottom of the bowl and turn the mixture over itself. This ensures the apples are evenly distributed without overworking the gluten in the flour. Every spoonful of batter should have a generous amount of apple pieces.
Step 6: Filling the Muffin Tin
Using a spoon or a cookie scoop, distribute the batter evenly among the cups of your greased muffin tin. The batter should fill each cup mostly to the top. Because this dough is thick, you can gently press it down just a bit to ensure it takes the shape of the cup, but do not pack it in too tightly.
Step 7: Baking to Golden Perfection
Place the muffin tin in the center of your preheated oven. Bake for fifteen to eighteen minutes. You are looking for the tops to become a beautiful, pale golden brown. You can test for doneness by inserting a toothpick into the center of one of the fritters. If it comes out clean or with just a few moist crumbs attached, they are ready to come out of the oven.
The Crowning Glory: The Vanilla Glaze
While the fritters are baking, you have the perfect window of time to whip up the optional, but highly recommended, glaze. A traditional apple fritter is defined by that shatteringly crisp, sweet glaze that coats the outside. We replicate that magic here with a very simple mixture.
In a small bowl, combine one cup of powdered sugar with two to three tablespoons of either milk or apple juice. Using apple juice adds a wonderful extra layer of fruity flavor, but milk creates a classic, creamy donut-style glaze. Whisk this together until it is completely smooth. You want the consistency to be thick enough to coat the back of a spoon, but thin enough to drizzle easily. If it is too thick, add a tiny drop more liquid. If it is too thin, add a sprinkle more powdered sugar.
The trick to a perfect glaze application is timing. Let the baked fritters cool in the pan for just a minute or two, then carefully transfer them to a wire cooling rack. While they are still warm, use a spoon to generously drizzle the glaze over the top of each fritter. The heat from the pastry will slightly melt the glaze, allowing it to settle into all the rustic nooks and crannies before setting into a sweet, crystalline crust.
Customizing Your Cozy Bake
Once you have mastered this base recipe, it serves as a wonderful canvas for your own culinary creativity. There are endless ways to customize these baked apple fritters to suit your personal tastes or the current season.
- Spice it up: Enhance the cinnamon by adding a quarter teaspoon of freshly grated nutmeg, a pinch of ground cloves, or even a dash of cardamom to the dry ingredients for a more complex, warming spice profile.
- Add some crunch: Fold in a half cup of chopped toasted pecans or walnuts along with the diced apples. The nutty flavor and crunchy texture contrast beautifully with the soft baked dough and tender apples.
- Caramel drizzle: Instead of the traditional vanilla glaze, try drizzling the warm fritters with a rich, salted caramel sauce. Apples and caramel are a match made in heaven, turning this breakfast treat into a decadent dessert.
- Streusel topping: Before baking, sprinkle the tops of the batter with a quick mixture of flour, brown sugar, cold butter, and cinnamon for a crumbly, coffee-cake inspired finish.
Serving and Storage Suggestions
These baked apple fritters are undeniably at their absolute best when served fresh and warm, shortly after the glaze has set. They are the perfect centerpiece for a weekend brunch spread, alongside a pot of freshly brewed coffee or a frothy matcha latte. They also make a wonderful, comforting dessert when served warm with a scoop of vanilla bean ice cream.
If you happen to have leftovers, you can store them in an airtight container at room temperature for up to two days. To recapture that fresh-from-the-oven magic, simply pop a fritter into the microwave for about ten to fifteen seconds. The glaze will soften slightly, and the apple and cinnamon aromas will bloom all over again.
Embrace the Joy of Simple Baking
Creating beautiful, delicious food at home does not have to be an exhausting, messy endeavor. This baked apple fritter recipe proves that you can achieve bakery-quality treats with minimal effort and simple ingredients. It is an invitation to slow down, enjoy the tactile process of mixing dough, and fill your home with the most comforting scents imaginable.
Whether you are treating yourself to a quiet morning moment or baking for loved ones, these warm, spiced, and perfectly glazed fritters are sure to bring a touch of sweetness to your day. Grab your favorite mixing bowl, preheat that oven, and get ready to enjoy the coziest bake of the season. Happy baking!