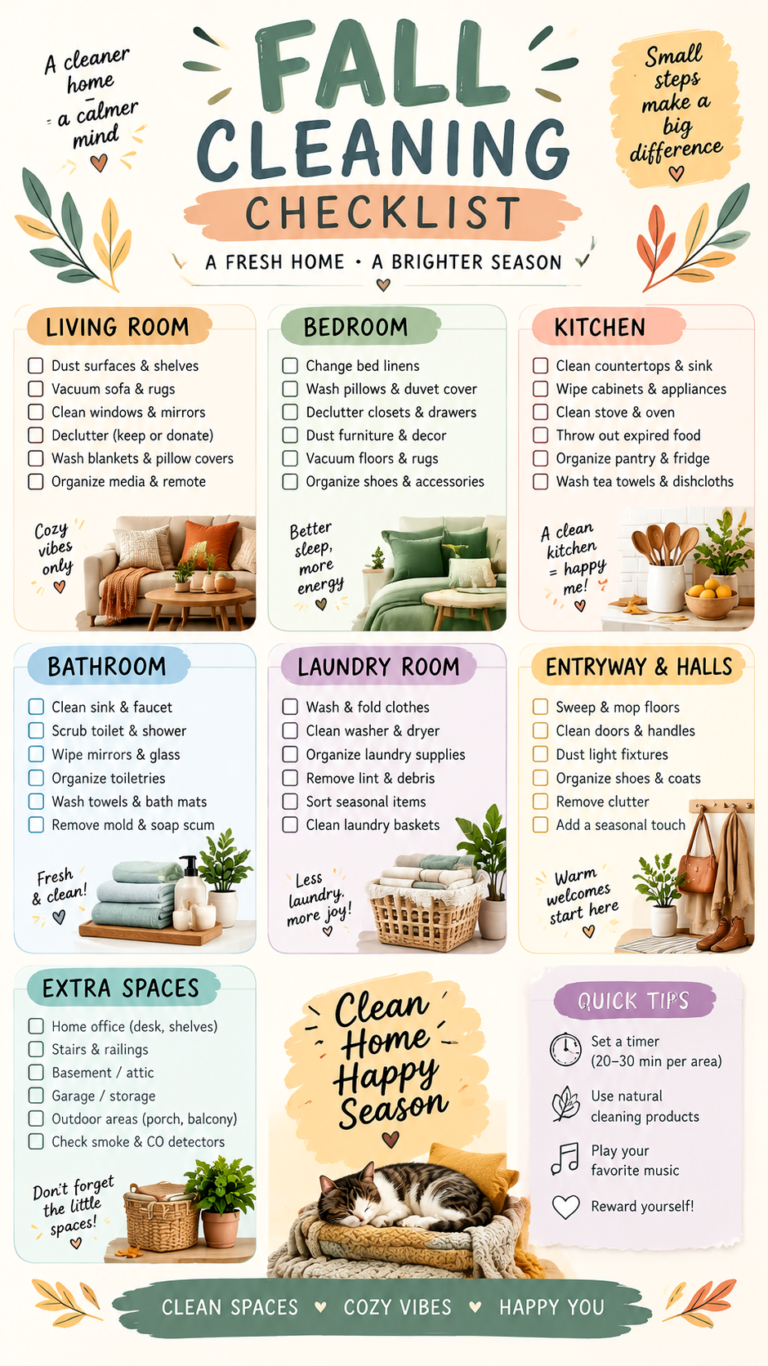
6-Step Kitchen Deep Cleaning Checklist Room-by-Room Cleaning System
A clean kitchen can make your entire home feel more organized, comfortable, and inviting. But when dishes pile up, crumbs collect on the counters, and appliances develop stubborn spots, cleaning the kitchen can quickly become overwhelming. The good news is that you do not need to spend hours scrubbing every surface at once. With a simple room-by-room kitchen cleaning system and a clear six-step deep cleaning order, you can tackle the mess efficiently and maintain a fresh, functional space.
This practical kitchen cleaning routine breaks the process into manageable stages, from preparing your space and removing dry debris to cleaning surfaces, resetting your counters, and finishing the floors. Instead of moving randomly from one task to another, you will follow a logical sequence that saves time, reduces repeated work, and helps you achieve more consistent results.
Key Takeaways
- Clear counters and remove clutter before starting your kitchen deep clean.
- Pick up trash, collect dishes, and sweep away crumbs before using liquid cleaners.
- Apply suitable cleaning products and allow the recommended contact time.
- Work from upper cabinets toward lower surfaces to avoid repeating tasks.
- Reset everyday items and replace towels before cleaning the floors.
- Finish with a thorough floor cleaning and allow the surface to dry completely.
Why a Six-Step Kitchen Cleaning System Works
Kitchen cleaning becomes easier when every task has a place in your routine. Without a plan, it is easy to wipe the same counter twice, mop before collecting crumbs, or clean an appliance only to splash it while washing another surface. These small inefficiencies add up, especially when you are cleaning an entire kitchen.
A structured kitchen cleaning checklist creates a natural progression. You begin by preparing the space, remove dry messes, apply cleaners, work through the surfaces in a consistent order, put everything back in its place, and finish with the floors.
This method is useful for everyday kitchen maintenance as well as a more detailed weekly cleaning session. You can adjust the amount of time spent on each step depending on how much cooking you do, the size of your kitchen, and the condition of your surfaces.
Important: The most efficient cleaning routine prevents dirt from spreading to surfaces you have already cleaned. Removing crumbs before wiping counters and leaving floors until last helps keep your results cleaner for longer.
Step 1: Prepare the Kitchen Before Cleaning
The first step is to create a clear workspace. A cluttered kitchen makes it difficult to reach the areas that need attention, so spend a few minutes removing items that do not belong on your counters, table, or stovetop.
Clear Counters, Sink, and Table
Start by putting away food, containers, utensils, and other everyday items. Move dishes into the sink or dishwasher, collect reusable shopping bags, and remove anything that prevents you from reaching the full surface.
Check the stovetop for cookware and loose items. Move suitable objects to a safe location, following the appliance manufacturer’s instructions if the cooking surface is still warm. Clear the dining table as well so it can be wiped without working around unnecessary clutter.
- Remove loose items from kitchen counters.
- Collect dishes and place them in the sink or dishwasher.
- Clear the stovetop when it is completely cool.
- Pick up objects from the dining table.
- Check the floor for visible trash and misplaced items.
- Empty the trash bin if it is full or contains strong-smelling waste.
Gather Your Cleaning Supplies
Having your supplies ready prevents unnecessary interruptions. A basic kitchen cleaning kit may include microfiber cloths, a soft sponge, a small scrub brush, a broom and dustpan, a mop, suitable surface cleaners, and clean dish towels.
Choose products according to the surfaces you are cleaning. Countertops, stainless steel, glass, sealed wood, and appliance interiors may require different products or methods. Read product labels carefully and follow the manufacturer’s care instructions.
Keep children and pets away from cleaning products, and never mix household chemicals. In particular, bleach should never be mixed with ammonia, acids, or other cleaning products.
Step 2: Remove Dry Messes First
Before applying water or cleaning solutions, remove loose dirt, crumbs, food scraps, and other dry debris. This simple habit makes wiping easier because you are not spreading small particles across the surfaces.
Throw Away Trash and Collect Food Scraps
Begin by gathering wrappers, empty packaging, and other waste. Check the corners of the counters and the areas around the sink, where small scraps often collect. Dispose of food waste appropriately and empty the bin when needed.
Next, collect dishes and place them in the dishwasher or sink. Scrape loose food into the trash or compost container where appropriate, rather than rinsing large amounts of food debris into the drain.
Sweep Crumbs From Counters and Floors
Use a small brush or dry cloth to collect crumbs from the counters. Pay attention to corners, backsplash edges, and the spaces around small appliances. A soft brush can help remove loose debris without scratching delicate surfaces.
Then sweep the floor, moving crumbs toward a central collection point. Work around the base of cabinets, beneath the dining table, and near the stovetop, where food particles tend to accumulate.
Use a dustpan to collect the debris and dispose of it before moving on to wet cleaning.
Pro Tip: Dry cleaning comes before wet cleaning for a reason. If you wipe a counter while crumbs and food scraps are still present, you may push debris into corners or create a sticky mixture that takes longer to remove.
Step 3: Apply Cleaners and Let Them Work
Once the loose debris is gone, focus on the surfaces that need more attention. Grease, dried splashes, food residue, and fingerprints may require a suitable cleaning product and enough contact time to loosen the mess.
Clean the Sink
Remove any remaining dishes and food scraps. Apply a sink-safe cleaner according to the label, then use a nonabrasive sponge or brush to clean the basin, faucet, handles, and surrounding edges.
Pay attention to the drain area, where residue can collect. Rinse as directed and dry the faucet with a clean cloth if you want to reduce water spots. Use a product suitable for the sink’s material, particularly if it is stainless steel, natural stone, or another surface that requires special care.
Degrease the Stovetop
Cooking can leave grease and splashes around burners, control knobs, and the surrounding cooking surface. Make sure the stovetop is switched off and completely cool before cleaning it.
Use a cleaner approved for your stovetop type. Apply it as directed, paying particular attention to greasy areas. Let the product sit for its recommended contact time, then wipe or rinse according to the instructions.
For glass or ceramic cooktops, avoid abrasive pads and unsuitable scrapers that could damage the surface. Follow the manufacturer’s recommendations for removing stubborn residue.
Clean the Microwave Interior
Food splashes inside the microwave can become difficult to remove when they dry. Use a microwave-safe cleaning method or an appliance-approved cleaner to loosen the residue.
Remove the turntable if the manufacturer’s instructions allow it, and wash it separately when appropriate. Wipe the interior walls, ceiling, door, and handle with a suitable cloth. Avoid spraying liquid directly into vents or electrical components.
Treat Countertop Spots
Look for sticky patches, dried spills, and marks left by food preparation. Apply a surface-appropriate cleaner and wipe gently with a microfiber cloth. Use a separate clean cloth when necessary to remove residue.
Different countertop materials have different care requirements. Natural stone, laminate, solid surfaces, and butcher block should not automatically be treated with the same product. Check the manufacturer’s guidance before using acidic cleaners, abrasive powders, or strong degreasers.
Why This Matters
Allowing cleaning products to remain on a surface for the label’s recommended contact time can improve cleaning results. You can use that waiting period productively by working on another area of the kitchen.
- Read the label before applying any cleaner.
- Never allow products to dry on surfaces unless the instructions permit it.
- Rinse food-contact surfaces when the product label requires rinsing.
Step 4: Follow the Correct Kitchen Cleaning Order
After treating the sink, stovetop, microwave, and visible counter spots, move through the kitchen in a consistent order. The most useful rule is to work from higher surfaces toward lower ones. Dust and crumbs can fall during cleaning, so starting at the top helps prevent freshly cleaned surfaces from becoming dirty again.
1. Wipe Upper Cabinets and Handles
Cabinet doors collect fingerprints, cooking residue, and dust, especially around handles and frequently used doors. Use a soft, slightly damp cloth and a cleaner approved for the cabinet finish.
Work from one side of the kitchen to the other so you do not miss any doors. Dry the surfaces as recommended, particularly when cleaning wood or other moisture-sensitive finishes.
2. Clean Small Appliances
Toasters, coffee makers, kettles, and other countertop appliances can collect crumbs, fingerprints, and splashes. Switch appliances off and unplug them when appropriate and safe to do so. Allow hot appliances to cool before cleaning.
Wipe the exterior with a suitable cloth, following the manufacturer’s care instructions. Empty toaster crumb trays according to the manual, and never immerse an electrical appliance in water unless it is specifically designed for that purpose.
Keep water away from plugs, electrical connections, vents, and controls. For appliances used to prepare food or drinks, follow any cleaning and rinsing instructions provided by the manufacturer.
3. Wipe Counters and Backsplash
With cabinet fronts and appliances taken care of, clean the counters and backsplash. Remove any remaining items, wipe the surfaces in manageable sections, and pay attention to the edges behind appliances.
Use a clean cloth and a suitable cleaning solution. Rinse or dry the surface as directed, and return only the items that genuinely belong on the counter.
4. Clean the Sink Last Among the Main Surfaces
Once food preparation surfaces and appliances are clean, return to the sink for a final wipe. This removes residue left behind while washing cloths, cleaning dishes, or rinsing other items.
Wipe the faucet, handles, basin, and surrounding countertop. Replace any dirty sponge or cloth with a clean one, and leave the sink ready for its next use.
5. Finish the Stovetop After Crumbs Are Gone
If additional crumbs or debris appeared while cleaning the surrounding counters, remove them before giving the stovetop its final wipe. Use the appropriate cleaner and a nonabrasive cloth or tool suited to the surface.
Check the edges around the cooking area, control panel, and adjacent counter. The final pass helps remove leftover smudges without spreading loose food particles across the clean surface.
Remember: A consistent cleaning order is more important than rushing through the tasks. Cleaning upper surfaces first, counters next, and floors last minimizes repeated work and makes the whole routine easier to maintain.
Step 5: Reset the Kitchen for Everyday Use
A freshly cleaned kitchen should be easy to use, not simply free from visible dirt. The reset stage brings everything back into order and makes it easier to maintain the results throughout the day.
Return Everyday Items to Their Places
Put frequently used appliances and kitchen tools back where they belong. Keep the counters practical by leaving only the items you regularly need. Store ingredients, utensils, and small accessories in designated spaces rather than allowing them to spread across the work area.
This is also a good opportunity to straighten containers, group similar items, and remove objects that have gradually accumulated on the counters.
Replace Dish Towels and Empty the Trash
Replace damp or dirty dish towels with clean ones. Hang them neatly in a convenient location where they can dry between uses. Check the trash bin and empty it if needed, especially after preparing foods that may produce strong odors.
Wipe the dining table and straighten chairs or other items that have shifted during cleaning. These small finishing touches make the kitchen look more organized without requiring additional deep cleaning.
Keep Counters Clear Without Removing Everything
A tidy kitchen does not need to look empty. The goal is to maintain enough open workspace for meal preparation while keeping essential items easy to reach.
Choose a consistent place for appliances, cooking utensils, and frequently used ingredients. When everything has a home, putting items away after cooking becomes faster and less frustrating.
Step 6: Finish With Clean Kitchen Floors
The final stage is floor cleaning. By waiting until the counters, cabinets, appliances, and sink are finished, you can collect any crumbs or dust that fell during the earlier steps without having to repeat the work.
Sweep the Entire Floor
Start by sweeping the open floor area. Move the broom beneath the edges of cabinets, around chair legs, and into corners where crumbs tend to gather. Pay extra attention to the area beneath the dining table and near the stovetop.
Collect the debris with a dustpan and dispose of it before moving to the next stage. If your kitchen has a floor mat, clean it according to its care instructions.
Spot-Clean Sticky Areas
Inspect the floor for sticky patches, dried spills, and marks that sweeping cannot remove. Use a suitable cleaner and a cloth or brush that will not damage the flooring.
Address these areas before mopping so that sticky residue does not spread across the rest of the floor. Always check whether your flooring material requires a particular cleaning solution or limited moisture.
Mop and Allow the Floor to Dry
Use a clean mop and a floor cleaner approved for your flooring type. Avoid soaking the floor, particularly if it is wood, laminate, or another moisture-sensitive material.
Work toward the exit where practical so you do not need to walk across freshly cleaned areas. Rinse or change the mop pad when it becomes dirty, and follow the product instructions for dilution and use.
Allow the floor to dry completely before replacing mats or walking across it unnecessarily. Keep the area ventilated when appropriate, and take care to prevent slips while the surface is damp.
How to Maintain a Clean Kitchen Between Deep Cleans
A six-step kitchen deep cleaning routine works best when supported by small daily habits. You do not need to repeat every task every day. Instead, focus on the areas that become dirty most quickly and deal with messes before they have time to build up.
Follow a Simple Daily Kitchen Reset
- Wash dishes or load the dishwasher after meals.
- Wipe food spills from counters as soon as it is safe to do so.
- Clean visible splashes from the stovetop after it has cooled.
- Return frequently used items to their designated places.
- Empty the trash when necessary.
- Sweep obvious crumbs from high-traffic areas.
These short tasks help prevent grease, food residue, and clutter from accumulating. They also make your next deep clean less demanding because you will have fewer layers of dirt to tackle.
Create a Weekly Kitchen Cleaning Schedule
If you prefer a predictable routine, assign a few additional tasks to different days of the week. The schedule does not have to be complicated. Adjust it to your household’s needs and the amount of cooking you do.
- Daily: Clear counters, manage dishes, wipe spills, and collect crumbs.
- Twice a week or as needed: Clean the sink, wipe appliance exteriors, and sweep the floor.
- Weekly: Clean cabinet fronts, backsplash, small appliances, and the full floor.
- Periodically: Clean appliance interiors and other areas according to use and manufacturer recommendations.
Some kitchens need more frequent attention, especially when several people cook or eat there every day. Treat the schedule as a flexible guide rather than a strict rule.
Common Kitchen Cleaning Mistakes to Avoid
Even a good cleaning routine can become less effective when a few basic habits are overlooked. Avoiding these common mistakes will help protect your surfaces and reduce unnecessary effort.
Cleaning Floors Before Counters
Dust, crumbs, and residue can fall while you clean upper surfaces. If you mop first, you may have to repeat the job. Always leave the final floor cleaning until the rest of the kitchen is finished.
Using One Cloth for Every Task
A cloth used on a dirty stovetop should not immediately be used on a food preparation surface. Keep clean cloths available and change them when they become visibly dirty. Separate tools for different tasks can help reduce cross-contamination.
Using Too Much Cleaning Product
More cleaner does not necessarily mean a cleaner surface. Excess product may leave a film or require additional rinsing. Follow the label for the recommended amount, dilution, contact time, and rinsing instructions.
Ignoring Appliance Instructions
Appliances and kitchen finishes vary considerably. Using an abrasive scrubber on a delicate cooktop or too much water near electrical components can cause damage. Check manufacturer instructions whenever you are unsure about the safest cleaning method.
Kitchen Cleaning Checklist: At a Glance
Your Six-Step Deep Clean
- Prepare: Clear counters, collect dishes, remove clutter, and gather supplies.
- Dry pickup: Throw away trash, collect food scraps, and sweep crumbs.
- Apply cleaners: Treat the sink, stovetop, microwave, and counter spots.
- Clean in order: Wipe cabinets, appliances, counters, backsplash, and sink.
- Reset: Return everyday items, replace towels, empty the trash, and wipe the table.
- Finish the floors: Sweep, spot-clean, mop, and let the floor dry.
Conclusion: Make Kitchen Cleaning Easier With a Consistent Routine
A clean, organized kitchen does not have to require an exhausting day of scrubbing. By following this six-step kitchen cleaning system, you can break a large job into manageable tasks and approach each surface in a logical order.
Start by clearing the space, remove dry debris before wiping, and allow suitable cleaners to work according to their labels. Continue from cabinets and appliances to counters and the sink, reset your everyday essentials, and finish with the floors. This sequence helps reduce repeated work while making the kitchen easier to maintain.
The real secret is consistency. Small daily resets prevent clutter and food residue from building up, while a regular deep cleaning routine takes care of the areas that need more attention. Adapt the schedule to your home, choose products that suit your surfaces, and focus on steady progress rather than perfection.
Keep this six-step kitchen cleaning checklist handy whenever your kitchen needs a refresh. With a clear plan and a few practical habits, creating a tidy, comfortable kitchen can become a much simpler part of your routine.
Tags
Kitchen Cleaning Checklist
Deep Cleaning Tips
Kitchen Cleaning Routine
Home Organization
Cleaning Schedule
Kitchen Reset
Cleaning Hacks