DIY Mani-Pedi at Home Easy Steps for Beautiful Hands and Feet
A relaxing spa day does not have to involve an expensive salon appointment. With a few simple supplies and some time for self-care, you can enjoy a refreshing DIY mani-pedi at home and give your hands and feet the attention they deserve. From warm water soaks and gentle exfoliation to nourishing homemade masks and moisturizing creams, this easy at-home manicure and pedicure routine offers a practical way to maintain soft skin, neat nails, and a polished appearance.
Whether you are preparing for a special occasion, refreshing your weekly beauty routine, or simply looking for an affordable way to unwind, a homemade manicure and pedicure can become a rewarding part of your self-care ritual. The key is to work gently, use skin-friendly ingredients, and finish with plenty of moisture.
Key Takeaways
- Prepare your hands and feet with a short, comfortable warm-water soak.
- Exfoliate gently to help remove loose, flaky surface skin without causing irritation.
- Use simple foot and hand masks made with suitable ingredients for a pampering treatment.
- Rinse thoroughly and apply a nourishing moisturizer to help maintain soft skin.
- Keep nail tools clean and avoid cutting cuticles or scrubbing sensitive skin.
- Repeat your at-home mani-pedi routine as needed, adjusting the frequency to your skin’s condition.
Why Try a DIY Mani-Pedi at Home?
An at-home manicure and pedicure combines basic nail care with a relaxing beauty treatment. Instead of treating your hands and feet as an afterthought, you can build a simple routine that gives them regular attention. The process is easy to adapt to your schedule, budget, and personal preferences.
An Affordable Alternative to Salon Treatments
One of the biggest benefits of a DIY mani-pedi is that many of the supplies can be reused. A clean basin, nail file, soft towel, moisturizer, and a few basic nail-care tools can help you create a comfortable beauty station at home. You can also use suitable household ingredients for occasional skin treatments instead of purchasing a large collection of specialty products.
However, homemade treatments should complement basic nail care rather than replace appropriate professional attention when a problem develops. Persistent nail discoloration, painful ingrown nails, swelling, or signs of infection deserve evaluation by a qualified healthcare professional.
A Relaxing Self-Care Ritual
Setting aside a little time for yourself can make an ordinary evening feel more special. Prepare a clean space, gather your supplies, and enjoy a calm atmosphere while your hands and feet receive some extra care. A soft towel, gentle lighting, and a favorite relaxing playlist can make the experience feel like a mini home spa.
The routine also encourages consistency. When basic nail care becomes part of your regular schedule, it is easier to notice dryness, rough patches, chipped nails, or areas that need a little extra moisture.
What You Need for an At-Home Manicure and Pedicure
Before starting your DIY mani-pedi, gather everything you need. Having your supplies ready helps keep the process organized and reduces the temptation to reach for products with wet hands or feet.
Essential Supplies
- Two clean basins: One for your feet and another for your hands, if possible.
- Warm water: Comfortable to the touch rather than hot.
- Mild cleanser: A gentle soap or suitable shampoo formulated for skin.
- Soft towels: Use separate clean towels for your hands and feet.
- Nail clippers and a nail file: Clean tools for shaping nails carefully.
- Gentle exfoliating product: A mild, skin-friendly scrub, if your skin tolerates exfoliation.
- Moisturizer: A nourishing hand cream or body lotion.
- Cuticle oil: An optional product for moisturizing the skin around your nails.
- Optional nail polish: Base coat, color, and top coat if you want a polished finish.
You can also prepare a simple mask using suitable ingredients such as plain yogurt or aloe vera gel, provided they agree with your skin. Homemade mixtures are optional. A fragrance-free moisturizer can be just as useful and is often easier to use safely.
Important: Natural ingredients are not automatically gentle or suitable for everyone. Lemon juice, strong fragrances, and abrasive sugar or coffee scrubs may irritate sensitive or cracked skin. Avoid applying acidic or gritty mixtures to broken skin, and stop using any product that causes burning, itching, or redness.
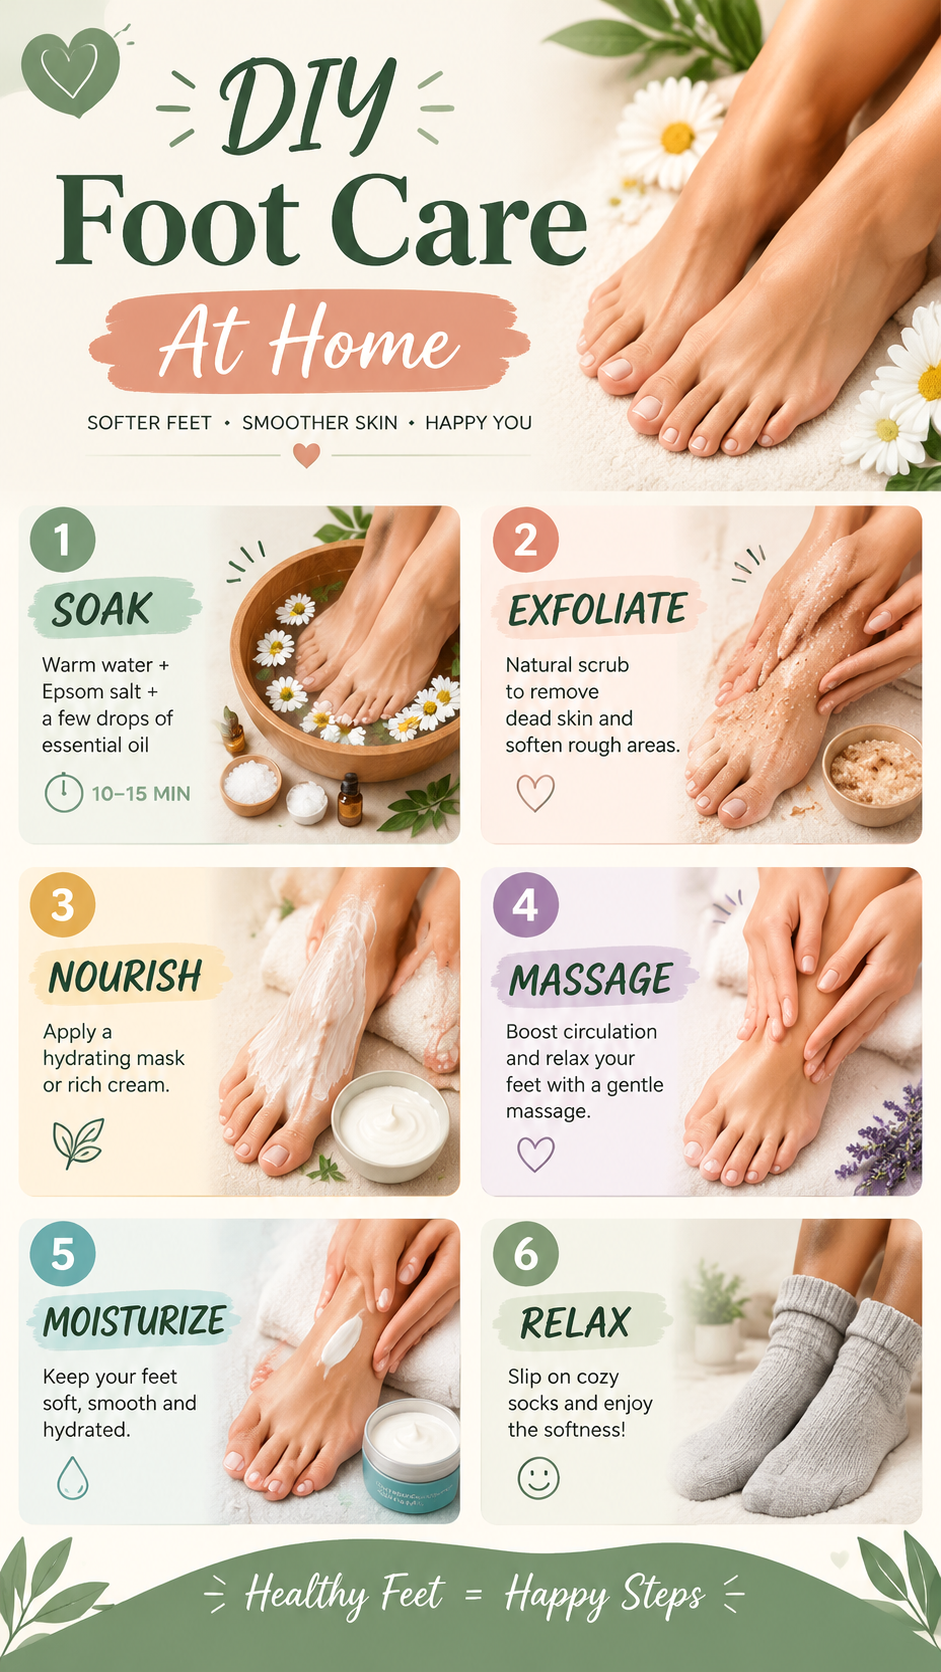
Step 1: Soak Your Feet and Hands
The first step in a relaxing home mani-pedi is a brief warm-water soak. It helps wash away surface dirt and can make the skin feel more comfortable before you trim or shape your nails. The goal is gentle cleansing, not prolonged soaking.
How to Prepare a Foot Soak
- Wash a basin thoroughly and fill it with comfortably warm water.
- Add a small amount of mild cleanser if desired.
- Place your feet in the water for approximately five to ten minutes.
- Relax while the water loosens surface dirt and softens the skin slightly.
- Remove your feet and pat them dry with a clean towel, paying attention to the spaces between your toes.
The visual inspiration for a spa-style foot soak often includes rose petals, lemon slices, or decorative flowers. These can create a pretty presentation, but they are not necessary for effective foot care. Avoid putting lemon juice directly into the water if your skin is sensitive or irritated.
How to Prepare a Hand Soak
- Fill a separate clean bowl with warm water.
- Add a small amount of mild cleanser if needed.
- Soak your hands for about five minutes, or less if your skin becomes dry.
- Remove your hands and pat them dry gently.
- Apply a little moisturizer if your skin feels tight before moving to the next step.
Although longer soaks may seem luxurious, excessive exposure to water can contribute to dryness and weaken the skin barrier. Keep the process brief and comfortable, especially if you have sensitive skin.
Step 2: Gently Exfoliate Your Hands and Feet
Exfoliation is the next part of the DIY mani-pedi routine. It helps remove loose surface flakes and can leave your skin feeling smoother. The most important detail is to use a gentle touch rather than relying on strong pressure or rough particles.
Choosing a Gentle Foot Scrub
A foot scrub can be applied to the tops of your feet and other areas with healthy, intact skin. If you use a prepared exfoliating product, follow the label instructions and massage it gently before rinsing thoroughly.
Homemade sugar and coffee mixtures are popular in DIY beauty routines, but their grainy texture may be too abrasive for delicate skin. They are not necessary for a successful pedicure. Avoid vigorous scrubbing, particularly around the heels, toes, and any rough areas that are cracked or painful.
A Simple Exfoliation Routine
- Apply a small amount of a gentle exfoliating product to damp skin.
- Massage lightly using small circular movements.
- Keep pressure minimal and avoid irritated areas.
- Rinse away all residue with lukewarm water.
- Pat the skin dry before applying moisturizer.
Exfoliating Your Hands
The skin on your hands is exposed to frequent washing, cleaning products, weather changes, and other sources of dryness. For this reason, gentle care is especially important. Choose a mild exfoliating product if you need one, and use it sparingly rather than scrubbing your hands every day.
Massage the product lightly over the backs of your hands, avoiding irritated skin and the delicate areas around your nails. Rinse thoroughly, then apply hand cream. If your hands are already dry, flaky, or sensitive, skip exfoliation and focus on moisturizing instead.
Expert Insight
Smooth skin does not require aggressive scrubbing. Gentle cleansing and consistent moisturizing are usually more useful than repeatedly trying to remove every rough patch. If your heels are deeply cracked or your skin is painful, avoid DIY exfoliation and seek appropriate advice.
Step 3: Apply a Foot Mask
A foot mask adds a pampering touch to your home pedicure. In a simple routine, the mask can help condition the skin before you rinse and moisturize. The image-inspired combination of chickpea flour, turmeric, and yogurt is one example of a traditional homemade beauty mixture, but it is not essential and has not been established as a treatment for foot conditions.
An Optional Homemade Foot Mask
If you want to experiment with a homemade mask, choose ingredients that you already know your skin tolerates. A small amount of plain, unsweetened yogurt may be used as a brief cosmetic treatment on healthy skin, although it is not a substitute for a formulated moisturizer. Do not apply food-based mixtures to cuts, cracked heels, or irritated areas.
For a traditional chickpea flour and yogurt mixture, combine a little chickpea flour with enough plain yogurt to create a smooth paste. Turmeric is optional and may stain skin, clothing, and towels. Patch-test the mixture on a small area first, and avoid it if you have a known sensitivity to any ingredient.
- Make only a small amount of the mixture immediately before use.
- Spread a thin layer over clean, intact skin on the feet.
- Leave it on briefly, following your skin’s comfort rather than allowing it to become uncomfortably dry.
- Rinse thoroughly with lukewarm water.
- Pat dry and apply a suitable moisturizer.
Do not store leftover homemade masks for later use. Mixtures made from fresh food ingredients can spoil or become contaminated, so prepare them for one-time use and discard any remainder.
Step 4: Pamper Your Hands With a Nourishing Mask
A hand mask can make your DIY manicure feel like a complete spa treatment. After soaking and gently cleansing your hands, you can apply a suitable moisturizing mask or simply use a generous layer of hand cream. Both approaches focus on helping the skin retain moisture.
A Simple Hand-Care Treatment
For a low-effort option, apply a fragrance-free hand cream to clean hands and allow it to absorb. If your skin is particularly dry, a thicker cream or ointment may be helpful. Follow the product directions and avoid applying anything that causes irritation.
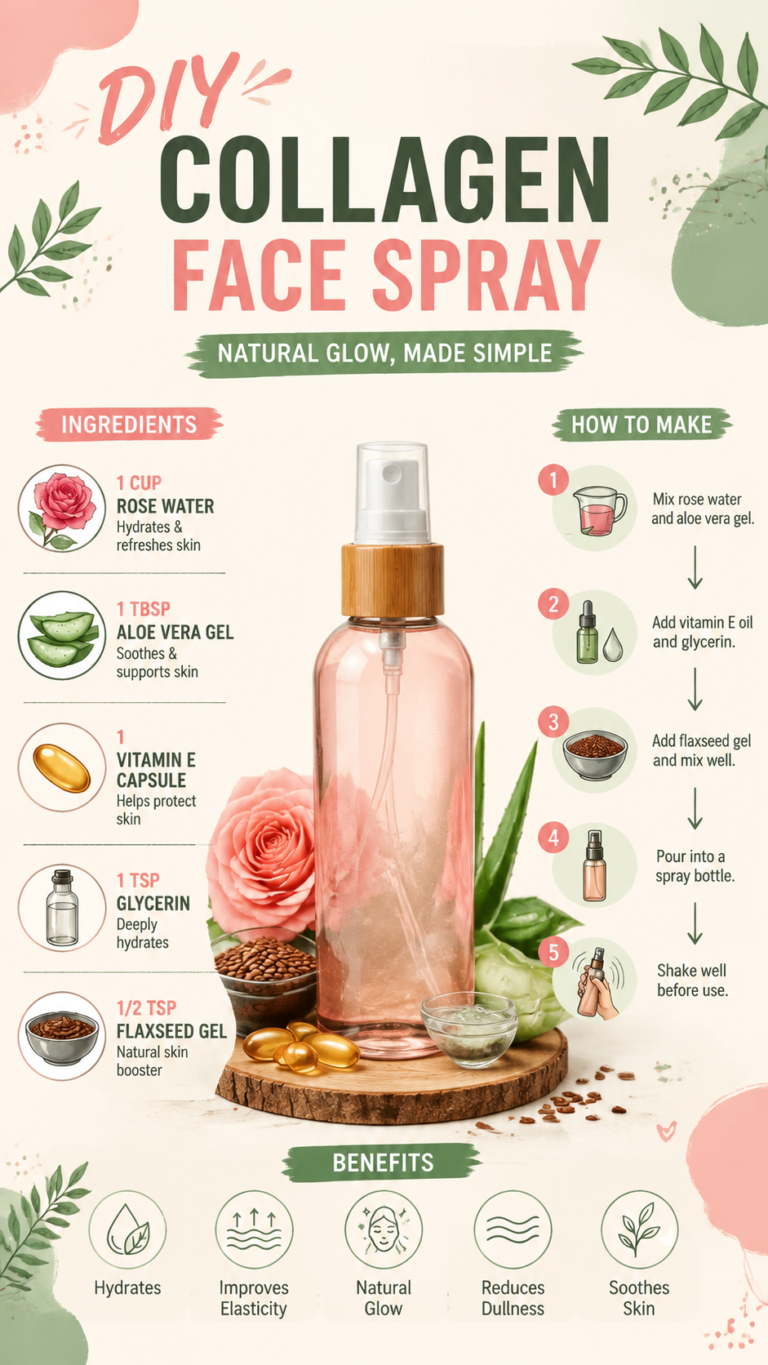
If you prefer the homemade beauty approach shown in many spa-inspired routines, a small amount of chickpea flour mixed with plain yogurt can create a temporary cosmetic mask for healthy skin. Rose water is sometimes added for fragrance, but it is optional and may irritate sensitive skin, especially when fragranced or formulated with alcohol.
- Wash your hands and dry them gently.
- Apply a thin layer of your chosen mask or a generous amount of hand cream.
- Leave the treatment on briefly, provided it remains comfortable.
- Rinse off any homemade mixture completely.
- Finish with moisturizer, paying attention to the backs of your hands and the skin around your nails.
For the simplest and most dependable routine, use a moisturizer formulated for hands rather than relying on a homemade mask. Ingredients such as glycerin and petrolatum can help support skin hydration when included in appropriate skincare products.
Step 5: Shape and Care for Your Nails
Once your hands and feet are clean, turn your attention to nail care. A neat nail shape can make your manicure and pedicure look more polished, even if you do not use colored nail polish.
How to Shape Fingernails
- Use clean nail clippers to trim nails gradually if they are too long.
- File in one direction where practical to create a smooth edge.
- Choose a rounded or softly squared shape that suits your natural nails.
- Avoid filing deeply into the corners or cutting nails extremely short.
- Apply cuticle oil or moisturizer to the skin around the nails.
Cuticles help protect the area where the nail grows, so avoid cutting them or aggressively pushing them back. If you have loose, painful skin around a nail, do not pull or tear it. Clean tools and gentle handling reduce the chance of injury.
How to Shape Toenails
Toenails generally benefit from being trimmed relatively straight across. Avoid cutting the sides deeply or rounding the corners too much, as this can contribute to ingrown nails. Smooth sharp edges with a nail file and keep the surrounding skin clean.
If you have diabetes, poor circulation, reduced sensation in your feet, or a history of foot wounds, take extra care with at-home foot treatments. Professional foot-care guidance may be safer than trimming, scraping, or treating thickened nails yourself.
Step 6: Rinse and Moisturize
Moisturizing is one of the most valuable parts of a DIY mani-pedi. Cleansing and soaking can leave skin feeling dry, while a suitable moisturizer helps reduce moisture loss and supports the skin barrier.
Moisturizing Your Feet
- Rinse away any remaining mask or exfoliating product.
- Pat your feet dry with a clean towel.
- Apply a rich foot cream or body moisturizer to the tops, soles, and heels.
- Massage gently until the product is distributed evenly.
- Keep the spaces between your toes dry to avoid trapping excess moisture.
If your heels tend to become rough, a cream containing urea may help soften thickened skin when used according to its label. Avoid applying strong exfoliating products to open cracks or painful areas.
Moisturizing Your Hands
After rinsing and drying your hands, massage hand cream into the skin and around your nails. Apply moisturizer again after washing your hands throughout the day, especially during cold or dry weather.
For an extra comforting evening routine, apply a thicker layer of hand cream before bed. If you find it comfortable, you can wear clean cotton gloves to help keep the moisturizer in place. This simple habit can be useful when hands frequently feel dry.
Pro Tip: Consistency matters more than the number of products you use. A gentle wash, a suitable moisturizer, and careful nail shaping can support healthy-looking hands and feet without a complicated beauty routine.
Step 7: Finish With a Beautiful Manicure and Pedicure
If you enjoy colored nails, polish can be the final touch that completes your at-home mani-pedi. You can choose a natural finish, a classic neutral shade, a soft pink, or a bold color that matches your personal style.
A Simple Nail Polish Routine
- Make sure your nails are clean and completely dry before applying polish.
- Apply a base coat if you use one.
- Add a thin layer of your chosen nail color.
- Allow it to dry according to the product instructions before applying another thin layer.
- Finish with a top coat if desired.
- Allow sufficient drying time before putting on shoes or doing activities that may smudge the polish.
Use nail products in a well-ventilated area and follow their safety instructions. Avoid applying polish over nails that appear infected or unusually discolored. Give your nails a break from polish when needed, particularly if they become brittle or irritated.
Common DIY Mani-Pedi Mistakes to Avoid
A home spa routine should leave your skin comfortable, not sore or irritated. A few small adjustments can help you enjoy the benefits of basic nail care while avoiding unnecessary problems.
Using Water That Is Too Hot
Hot water may feel relaxing initially, but it can irritate or dry the skin. Choose comfortably warm water and keep soaking sessions brief. People with reduced sensation should be particularly cautious about water temperature.
Scrubbing Too Aggressively
Hard scrubbing can damage the skin barrier and create irritation. Do not try to remove all rough skin in one session. Use gentle movements, and skip exfoliation entirely when skin is cracked, inflamed, or sensitive.
Applying Too Many Homemade Ingredients
Combining several ingredients does not necessarily improve a beauty treatment. Lemon, fragrances, turmeric, yogurt, and abrasive particles each have different properties, and some may cause irritation or staining. Keep homemade treatments simple, use small amounts, and patch-test unfamiliar ingredients.
Ignoring Tool Hygiene
Wash reusable tools according to their care instructions, allow them to dry thoroughly, and never share personal nail tools without appropriate cleaning and disinfection. Avoid using tools that are rusty, damaged, or difficult to clean.
Forgetting Daily Moisturizing
A single spa session may leave your skin feeling softer, but everyday habits help maintain that result. Apply hand cream after washing and moisturize your feet regularly. Wear comfortable footwear and avoid walking barefoot in shared wet areas where possible.
How Often Should You Do a DIY Mani-Pedi?
The ideal frequency depends on your skin, nail growth, lifestyle, and personal preferences. You do not need to repeat every step frequently to keep your hands and feet looking neat.
- Daily: Wash gently and apply moisturizer whenever your skin feels dry.
- Weekly or as needed: Check nail length, smooth rough edges, and perform basic nail maintenance.
- Occasionally: Enjoy a complete soak, gentle exfoliation, and moisturizing treatment when your skin tolerates it.
- Whenever irritation develops: Pause exfoliation and homemade masks until the skin has recovered.
If your hands or feet become dry easily, reduce soaking and exfoliation rather than increasing them. A simpler routine may be more comfortable and effective for maintaining your skin.
Create Your Own At-Home Spa Experience
One of the best things about a DIY manicure and pedicure is how easy it is to personalize. You can keep the process minimal or turn it into a longer self-care session with a clean towel, a comfortable seat, a favorite scent that does not irritate your skin, and a calming playlist.
For a simple spa-inspired setup, place your nail tools, moisturizer, and clean towels within reach before you begin. A small bowl of warm water and a tidy workspace can make even a basic routine feel special. Decorative petals, a candle, and neatly arranged skincare products can add visual charm, but none is necessary for good nail care.
Choose a routine that fits your needs instead of trying every beauty trend you see online. If your main concern is dry hands, prioritize moisturizing. If your toenails need trimming, focus on careful shaping. If you simply want to relax, a short warm-water soak followed by moisturizer may be enough.
At a Glance: Your DIY Mani-Pedi Checklist
- Gather clean nail tools, towels, basins, and moisturizer.
- Soak hands and feet briefly in comfortably warm water.
- Exfoliate gently only if your skin is healthy and comfortable.
- Apply optional masks cautiously and rinse them off thoroughly.
- Trim and file nails carefully without cutting the cuticles.
- Moisturize hands and feet, keeping the spaces between toes dry.
- Add nail polish if desired and allow it to dry completely.
Conclusion: Enjoy Beautiful Hands and Feet at Home
A DIY mani-pedi is a simple way to combine personal grooming, relaxation, and everyday skin care. With a brief warm-water soak, gentle exfoliation when appropriate, careful nail shaping, and regular moisturizing, you can create a home spa routine that feels enjoyable without requiring expensive products or complicated techniques.
Remember that healthy-looking hands and feet start with gentle care. Choose products your skin tolerates, keep your tools clean, avoid aggressive scrubbing, and give your skin time to recover whenever it feels irritated. Homemade masks can add a fun touch, but they are optional, and a reliable moisturizer is often all you need.
Set aside a little time, prepare your favorite beauty essentials, and enjoy a relaxing manicure and pedicure at your own pace. Whether you prefer natural nails or a fresh coat of polish, this easy routine can help make self-care a comfortable and rewarding habit. Save this guide for your next at-home spa day and revisit it whenever your hands and feet need a little extra attention.
Tags
DIY Mani-Pedi
At-Home Pedicure
DIY Manicure
Hand Care
Foot Care
Home Spa Routine
Natural Beauty Tips
Self-Care Ideas