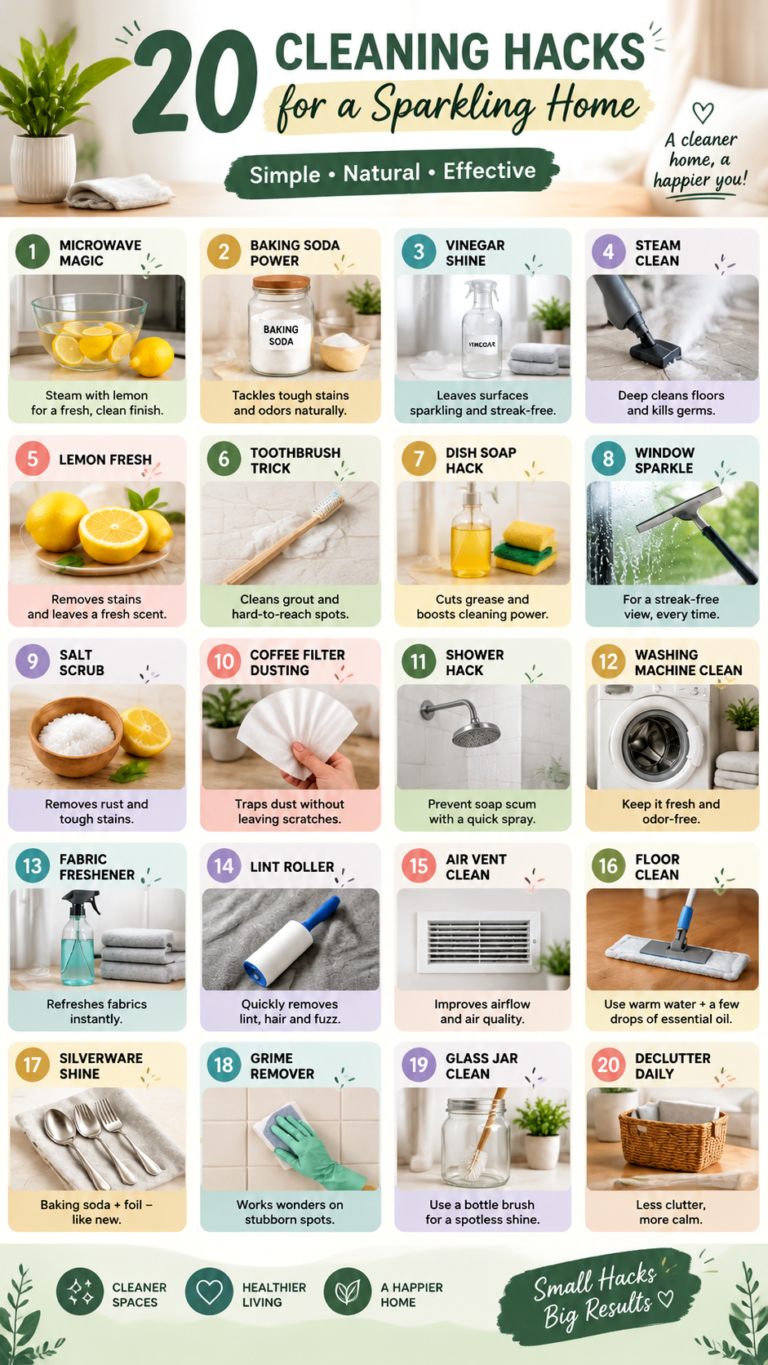

How to Clean Windows Without Streaks Easy Step-by-Step Window Cleaning Guide
Clean, streak-free windows can completely transform the look and feel of a home. Natural light shines brighter, rooms feel fresher, and the entire space appears more inviting. Yet many people struggle with cloudy glass, stubborn streaks, and cleaning methods that seem to create more mess than results. The good news is that achieving sparkling windows does not require expensive products or professional equipment. With the right tools, a simple cleaning solution, and a proven technique, anyone can enjoy crystal-clear windows throughout the year.
Whether you are tackling interior glass, exterior windows, or simply refreshing your home before a special occasion, this guide covers everything you need to know about effective window cleaning.
Key Takeaways
- Use microfiber cloths and a quality squeegee for the best results.
- A simple soap or vinegar solution can clean windows effectively.
- Clean on cloudy days to reduce streaking.
- Always remove dust and dirt before applying cleaner.
- Dry window edges thoroughly to prevent water marks.
- Regular maintenance keeps windows brighter and easier to clean.
Why Clean Windows Matter
Windows are one of the most noticeable features in any home. Dirty glass can make even a clean room appear dull, while spotless windows create an immediate sense of freshness and care. Beyond aesthetics, clean windows allow more natural sunlight into your living space, helping rooms feel larger, brighter, and more welcoming.
Regular cleaning also helps extend the lifespan of windows. Dirt, dust, pollen, and environmental residue can gradually accumulate on glass surfaces and frames. Over time, these contaminants may contribute to staining, corrosion, or reduced visibility.
Important: Consistent window cleaning is not just about appearance. It helps preserve glass clarity, supports better indoor lighting, and prevents long-term buildup that can become difficult to remove.
Essential Window Cleaning Supplies
Before starting, gather a few basic tools that make the process easier and more effective.
Must-Have Tools
- Squeegee
- Microfiber cloths
- Bucket
- Spray bottle
- Sponge or soft cleaning pad
- Dry towel for edges and frames
Microfiber cloths are particularly valuable because they trap dirt effectively and leave behind minimal lint. A quality squeegee helps eliminate excess water while reducing streak formation.
Choosing a Cleaning Solution
You do not need complicated products to achieve excellent results. Two popular options include:
- Warm water mixed with a few drops of mild dish soap
- White vinegar diluted with warm water
Both solutions can effectively remove dirt, grease, fingerprints, and everyday grime without leaving excessive residue.
Preparing Windows Before Cleaning
One of the most overlooked steps in window cleaning happens before any liquid touches the glass. Dust, cobwebs, and loose debris should be removed first.
Use a dry microfiber cloth, duster, or soft brush to clean:
- Window frames
- Window tracks
- Sills
- Glass surfaces
This simple step prevents dirt from turning into muddy streaks once cleaning solution is applied.
Check the Weather
Many homeowners make the mistake of cleaning windows in direct sunlight. While it may seem ideal, sunlight causes cleaning solutions to dry too quickly, often leaving streaks behind.
The best conditions for window cleaning are:
- Cloudy days
- Mild temperatures
- Low wind conditions
Why This Matters
- Slow drying gives you more time to remove residue.
- Reduced glare makes streaks easier to spot.
- Cleaning solutions work more effectively on cooler glass.
Step-by-Step Window Cleaning Process
Following a structured process helps deliver professional-looking results.
Step 1: Remove Dust and Debris
Start by wiping away loose dirt, dust, pollen, and cobwebs from the window and surrounding frame.
Step 2: Apply the Cleaning Solution
Spray the glass evenly or apply the solution using a sponge. Avoid oversaturating the window. A light but thorough coating is usually sufficient.
Step 3: Loosen Dirt and Grime
Use a sponge or microfiber cloth to gently scrub the glass. Focus on fingerprints, smudges, and any areas with visible buildup.
Pay extra attention to corners where dirt often accumulates unnoticed.
Step 4: Use a Squeegee Correctly
The squeegee is the key to a streak-free finish. Begin at the top of the window and pull downward using smooth, straight strokes.
After each pass, wipe the squeegee blade with a clean cloth. This prevents dirt and excess water from being redistributed across the glass.
Pro Tip: Always overlap each squeegee pass slightly. This ensures complete coverage and helps eliminate streak lines between strokes.
Step 5: Dry the Edges
Even after using a squeegee, moisture can remain around the edges of the glass. Use a clean microfiber cloth or towel to dry these areas thoroughly.
This final touch often makes the difference between a good result and a truly professional finish.
The Benefits of Microfiber Cloths
Microfiber cloths have become a favorite among cleaning professionals for several reasons.
- They attract and hold dirt particles.
- They reduce lint compared to paper towels.
- They absorb moisture efficiently.
- They can be reused many times.
- They help create a polished, streak-free appearance.
Investing in a few quality microfiber cloths can significantly improve your cleaning results throughout the home.
Common Window Cleaning Mistakes
Even with the right tools, a few common errors can undermine your efforts.
Cleaning in Direct Sunlight
Rapid drying leaves residue before you can properly remove it.
Using Dirty Cloths
Soiled cloths simply spread dirt and oils back onto the glass.
Using Too Much Product
Excess cleaner often leaves behind residue that creates streaks.
Skipping the Squeegee
While cloth-only cleaning can work, a squeegee dramatically improves consistency and clarity.
Ignoring Frames and Tracks
Dirty frames can quickly transfer debris back onto freshly cleaned glass.
Important: Many streak problems come from excess cleaning product rather than insufficient cleaning. Less solution often produces cleaner glass.
Natural Cleaning Solutions for Windows
Many homeowners prefer natural cleaning methods that are simple, affordable, and effective.
Vinegar and Water
White vinegar is widely used because it helps dissolve mineral deposits, grease, and residue without harsh chemicals.
Dish Soap and Warm Water
A few drops of mild dish soap can effectively break down dirt and oils while remaining gentle on glass surfaces.
Lemon for Extra Shine
Adding a small amount of lemon juice to a cleaning mixture may enhance freshness while contributing to a bright finish.
Cleaning Interior vs Exterior Windows
Interior windows typically collect fingerprints, dust, and household residue. Exterior windows face additional challenges such as:
- Rain spots
- Pollen
- Bird droppings
- Airborne pollutants
- Outdoor dust
Exterior glass may require extra scrubbing before squeegeeing. Regular maintenance helps prevent heavy buildup and reduces cleaning time.
How Often Should Windows Be Cleaned?
The ideal schedule depends on location, climate, and personal preference.
- Interior windows: every 1 to 3 months
- Exterior windows: every 3 to 6 months
- High-traffic areas: more frequently as needed
Homes near busy roads, construction zones, or coastal areas may benefit from more frequent cleaning due to increased environmental exposure.
Keeping Windows Cleaner for Longer
After investing time in cleaning, most homeowners want results that last.
Regular Dusting
Remove dust from frames and sills before it accumulates.
Address Spills Quickly
Clean fingerprints, pet nose prints, and smudges as soon as possible.
Maintain Window Surroundings
Keep nearby plants, screens, and outdoor surfaces clean to reduce debris transfer.
Pro Tip: A quick monthly wipe-down prevents heavy buildup and makes deep cleaning sessions faster and easier throughout the year.
At a Glance
- Dust first before applying any cleaner.
- Use microfiber cloths for better results.
- Clean on cloudy days whenever possible.
- Wipe the squeegee blade after each pass.
- Dry edges thoroughly to prevent marks.
Conclusion
Learning how to clean windows properly can make a remarkable difference in the appearance and comfort of your home. By using simple tools such as microfiber cloths, a squeegee, and an effective cleaning solution, you can achieve professional-looking results without unnecessary expense.
The key is following a consistent process: remove dust first, apply the right solution, clean thoroughly, use a squeegee correctly, and finish by drying the edges. Combined with regular maintenance and attention to common mistakes, these techniques help create sparkling windows that maximize natural light and enhance the overall atmosphere of your living space.
With a little effort and the right approach, crystal-clear windows can become a simple part of your home cleaning routine.
Tags
Window Cleaning Clean Windows Streak Free Windows Home Cleaning Tips DIY Cleaning Microfiber Cloths Housekeeping Glass Cleaning