Kitchen Cleaning Checklist Step-by-Step Guide for a Cleaner, Fresher Home
A clean kitchen makes everyday cooking easier, meal preparation more enjoyable, and your home feel more welcoming. But keeping your kitchen spotless can feel overwhelming when dishes pile up, countertops become cluttered, and grease collects around appliances. The secret is to follow a simple kitchen cleaning checklist that breaks the entire process into manageable steps. Instead of tackling everything at once, you can clean one area at a time and enjoy noticeable results without wasting your whole day.
This step-by-step kitchen cleaning routine covers everything from decluttering counters and cleaning appliances to scrubbing the sink, wiping cabinets, mopping floors, and organizing pantry essentials. Whether you are preparing for a weekly reset or giving your kitchen a thorough deep clean, these practical kitchen cleaning tips will help you create a fresher, tidier, and more functional space.
Key Takeaways
- Declutter kitchen counters before starting to clean for faster, more effective results.
- Work from top to bottom and clean surfaces before tackling the floors.
- Use suitable cleaning products for appliances, countertops, sinks, and cabinets.
- Organize pantry items and restock frequently used kitchen essentials.
- Maintain a clean kitchen with small daily habits instead of relying entirely on deep cleaning.
- Finish with a final inspection to catch missed spots and leave the kitchen looking fresh.
Your Complete Step-by-Step Kitchen Cleaning Checklist
The easiest way to clean a kitchen is to follow a consistent order. Start by removing clutter, move on to appliances and surfaces, and finish with the floors and final details. This approach helps prevent dust, crumbs, and cleaning residue from settling on areas you have already cleaned.
Before you begin, gather your supplies so you do not have to stop halfway through the process. Having everything within reach makes kitchen cleaning more efficient and helps you stay focused.
Step 1: Clear and Declutter Kitchen Counters
Begin by removing unnecessary items from your kitchen countertops. Put away dishes, food packages, cooking utensils, mail, and anything else that does not belong on the surface. Return frequently used items to their designated places and discard empty packaging or unwanted clutter.
A clutter-free kitchen is easier to clean because you have more room to wipe surfaces thoroughly. It also makes the entire space look more organized, even before you start scrubbing.
Your decluttering checklist
- Remove unnecessary items from countertops.
- Put away dishes, food, and cooking supplies.
- Return misplaced objects to their proper storage areas.
- Keep only the kitchen essentials you use regularly.
- Move small appliances temporarily if you need to clean beneath them.
Pro Tip: Give everyday items a designated home. When everything has a place, clearing your kitchen counters becomes a quick daily task rather than a major cleaning project.
Step 2: Clean Kitchen Appliances
Kitchen appliances collect grease, fingerprints, food splashes, and crumbs through everyday use. Cleaning them early helps remove visible dirt before you move on to the surrounding countertops and cabinets.
Start with the stovetop, paying attention to burner areas, knobs, and spots where food has spilled. Use a cleaner suitable for your stove’s material and follow the manufacturer’s instructions. Allow stubborn residue to soften before wiping rather than scraping aggressively.
Next, clean the refrigerator exterior, handles, and accessible interior shelves if needed. Remove expired food and wipe spills with a suitable cleaner. If your refrigerator needs a deeper clean, work shelf by shelf to keep the task manageable.
- Wipe the stove and burners according to the manufacturer’s guidance.
- Clean the refrigerator shelves, handles, and doors as needed.
- Remove fingerprints and food splashes from appliance exteriors.
- Clean the microwave interior and exterior if necessary.
- Dry surfaces with a clean microfiber cloth to reduce streaks.
For greasy stovetops, use a suitable degreaser and allow it to work for the recommended time. Always make sure the appliance is cool before cleaning, and avoid using abrasive materials that could damage delicate finishes.
Step 3: Scrub the Kitchen Sink and Faucet
The kitchen sink handles food scraps, dirty dishes, and frequent water use, making it an important part of your cleaning routine. Start by removing dishes and debris, then rinse the basin to loosen remaining particles.
Apply a suitable sink cleaner and scrub the basin, corners, and drain area with a nonabrasive sponge or brush. Pay attention to the faucet base, handles, and other places where water deposits can accumulate.
Rinse thoroughly and dry the faucet with a clean microfiber cloth for a polished finish. If you notice mineral deposits, use a product designed for your sink and faucet materials. Avoid acidic cleaners on surfaces that can be damaged by them, including some natural stones and metal finishes.
- Remove food scraps and rinse the basin.
- Scrub the sink and drain area.
- Wipe faucet handles and the base.
- Remove suitable mineral deposits and visible stains.
- Rinse and dry the surfaces thoroughly.
A clean sink makes the entire kitchen feel fresher. For everyday maintenance, rinse away food particles after washing dishes and wipe the basin before going to bed.
Step 4: Wipe Kitchen Cabinets and Drawers
Cabinet doors and drawer fronts often collect fingerprints, grease, dust, and cooking splashes. Although these marks may develop gradually, they can make an otherwise clean kitchen look dull.
Use a soft cloth dampened with a cleaner suitable for your cabinet finish. Wipe the doors, edges, handles, and frequently touched areas. Avoid soaking wood cabinets or allowing moisture to remain around seams and joints.
For stubborn grease, use a compatible cleaning solution and test it on an inconspicuous area first. Pay particular attention to cabinets near the stove, where cooking residue tends to accumulate.
- Wipe cabinet doors and drawer fronts.
- Clean handles, knobs, and frequently touched edges.
- Remove visible grease and fingerprints.
- Dry surfaces when necessary to prevent moisture damage.
- Organize cabinet interiors if they need attention.
Cleaning cabinet interiors can be a separate task if you are short on time. Focus on the most frequently used drawers and cupboards first, then work through the remaining storage areas during a deeper kitchen reset.
Step 5: Clean Countertops and Backsplash
Countertops are among the most frequently used surfaces in a kitchen. They may collect crumbs, cooking oil, drink spills, and food residue throughout the day. Once the clutter and appliances have been addressed, cleaning these surfaces becomes much easier.
Remove remaining objects, brush crumbs into the trash, and wipe the countertop with a cleaner approved for its material. Different surfaces require different care, so check the manufacturer’s recommendations before using vinegar, abrasive powders, or acidic cleaning products.
Next, clean the backsplash behind the stove, sink, and food preparation areas. Grease and splashes can cling to tile grout and other textured surfaces, so use a suitable cloth or brush to reach corners and edges.
- Wipe the entire countertop, including edges and corners.
- Clean the backsplash behind cooking and washing areas.
- Remove visible stains and food residue with an appropriate product.
- Pay attention to grout lines and hard-to-reach spots.
- Dry surfaces if recommended for the material.
Important: Always match your cleaning product to the surface. Natural stone, sealed wood, laminate, stainless steel, and glass can respond differently to cleaners. Never mix cleaning chemicals, especially bleach with vinegar, ammonia, or other incompatible products.
Step 6: Sweep or Vacuum and Mop the Floors
Kitchen floors collect crumbs, dust, grease, and small food particles that fall during meal preparation. Leave floor cleaning until most other tasks are complete so you do not need to clean the same area twice.
Begin by sweeping or vacuuming the entire floor. Move lightweight chairs or other easy-to-move objects when practical, and pay attention to corners, cabinet edges, and the area beneath the table.
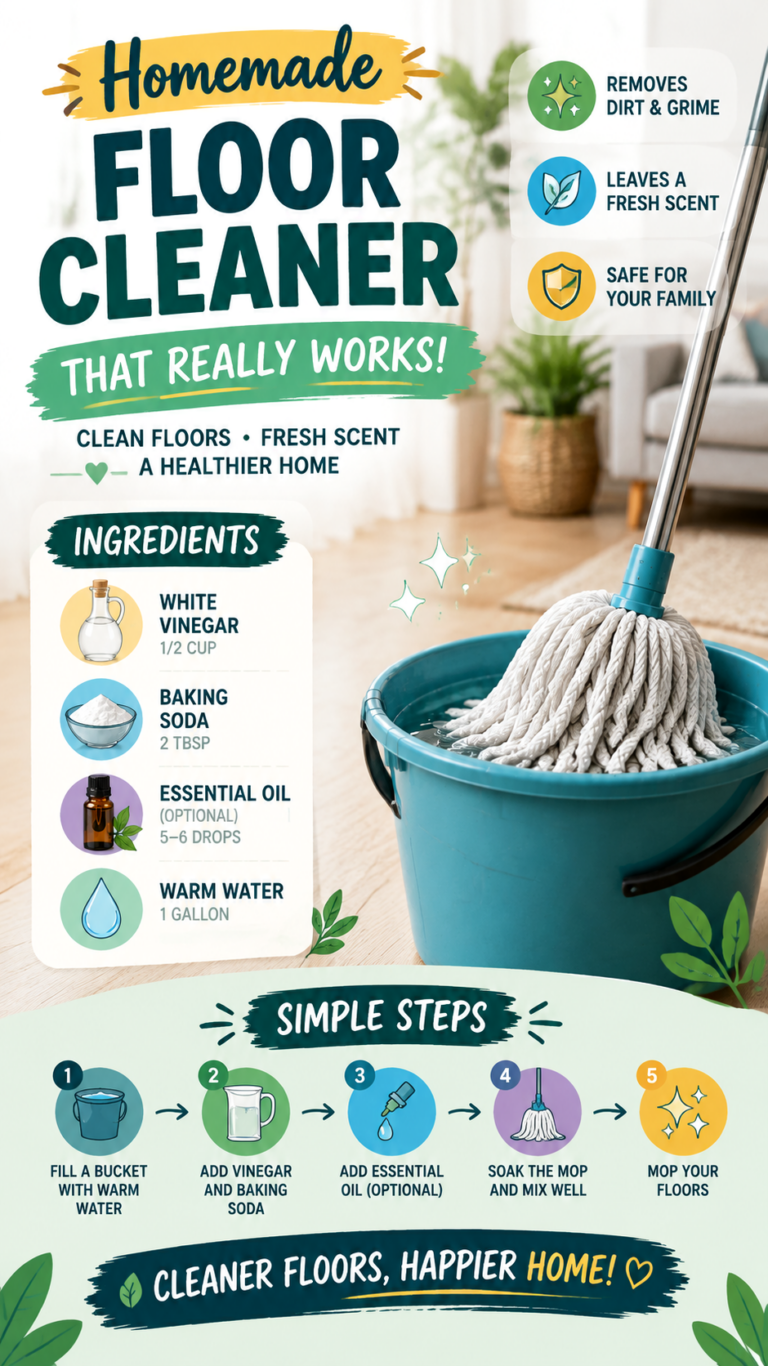
Next, mop using a cleaning solution suitable for your flooring. Avoid excessive water on hardwood, laminate, and other moisture-sensitive materials. Follow the flooring manufacturer’s instructions and allow the surface to dry before walking across it.
- Sweep or vacuum loose dirt and crumbs.
- Clean beneath accessible furniture and along baseboards.
- Mop with a compatible floor cleaner.
- Pay attention to corners and areas near the stove and sink.
- Allow the floor to dry completely before replacing moved items.
A useful technique is to work from the farthest corner toward the exit. This helps you avoid walking across freshly cleaned areas and keeps your finished floor looking neat.
Step 7: Organize and Restock the Pantry
A tidy pantry makes meal preparation easier because you can quickly find the ingredients you need. It also helps you identify items that are running low and avoid purchasing duplicates unnecessarily.
Start by grouping similar products together. Keep baking supplies in one area, breakfast ingredients in another, and frequently used cooking essentials within easy reach. Use baskets or containers when they genuinely make your storage more practical.
Check package dates, discard spoiled food, and place older items toward the front so they are more likely to be used first. Keep food in suitable, sealed containers when appropriate, and follow the storage instructions on the packaging.
- Group similar pantry items together.
- Check expiration and best-before dates.
- Restock frequently used essentials.
- Use bins or baskets to organize small packages.
- Keep heavier items on stable, accessible shelves.
- Wipe shelves when crumbs or spills are present.
You do not need a perfectly styled pantry to enjoy an organized kitchen. The goal is to make items easy to find, keep food stored properly, and simplify your daily cooking routine.
Step 8: Clean Small Kitchen Appliances
Small appliances such as coffee makers, toasters, kettles, and blenders deserve regular attention. Their exteriors can collect fingerprints and dust, while crumbs and residue may build up in removable components.
Before cleaning any appliance, switch it off, unplug it, and allow hot components to cool. Wipe the exterior with a suitable cloth, following the manufacturer’s care instructions. Never immerse an electrical appliance or its cord in water unless the manufacturer specifically permits it.
- Wipe coffee makers and other appliance exteriors.
- Remove toaster crumbs according to the manufacturer’s instructions.
- Clean removable parts as directed in the user manual.
- Address visible splashes around frequently used appliances.
- Dry components completely before reassembling or reconnecting them.
Keeping small appliances clean not only improves the appearance of your counters but also helps prevent old crumbs and residue from accumulating around your everyday cooking equipment.
Step 9: Take Out the Trash and Clean the Bin
Even a well-organized kitchen can feel unpleasant when the trash bin is full or has residue around its rim. Emptying the trash is a simple task that makes a noticeable difference in the overall freshness of the room.
Tie the garbage bag securely and transfer it to the appropriate outdoor or collection area. If the bin has spills or visible residue, clean it according to the manufacturer’s recommendations and allow it to dry before inserting a fresh liner.
- Empty the trash bin and remove the full bag.
- Check the lid, rim, and exterior for residue.
- Wash the bin when needed and dry it thoroughly.
- Replace the liner with a fresh bag.
- Check nearby surfaces for any dropped debris.
Keep spare trash bags in a convenient location so replacing the liner takes only a moment. If your household separates recycling or food waste, empty each container according to your local collection guidelines.
Step 10: Clean Windows and Add Finishing Touches
Clean windows and small finishing details can make a kitchen feel brighter and more inviting. Once the main cleaning tasks are complete, take a few minutes to wipe accessible glass, remove fingerprints, and address visible dust on light fixtures where safe.
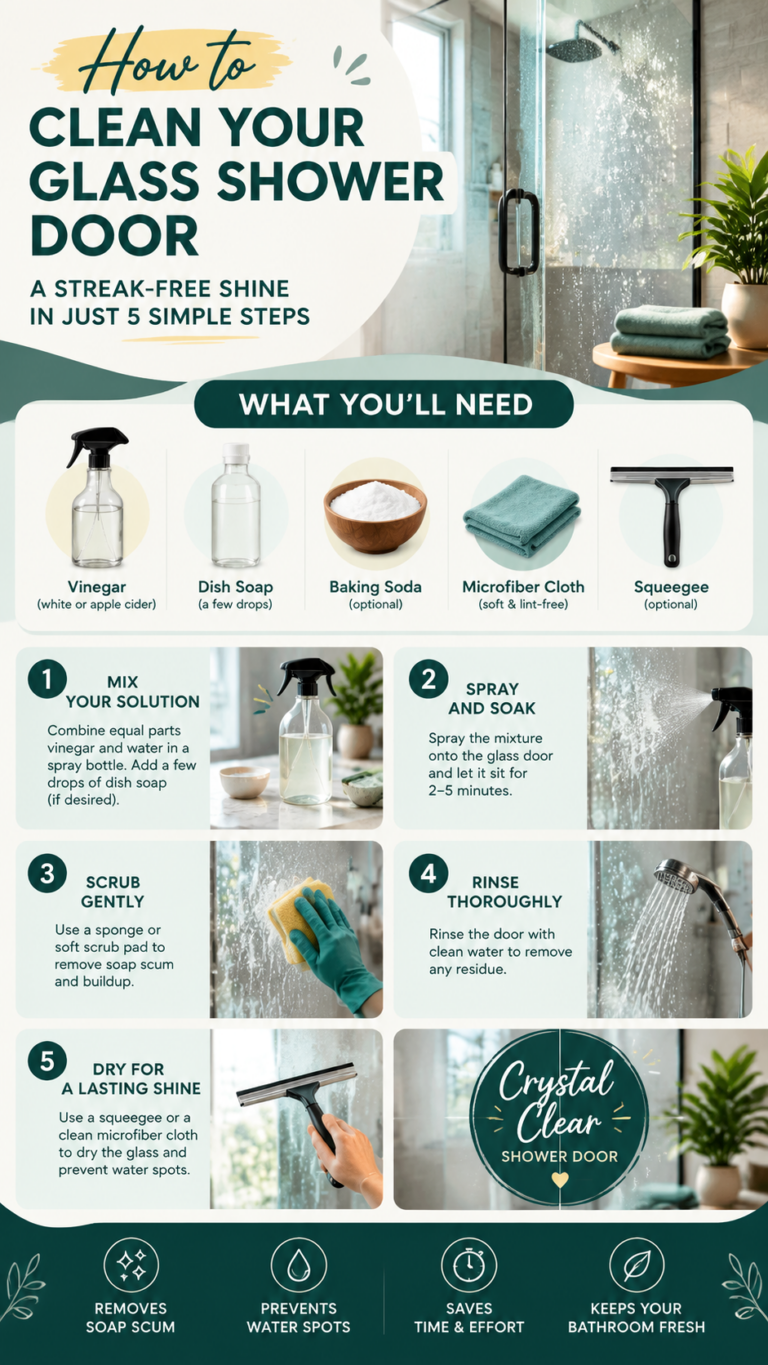
Use a glass cleaner or another suitable product on windows and glass surfaces. Wipe with a clean microfiber cloth to help reduce streaks. For light fixtures, switch off the power where appropriate and wait until the fixture is cool before cleaning it according to the manufacturer’s instructions.
- Wipe accessible windows and glass surfaces.
- Remove fingerprints from glass doors where applicable.
- Clean visible dust from accessible light fixtures.
- Straighten kitchen towels and other everyday accessories.
- Add a fresh, clean kitchen towel if needed.
Small details can have a big visual impact. You do not need to deep-clean every window during every kitchen reset, but addressing the most noticeable marks helps complete the room.
Step 11: Perform a Quick Final Check
Before finishing, step back and look at your kitchen as a whole. Check the countertops, sink, stovetop, cabinets, and floor for missed spots. This final walkthrough helps you catch small details without restarting the entire cleaning process.
Put away your cleaning supplies, return moved items to their places, and make sure everything is dry and ready to use. Replace any damp cloths that need laundering and store cleaning products safely away from food and children.
- Check that the countertops and sink are clean.
- Look for crumbs or missed spots on the floor.
- Make sure frequently touched surfaces are wiped.
- Put away cleaning tools and supplies.
- Enjoy your fresh, organized kitchen.
A final check is especially helpful before guests arrive or after a weekly deep clean. It gives you a clear sense of completion and makes it easier to maintain the results.
Step 12: Keep Your Kitchen Clean Every Day
The last step is building a few simple habits that prevent messes from becoming overwhelming. A spotless kitchen does not require constant scrubbing. Regular maintenance helps you preserve the results of your deeper cleaning sessions with less effort.
After cooking, wipe up spills, return ingredients to their storage places, and clean the surfaces you used. Load dirty dishes into the dishwasher or wash them promptly, and avoid leaving food scraps in the sink overnight.
- Wipe countertops after meal preparation.
- Clean spills as soon as it is safe to do so.
- Wash dishes or load the dishwasher regularly.
- Return ingredients and utensils to their proper places.
- Sweep visible crumbs whenever needed.
- Empty the trash before it becomes too full.
Remember: Small daily resets are easier to manage than waiting until every surface needs attention. Even five to ten minutes of routine tidying can help keep your kitchen comfortable, functional, and ready for the next meal.
Essential Kitchen Cleaning Supplies
You do not need a cupboard full of specialized products to clean your kitchen effectively. A small collection of suitable supplies can handle most routine tasks. Choose products based on the materials in your kitchen and always read the instructions before use.
Build a Practical Cleaning Kit
- Microfiber cloths: Useful for wiping countertops, cabinet fronts, appliance exteriors, and glass when paired with an appropriate cleaner.
- Nonabrasive sponges: Helpful for everyday surface cleaning without unnecessarily scratching delicate finishes.
- Scrub brush: Useful for sink corners, grout, and other areas that need extra attention.
- Dish soap: Suitable for many everyday washing tasks when used according to surface and product instructions.
- Surface cleaner: Choose a product approved for your specific countertops and cabinets.
- Degreaser: Useful for compatible surfaces affected by cooking grease.
- Glass cleaner: Helps clean windows and other appropriate glass surfaces.
- Broom or vacuum: Removes crumbs and loose dirt from kitchen floors.
- Mop: Helps remove remaining dirt using a floor-safe cleaning solution.
- Trash bags: Make waste removal and bin maintenance easier.
Store your supplies together in a safe, accessible place. Keep chemicals in their original containers, follow label directions, and never combine cleaning products. Use gloves when recommended and ventilate the area when working with products that require it.
How to Clean Your Kitchen Faster and More Efficiently
A good cleaning routine is about working smarter, not rushing through every task. With a little planning, you can reduce repeated work and keep the process organized.
Work From Top to Bottom
Start with higher surfaces that need attention, then move to countertops and appliances before finishing with the floor. This sequence helps keep dust and crumbs from landing on areas you have already cleaned.
Clean Similar Areas Together
Complete related tasks in one pass. For example, wipe the cabinet fronts and handles together, then move on to the appliances. Grouping similar jobs helps you avoid repeatedly changing supplies and moving around the kitchen.
Use a Timer for Daily Resets
If you struggle to maintain a routine, set aside a short period each day for essential tasks. Focus on the sink, counters, dishes, and visible crumbs. You can reserve cabinet interiors, detailed appliance cleaning, and pantry organization for a weekly or monthly session.
Why This Matters
A consistent cleaning order reduces duplicated effort and makes it easier to remember overlooked areas.
- Decluttering first creates space to clean thoroughly.
- Cleaning higher surfaces before floors reduces repeat work.
- Daily maintenance prevents grease, crumbs, and clutter from building up.
Common Kitchen Cleaning Mistakes to Avoid
Even a thorough cleaning routine can be less effective when the wrong products or techniques are used. A few simple precautions help protect your kitchen and make your work more worthwhile.
Using the Wrong Cleaner
Not every cleaner is suitable for every material. Acidic products can damage some natural stones and finishes, while abrasive tools may scratch stainless steel, glass, or coated surfaces. Check product labels and manufacturer recommendations before cleaning unfamiliar materials.
Cleaning Around Food Without Proper Care
Keep cleaning products away from exposed food, dishes, and food preparation tools. Follow the label directions for any required rinsing, especially on food-contact surfaces. Wash your hands after handling cleaning chemicals and store them securely when you finish.
Leaving Wet Surfaces to Air-Dry When They Need Attention
Some surfaces benefit from drying with a clean cloth to prevent water spots, streaks, or moisture damage. This is particularly important for certain metal finishes, wood surfaces, and moisture-sensitive materials. Follow the care guidance for each surface rather than applying the same method everywhere.
Forgetting Frequently Touched Areas
Cabinet handles, refrigerator handles, appliance controls, and faucet handles are touched repeatedly throughout the day. Include them in your regular routine, using a cleaner compatible with each surface and following any necessary contact-time instructions.
Create a Simple Kitchen Cleaning Schedule
A realistic cleaning schedule helps you spread out household tasks instead of saving everything for one exhausting day. Adjust the frequency to your cooking habits, household size, and how quickly different areas become dirty.
Daily Kitchen Cleaning Tasks
- Wash dishes or load the dishwasher.
- Wipe food preparation surfaces after use.
- Clean visible spills and crumbs.
- Rinse and wipe the sink.
- Return food and cooking supplies to their places.
- Check the trash and remove it when needed.
Weekly Kitchen Cleaning Tasks
- Clean the stovetop and appliance exteriors.
- Wipe cabinet fronts and handles.
- Clean the backsplash and countertops thoroughly.
- Sweep or vacuum and mop the floor.
- Clean the microwave and other frequently used small appliances.
- Check pantry supplies and wipe shelves where necessary.
Monthly or Occasional Deep Cleaning Tasks
- Clean refrigerator shelves and drawers as needed.
- Organize kitchen drawers and cabinet interiors.
- Clean accessible windows and detailed areas.
- Inspect pantry items and remove anything spoiled or expired.
- Clean the trash bin thoroughly.
- Address grease or buildup in areas that are not part of your daily routine.
This schedule is flexible rather than strict. A busy household may need to clean some surfaces more often, while less frequently used areas may need attention only when necessary. The goal is to maintain a clean, practical kitchen without making household chores feel unmanageable.
Quick Points: Kitchen Cleaning at a Glance
- Declutter: Clear counters and put misplaced items away.
- Clean appliances: Remove grease, fingerprints, and food residue safely.
- Scrub surfaces: Clean the sink, cabinets, countertops, and backsplash.
- Organize: Group pantry essentials and restock what you need.
- Finish strong: Clean the floors, empty the trash, and inspect the room.
- Maintain: Build small daily habits to keep the kitchen fresh.
Conclusion: Make Kitchen Cleaning a Simple Habit
A clean and organized kitchen does not have to require hours of exhausting work. By following a practical kitchen cleaning checklist, you can divide the process into manageable steps and make steady progress from one area to the next. Start by clearing clutter, clean appliances and surfaces carefully, organize your pantry, and finish with the floors and a final inspection.
The most effective routine is one that fits your household and is easy to repeat. Use suitable cleaning products, protect delicate surfaces, and keep food preparation areas clean and ready for everyday use. Most importantly, remember that a few minutes of daily maintenance can make your weekly cleaning session much easier.
Save this complete kitchen cleaning checklist so you can follow it during your next cleaning day. Whether you are doing a quick kitchen reset or a more thorough deep clean, these steps will help you create a fresher, tidier space where cooking and gathering feel more enjoyable.
Tags
Kitchen Cleaning
Kitchen Cleaning Checklist
Deep Cleaning Tips
Kitchen Organization
Cleaning Routine
Home Cleaning Tips
Decluttering Ideas
Clean Home Habits