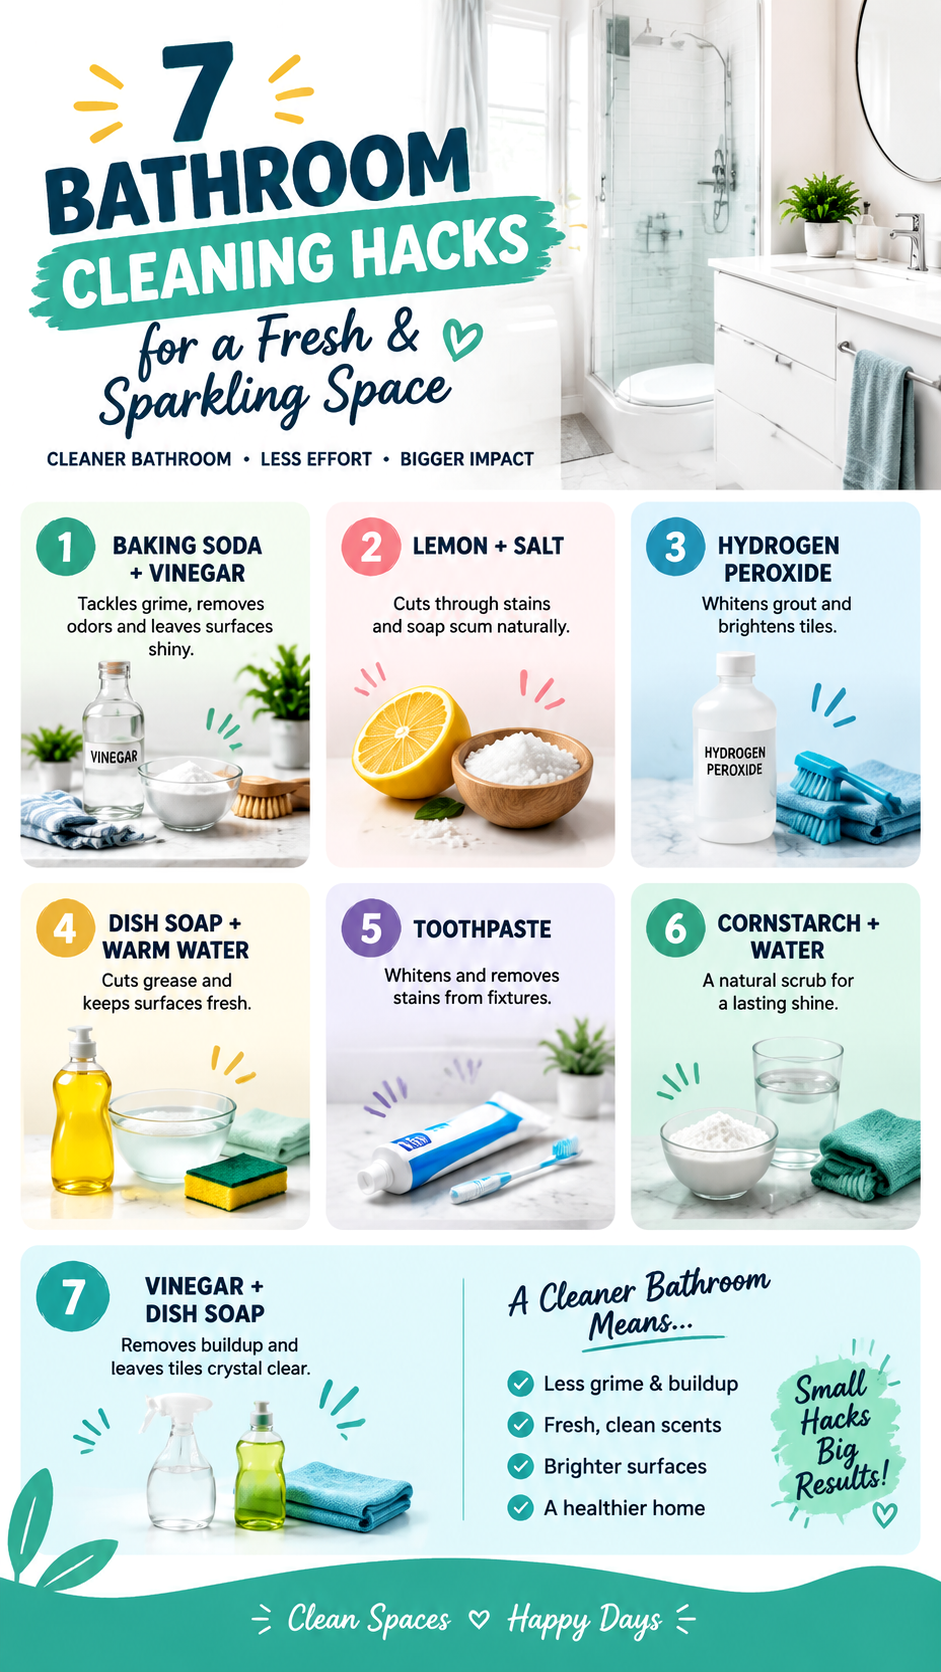
7 Bathroom Tile Cleaning Hacks for Sparkling Tiles Easy Before After Tips
Bathroom tiles can lose their shine surprisingly quickly. Soap scum, hard water marks, everyday grime, and discolored grout can make even a beautiful bathroom look tired. The good news is that you do not always need expensive cleaning products or hours of scrubbing to refresh your space. With a few simple ingredients and the right cleaning techniques, you can make bathroom tiles look cleaner, brighter, and more inviting.
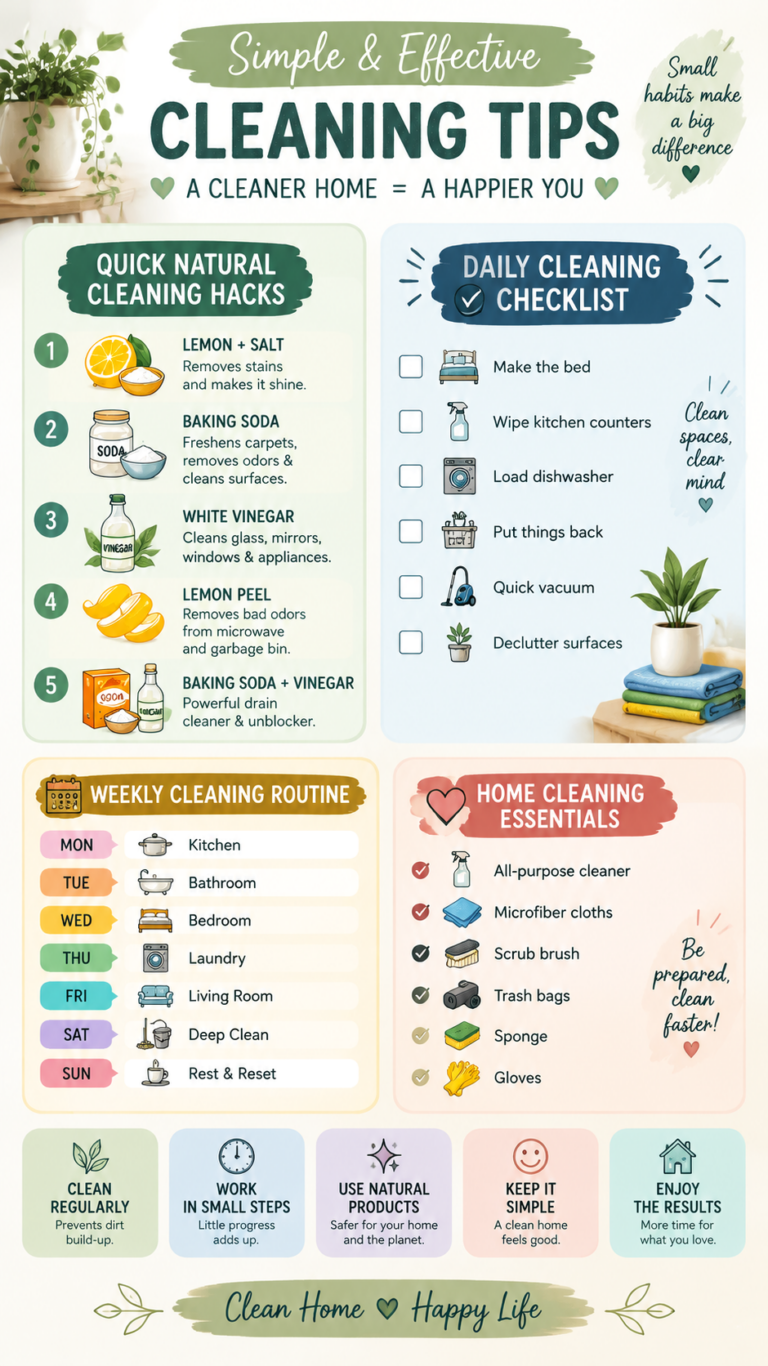
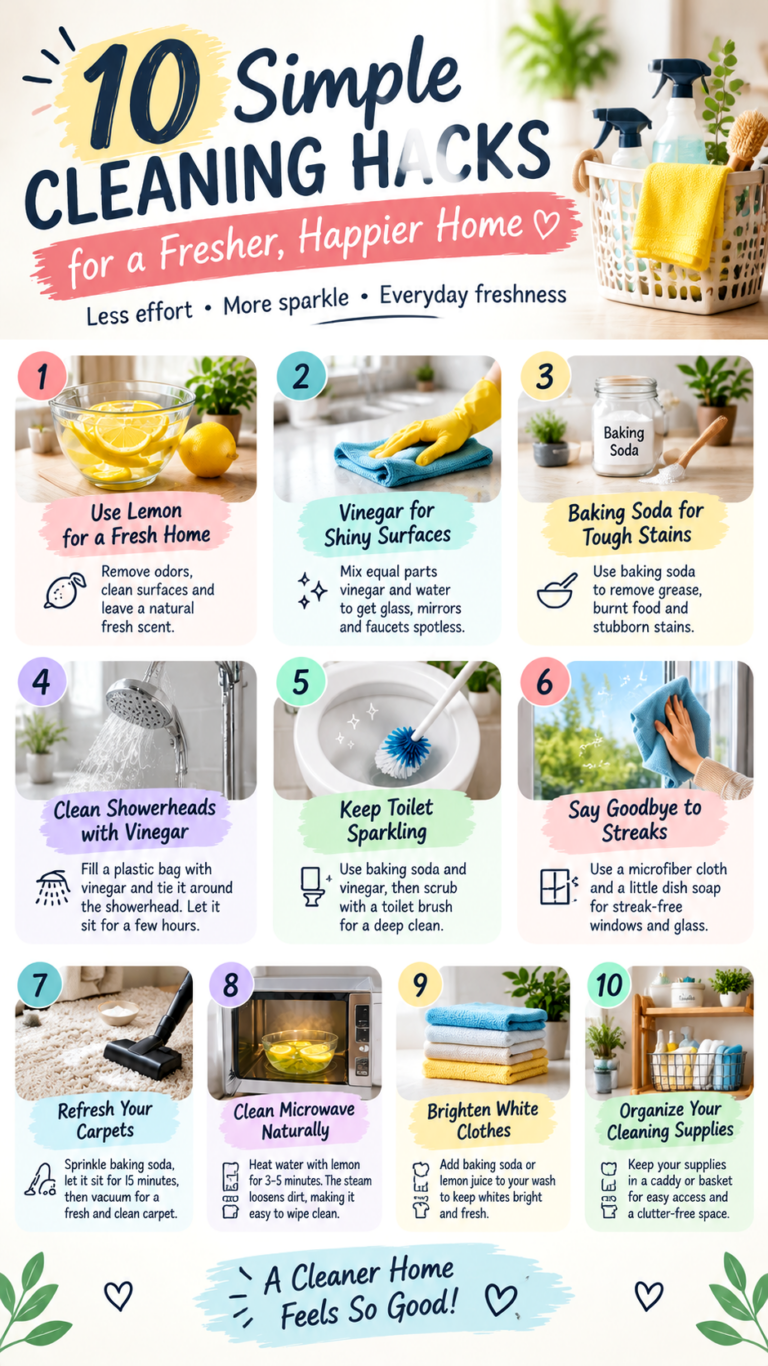
These seven bathroom tile cleaning hacks focus on practical methods using familiar household ingredients, including baking soda, vinegar, lemon, dish soap, hydrogen peroxide, toothpaste, and cornstarch. Each method targets a slightly different cleaning challenge, from greasy residue to stubborn surface stains. The goal is to help you choose an appropriate approach for your tile material, save time, and build a bathroom cleaning routine that is easy to maintain.
Key Takeaways
- Choose gentle cleaning methods that suit your bathroom tile and grout materials.
- Use mild dish soap and warm water for regular dirt, grease, and soap residue.
- Try a baking soda paste for suitable surfaces with stubborn grime.
- Always test a cleaning solution in a small, inconspicuous area first.
- Never mix vinegar with hydrogen peroxide, bleach, or other incompatible cleaners.
- Rinse away cleaning residue and dry tiles to help maintain a fresh appearance.
1. Baking Soda and Vinegar for Bathroom Tile Grime
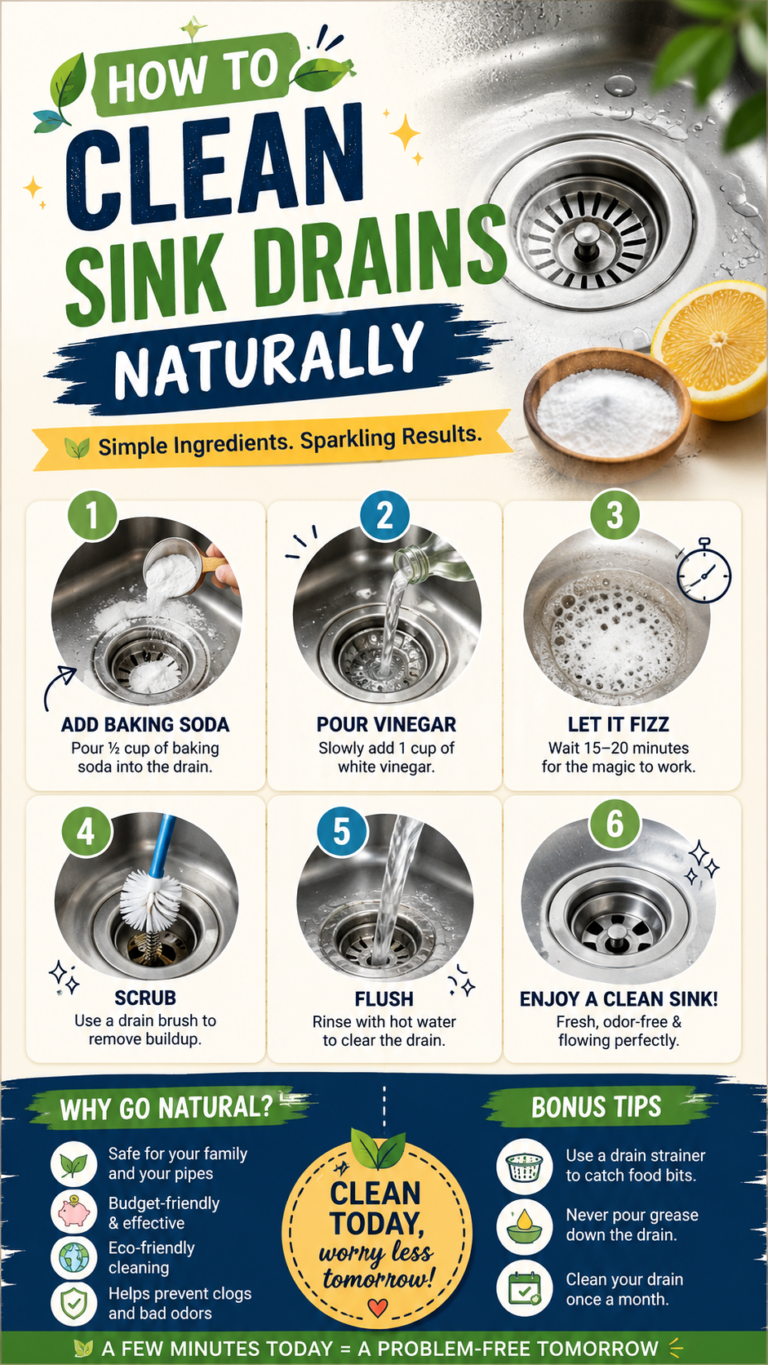
Baking soda and vinegar are popular ingredients in homemade cleaning routines. Baking soda can help loosen surface dirt through gentle abrasion, while vinegar can dissolve some mineral deposits and soap residue on acid-safe surfaces. Used appropriately, these ingredients may help refresh certain bathroom tiles and surrounding areas.
What You Will Need
- 2 to 3 tablespoons of baking soda
- A small amount of water to make a paste
- A separate bottle of diluted white vinegar, if suitable for the surface
- A soft sponge or nylon cleaning brush
- A clean microfiber cloth
How to Clean the Tiles
- Remove loose dust and hair from the tile surface.
- Mix baking soda with a little water to create a spreadable paste.
- Apply a small amount to a suitable stained area and gently scrub with a soft brush.
- Rinse thoroughly with clean water and wipe away any remaining residue.
- If mineral deposits remain, use diluted vinegar separately only on acid-resistant tile, following the surface manufacturer’s guidance.
- Rinse again and dry the area with a microfiber cloth.
Important: Do not assume that combining baking soda and vinegar makes a stronger cleaner. They react with each other and largely neutralize one another. For better results, use an appropriate method for the particular stain instead of mixing the ingredients together.
Vinegar is acidic and can damage marble, limestone, travertine, cement-based grout, and other acid-sensitive materials. Avoid using it on these surfaces. It can also affect some grout sealers and metal finishes, so check manufacturer recommendations before applying it.
2. Lemon and Salt for Suitable Surface Stains
Lemon and salt are often suggested for tackling visible stains and soap residue. Lemon juice contains citric acid, which may help loosen some mineral deposits, while salt can provide mild abrasion. However, this combination is not appropriate for every bathroom surface, and it should never be treated as a universal tile cleaner.
Ingredients and Supplies
- Fresh lemon juice
- A small pinch of fine salt, if gentle abrasion is appropriate
- A soft cloth or non-scratch sponge
- Clean water for rinsing
Step-by-Step Instructions
- Check that the tile material is compatible with acidic cleaners.
- Apply a small amount of lemon juice to a suitable test area.
- If necessary, use a little fine salt on a durable, scratch-resistant surface.
- Gently wipe the area without pressing hard.
- Rinse thoroughly and dry the surface.
This method may be useful for selected stains on durable, acid-resistant surfaces, but it is not the best choice for every type of grime. Salt can scratch polished finishes, and lemon juice can etch natural stone and damage some grout materials.
When to Choose Another Cleaner
For ordinary shower residue, a mild pH-neutral bathroom cleaner or diluted dish soap is often a safer starting point. For persistent hard water deposits, use a product specifically approved for your tile and fixtures. If the stain is embedded in grout, the correct treatment depends on the grout type and the cause of the discoloration.
3. Hydrogen Peroxide for Certain Grout Stains
Hydrogen peroxide is sometimes used to treat discoloration on compatible bathroom surfaces. It can help lighten some organic stains, but results vary depending on the stain, grout material, and product concentration. It is not a guaranteed solution for every dark grout line or stubborn mark.
How to Use It Carefully
- Choose a household hydrogen peroxide product and follow its label directions.
- Test a small, hidden section of compatible grout or tile.
- Apply a small amount only if the test area shows no unwanted changes.
- Allow the product to remain on the surface for the label’s recommended contact time.
- Gently scrub with a soft nylon brush if appropriate.
- Rinse thoroughly and dry the area.
Hydrogen peroxide may discolor some colored grout, fabrics, coatings, or sensitive finishes. Wear suitable gloves, protect your eyes, and ventilate the room. Keep it in its original container and store it safely away from children and pets.
Expert Insight: Dark grout is not always dirty. Discoloration can result from damaged sealant, moisture problems, mineral deposits, or microbial growth. If the grout remains dark after careful cleaning, investigate the underlying cause instead of repeatedly applying stronger products.
Never mix hydrogen peroxide with vinegar or other cleaning chemicals. Combining cleaning agents can create hazardous conditions or cause unexpected reactions. Use one product at a time, rinse as directed, and allow the surface to clear before switching to another cleaner.
4. Dish Soap and Warm Water for Everyday Dirt
If your bathroom tiles look dull because of body oils, shampoo residue, soap scum, and everyday grime, start with dish soap and warm water. This is one of the simplest bathroom tile cleaning hacks because it focuses on lifting ordinary dirt without introducing a strong acid or abrasive scrub.
What You Need
- A small amount of mild dish soap
- A bucket or bowl of warm water
- A soft sponge or microfiber cloth
- A soft grout brush for narrow joints
- A clean towel for drying
Cleaning Instructions
- Remove loose dirt and rinse the tile surface with warm water.
- Add a small squirt of dish soap to a bowl of warm water.
- Dip a soft sponge into the solution and wring out excess liquid.
- Wipe the tiles using gentle, overlapping movements.
- Use a soft brush around grout lines and corners.
- Rinse with clean water to remove soapy residue.
- Dry the tiles with a clean microfiber cloth.
Dish soap works particularly well for maintenance cleaning because it helps loosen oily residue without the harshness of many heavy-duty products. It can also be a good first step before treating a specific stain with a more targeted cleaner.
How to Prevent a Cloudy Finish
Using too much soap can leave a film that attracts dirt and makes tiles look dull. Start with a small amount, rinse thoroughly, and change the cleaning water when it becomes visibly dirty. For shower walls, a squeegee used after bathing can help reduce the amount of water and residue left behind.
5. Toothpaste for Small, Localized Marks
Toothpaste sometimes appears in household cleaning tips because certain formulas contain mild polishing ingredients. It may help with selected small marks on compatible, durable surfaces, but it is not designed to clean an entire bathroom or replace a proper tile cleaner.
How to Try This Method
- Choose a plain, non-gel toothpaste without strong whitening abrasives or colored additives.
- Test a tiny amount on an inconspicuous area of suitable tile.
- If the finish remains unchanged, apply a small dab to the mark.
- Gently rub with a soft, damp cloth.
- Rinse completely and dry the area.
Use toothpaste only for small spots where the tile manufacturer permits this type of cleaning. Some formulas can scratch glossy finishes, leave residue, or affect delicate materials. Avoid using it on natural stone, polished surfaces, and delicate grout unless the manufacturer confirms compatibility.
A Better Option for Larger Areas
For widespread bathroom grime, a pH-neutral tile cleaner or mild dish soap solution is usually more practical. Toothpaste is best regarded as an occasional spot-cleaning experiment rather than a regular bathroom cleaning product.
6. Cornstarch and Water for a Gentle Cleaning Paste
Cornstarch and water can form a soft paste, but cornstarch is not a proven all-purpose bathroom tile cleaner. Its main appeal is that it is inexpensive and easy to prepare. For routine tile cleaning, a suitable tile cleaner or mild soap solution will generally be a more dependable choice.
If You Want to Test This Method
- Mix a small amount of cornstarch with water to form a thin paste.
- Test it on a hidden section of compatible, nonporous tile.
- Apply a very small amount to a limited area.
- Wipe gently with a soft, damp cloth.
- Rinse thoroughly so no powdery residue remains.
- Dry the surface completely.
Avoid allowing the mixture to accumulate in grout lines, textured tiles, or crevices, where powder can be difficult to remove. Do not use this method on porous surfaces or anywhere the residue could interfere with a protective coating.
For a More Reliable Shine
After cleaning suitable tiles with a compatible cleaner, rinse away all residue and buff the surface dry with a microfiber cloth. Removing leftover water and cleaning solution is often more effective for achieving a clear finish than adding another household ingredient.
7. Vinegar and Dish Soap for Suitable Bathroom Surfaces
Vinegar and dish soap are often presented as a combination for shiny bathroom tiles. Dish soap helps lift oily grime, while vinegar can dissolve some mineral deposits. However, mixing them does not guarantee better cleaning, and the acidity of vinegar makes this approach unsuitable for many common bathroom materials.
A Safer Way to Approach the Task
- Check whether the tile, grout, shower enclosure, and fixtures are compatible with vinegar.
- Begin with a mild dish soap solution to remove oily dirt and ordinary residue.
- Rinse thoroughly with clean water.
- If suitable and still necessary, apply a separately prepared, diluted vinegar solution according to the surface manufacturer’s guidance.
- Rinse again and dry the surface with a clean cloth.
Do not combine vinegar with bleach, hydrogen peroxide, or other cleaning products. Never add vinegar to a commercial cleaner unless its label explicitly permits the combination. Using products separately and following their instructions is the safer approach.
Where Vinegar Should Be Avoided
Do not use vinegar on marble, travertine, limestone, or other acid-sensitive natural stone. Avoid applying it to cement-based grout and surfaces with sensitive coatings unless the manufacturer specifically approves it. Acid can etch stone, weaken grout, and damage some finishes.
For these materials, use a pH-neutral cleaner formulated for the specific surface. If you are unsure what your bathroom tiles are made from, identify the material before experimenting with homemade cleaning solutions.
Why the Right Cleaning Method Matters
A cleaner that works on ceramic shower tiles may damage natural stone or delicate grout. Before trying any cleaning hack, identify the material, check the manufacturer’s instructions, and test the product in a hidden spot. Gentle cleaning, thorough rinsing, and regular maintenance usually produce more reliable results than aggressive scrubbing or combining multiple ingredients.
How to Clean Bathroom Grout Without Damaging It
Grout can make a bathroom look older when it becomes discolored, but it needs a little extra care because it is often more porous than the surrounding tile. The best cleaning approach depends on whether the grout is cement-based, epoxy-based, sealed, or unsealed.
Follow These Grout-Cleaning Steps
- Remove loose dirt with a dry microfiber cloth or soft brush.
- Apply a grout-compatible cleaner according to the product instructions.
- Allow the recommended contact time without letting the product dry on the surface.
- Agitate gently with a soft nylon grout brush.
- Rinse thoroughly and remove any remaining cleaning residue.
- Allow the grout to dry and check whether the stain has improved.
Avoid metal brushes, harsh scouring pads, and aggressive scraping. These tools can damage grout or scratch nearby tiles. If grout continues to discolor, inspect for cracks, deteriorated sealant, or moisture intrusion rather than repeatedly scrubbing the same area.
Common Bathroom Tile Cleaning Mistakes to Avoid
Even a simple cleaning routine can cause problems when the wrong products or tools are used. Keep these common mistakes in mind when refreshing your bathroom.
Using Too Many Cleaning Ingredients
Mixing household ingredients can reduce their effectiveness or create dangerous reactions. In particular, never mix bleach with vinegar or other acids, and never mix hydrogen peroxide with vinegar. Use one suitable product at a time and follow its label.
Scrubbing Too Aggressively
Hard brushes and abrasive powders can scratch polished tile, damage coatings, and wear away grout. Choose a soft sponge or nylon brush, and apply only as much pressure as needed to remove the dirt.
Ignoring Ventilation
Open a window or use the bathroom exhaust fan while cleaning. Wear gloves and any protective equipment recommended on the product label. Keep cleaning solutions away from children and pets, and never leave them in unmarked containers.
Leaving Cleaning Residue Behind
Soap, baking soda, and other residues can leave a cloudy appearance if they are not removed properly. Rinse the surface with clean water when appropriate, then dry it with a microfiber cloth.
A Simple Bathroom Tile Cleaning Routine
You do not need to deep-clean every tile every day. A short, consistent routine can help keep bathroom surfaces looking fresh and make occasional intensive cleaning easier.
After Each Shower
- Use a squeegee on suitable shower walls and glass.
- Wipe away standing water around corners and ledges.
- Leave the bathroom ventilated to help moisture escape.
Once or Twice a Week
- Wipe shower walls and frequently touched surfaces with a compatible cleaner.
- Clean visible soap residue before it becomes difficult to remove.
- Check corners and grout lines for developing stains.
- Rinse and dry surfaces to reduce residue buildup.
When a Deeper Clean Is Needed
Start with the gentlest method suitable for the tile material. Treat stubborn marks individually, give compatible products the recommended contact time, and avoid trying several remedies at once. If the discoloration does not improve, consider whether the problem is mineral buildup, damaged grout, or moisture rather than ordinary surface dirt.
Quick Points: Bathroom Tile Cleaning at a Glance
- Everyday grime: Use mild dish soap and warm water.
- Suitable stubborn stains: Consider a baking soda paste after testing.
- Selected grout stains: Use a compatible hydrogen peroxide product as directed.
- Natural stone: Avoid acidic cleaners such as vinegar and lemon juice.
- Lasting shine: Rinse thoroughly, dry surfaces, and maintain good ventilation.
Conclusion: Enjoy Cleaner, Brighter Bathroom Tiles
Refreshing your bathroom does not have to involve a complicated routine or a cupboard full of specialized products. These seven bathroom tile cleaning ideas offer a starting point for dealing with everyday grime, soap residue, selected stains, and dull-looking surfaces. Mild dish soap and warm water are often the best first step, while other ingredients may be useful in specific situations when the surface can tolerate them.
The most important secret to successful bathroom tile cleaning is choosing the right method for the material. Always test unfamiliar solutions, avoid dangerous chemical combinations, protect delicate grout and finishes, and rinse away residue. Small habits such as wiping shower walls, drying wet surfaces, and ventilating the bathroom can also make a noticeable difference over time.
Try one suitable cleaning method at a time, see how your tiles respond, and build a routine that fits your home. With gentle care and consistent maintenance, your bathroom can feel fresher, look brighter, and stay easier to clean. Save these bathroom cleaning hacks for the next time your tiles need a little extra attention!
Tags
Bathroom Tile Cleaning
Bathroom Cleaning Hacks
Grout Cleaning Tips
Shower Tile Cleaning
Natural Cleaning Methods
Home Cleaning Tips
Soap Scum Removal
Bathroom Deep Cleaning